


Resize PNG logos, screenshots, icons and graphics to the exact width and height you need. The transparent background stays transparent and the file stays a PNG. Resize up to 20 PNGs at once, free and with no signup.
How to Resize a PNG
- Upload your PNG files. Click the upload area or drag up to 20 PNGs onto it. Each can be up to 20 MB.
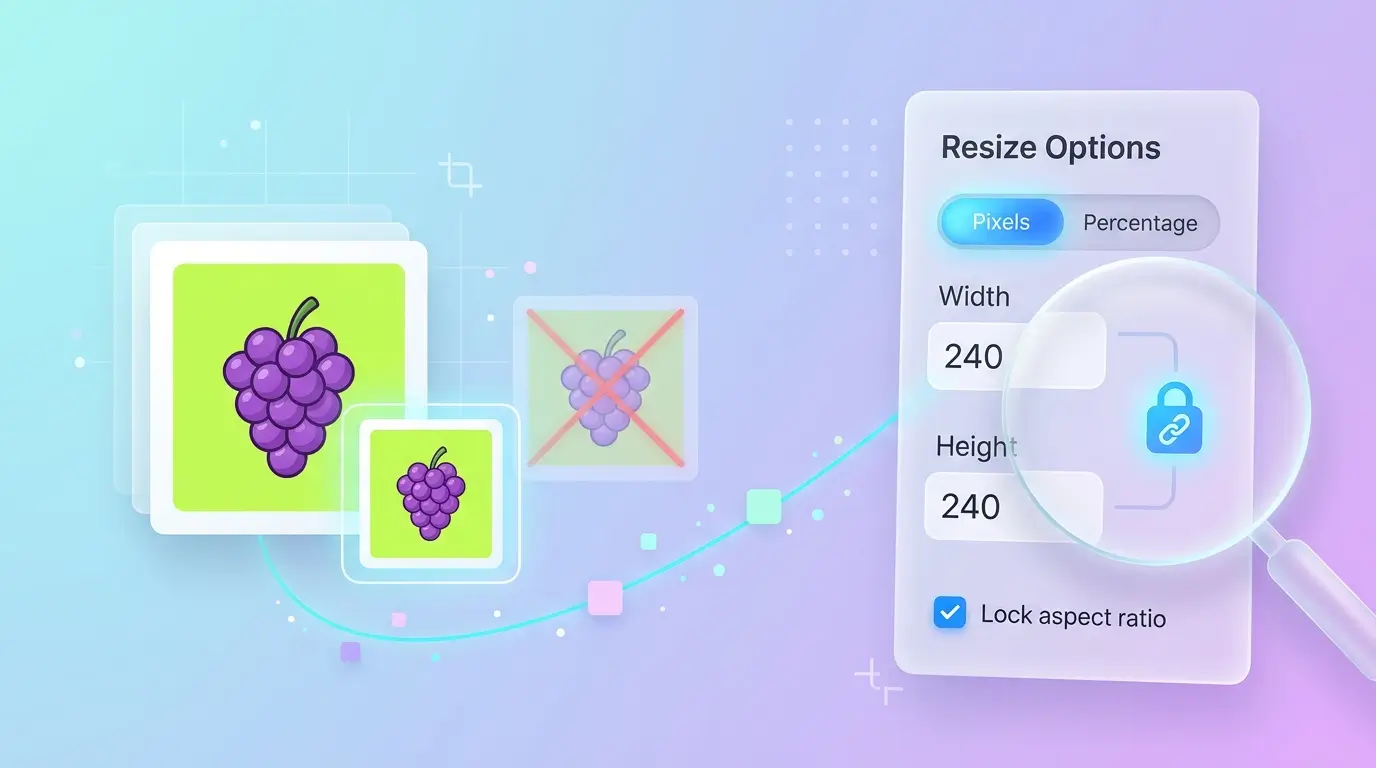
- Set the new size. Choose By Pixels and type a width and height, or choose By Percentage to scale the image. Keep the aspect ratio on so your logo or icon keeps its shape.
- Download the PNG. The resized file downloads as a PNG, so you can use it anywhere you used the original.
What Do You Need to Do With Your PNG?
Resizing is the right tool for some PNG jobs, but not all of them. Pick your goal:
| Your goal | Best option |
|---|---|
| A logo or icon at an exact size | Resize here with By Pixels |
| A large PNG export at a smaller scale | Resize here with By Percentage |
| A PNG under a KB or MB upload limit | Resize here first, then use the PNG compressor |
| A small PNG made bigger and still sharp | The AI upscaler for PNG |
| A smaller website image that keeps transparency | Convert PNG to WebP |
| A photo that was saved as a PNG | Convert PNG to JPG |
| A favicon | Resize to 512 × 512, then convert PNG to ICO |
Each of these tools is linked in the sections below.
Change PNG Size by Pixels or Percentage
Use pixels when a platform asks for an exact size: a 512 × 512 app icon, a 250 px-wide logo for an email signature, or a 1280 × 720 screenshot for a help article. Use percentage when you just need a large export smaller, such as taking a design mockup at 200% down to 100%.
PNGs often hold flat colors and hard edges, so the aspect ratio matters more than it does for photos. A circular logo stretched by a few pixels turns into an oval, and people notice. Leave the aspect ratio on unless you really want a new shape.
What Happens to Transparency When Resizing PNG
This is the main reason to use a PNG resizer instead of a general photo tool. A PNG stores transparency for every pixel, which is why a logo can sit cleanly on a colored website header or a dark slide.
When you resize, the edge pixels are recalculated. A good resize keeps them partly transparent, so curves and text stay smooth against any background. A poor one flattens the image onto white or black, leaving a hard halo around the edges. Because this tool saves the result as a PNG, the transparent areas stay transparent.
Two things to watch, especially with logos:
- Check the result on the background you'll actually use. Thin lines and small text show edge problems first. Look at the logo on your real header color, not on white.
- Shrinking is safer than enlarging. Making a logo smaller keeps it crisp. Making a small PNG much larger makes edges soft. For a bigger logo, export it again from the original design file, or use the AI upscaler for PNG images.
Tested: Resizing a Transparent PNG Logo
[FILL IN from your own test on the live tool. Don't publish placeholder values.]
We took a [2000 × 2000] PNG logo with a transparent background and resized it with By Pixels to the sizes people ask for most.
| Output size | File size | Is the background still transparent? | Edges on a dark background |
|---|---|---|---|
| Original, [2000 × 2000] | [__ KB] | n/a | n/a |
| 1024 × 1024 | [__ KB] | [Yes / No] | [Clean / slight halo] |
| 512 × 512 | [__ KB] | [Yes / No] | [Clean / slight halo] |
| 128 × 128 | [__ KB] | [Yes / No] | [Clean / slight halo] |
What we noticed: [1–2 sentences from the real result. For example, the size at which the logo's thin tagline became hard to read, and how much smaller the file got.]
When PNG Is the Right Format, and When It Isn't
Keep your file as a PNG when it has a transparent background, text, sharp lines or flat color: logos, icons, UI screenshots, diagrams, stickers and pixel art. Those stay sharper in PNG than in JPG.
For photos, PNG is usually the wrong choice. A resized photo saved as PNG can still be several megabytes, because PNG keeps every pixel exactly. If your PNG is a photo, convert PNG to JPG for a much smaller file. For a website image that needs transparency and a small size, convert PNG to WebP. Our comparison of PNG vs JPG vs WebP explains the trade-offs.
Common PNG Sizes
These are typical sizes for jobs where PNG is the usual format. Always check what the platform you're uploading to currently asks for.
| Use | Typical size (px) | Tip |
|---|---|---|
| Website logo in the header | 250–400 wide | Export at twice the display size so it stays sharp on high-resolution screens |
| Email signature logo | 150–300 wide | Keep it small; some email apps show large images at full size |
| Web app icon (PWA) | 192 × 192 and 512 × 512 | Square, transparent background |
| App Store icon | 1024 × 1024 | Square, no rounded corners. The store adds them |
| Discord emoji | 128 × 128 | Transparent background reads best |
| Twitch emotes | 112 × 112, 56 × 56, 28 × 28 | Resize each version from the largest original |
| Screenshot for a help article | 1280–1600 wide | Shrinking a 4K screenshot to half size keeps text readable |
| Favicon source image | 512 × 512 | Then convert the PNG to ICO for the favicon file |
For icon sets, always resize each size from the biggest original. Shrinking 512 to 128, and then 128 to 28, softens the detail twice.
Resizing PNG Doesn't Always Make the File Much Smaller
Smaller dimensions mean fewer pixels, so a PNG resize usually makes the file lighter. But PNG compression depends on the content. A flat-color logo can be tiny at any size, while a detailed graphic can stay large even after resizing. If an upload form gives a KB or MB limit, resize first, then use the PNG compressor to reach the limit.



