Does Resizing an Image Reduce Quality? What Actually Happens to Your Pixels
 Mujahid H.
- October 25, 2026
- 10 min read
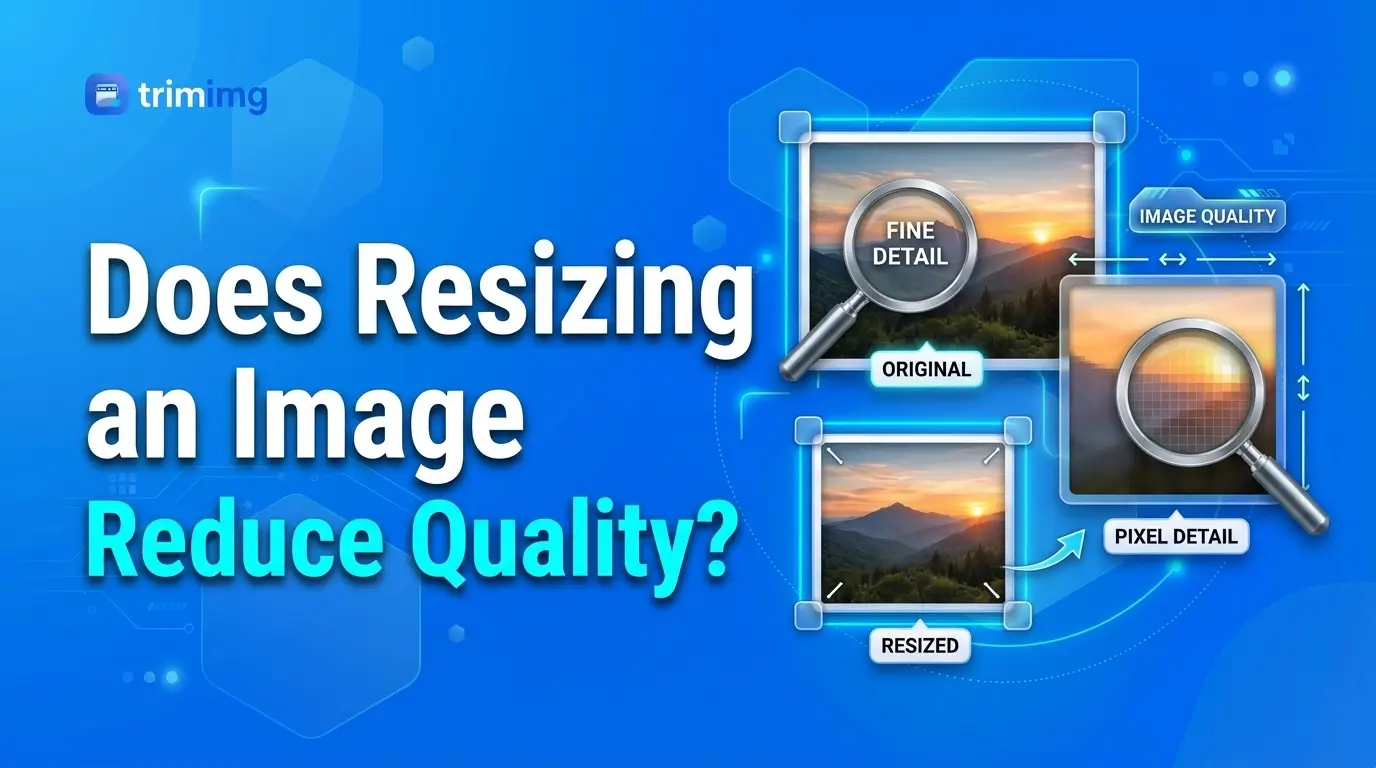
Resizing an image can reduce its quality, but how much depends on three things: whether you make it smaller or larger, how the software calculates the new pixels, and how you save the result. Making an image smaller usually keeps it sharp. Making a small image larger often makes it soft or pixelated, because the software has to invent pixels that were never captured.
Whether you're preparing photos for a website, product images for an online store, or a picture for print, understanding what happens to your pixels helps you keep as much detail as possible. You don't need expensive software to get a good result.
Quick answer:
| You want to... | What happens to quality | What to do |
|---|---|---|
| Make an image smaller (downscale) | Usually stays sharp; the finest details are lost | Resize once from the original to the exact size you need |
| Make an image slightly larger (up to about 1.5x) | Often looks fine, slightly softer | Use bicubic or Lanczos resampling |
| Make a small image much larger (2x or more) | Blur, pixelation, or halos are likely | Use an AI upscaler and check the result closely |
| Reduce file size without changing dimensions | Depends on the compression level | Compress instead of resizing |
| Change DPI for printing | No change to on-screen quality | Check pixel dimensions against the print size |
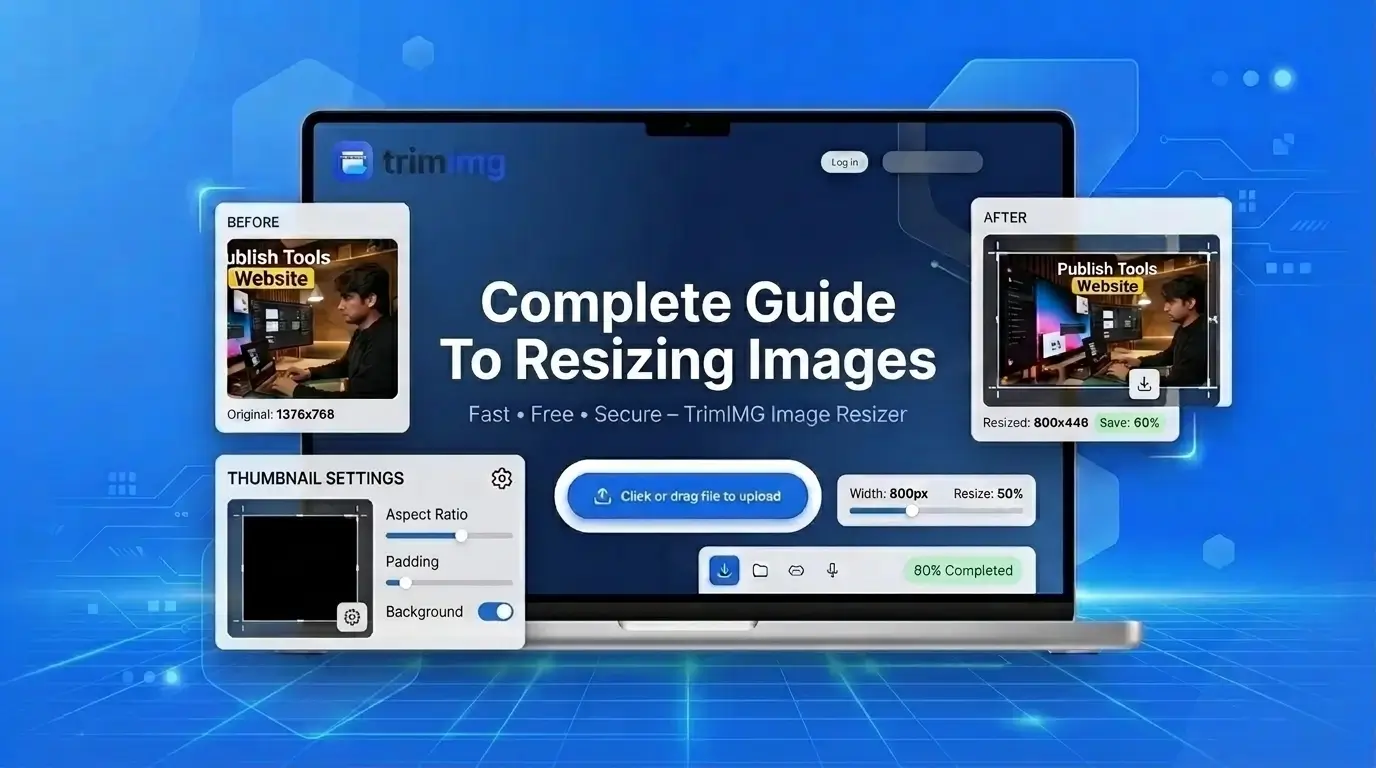
If you're new to the topic, our complete guide to resizing images covers the basics. This article focuses on one question: what actually happens to quality, and how to avoid losing more than you need to.
What Actually Happens to Your Pixels When You Resize an Image?
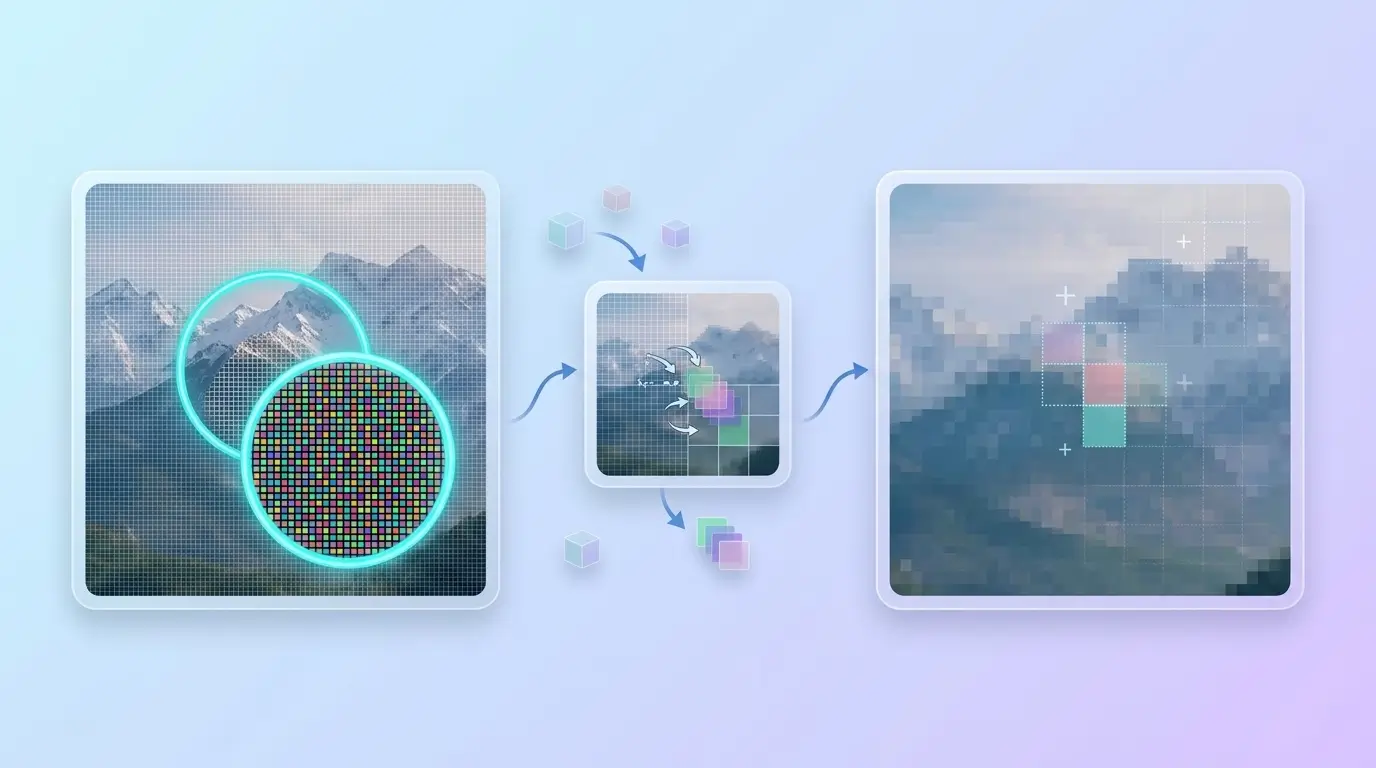
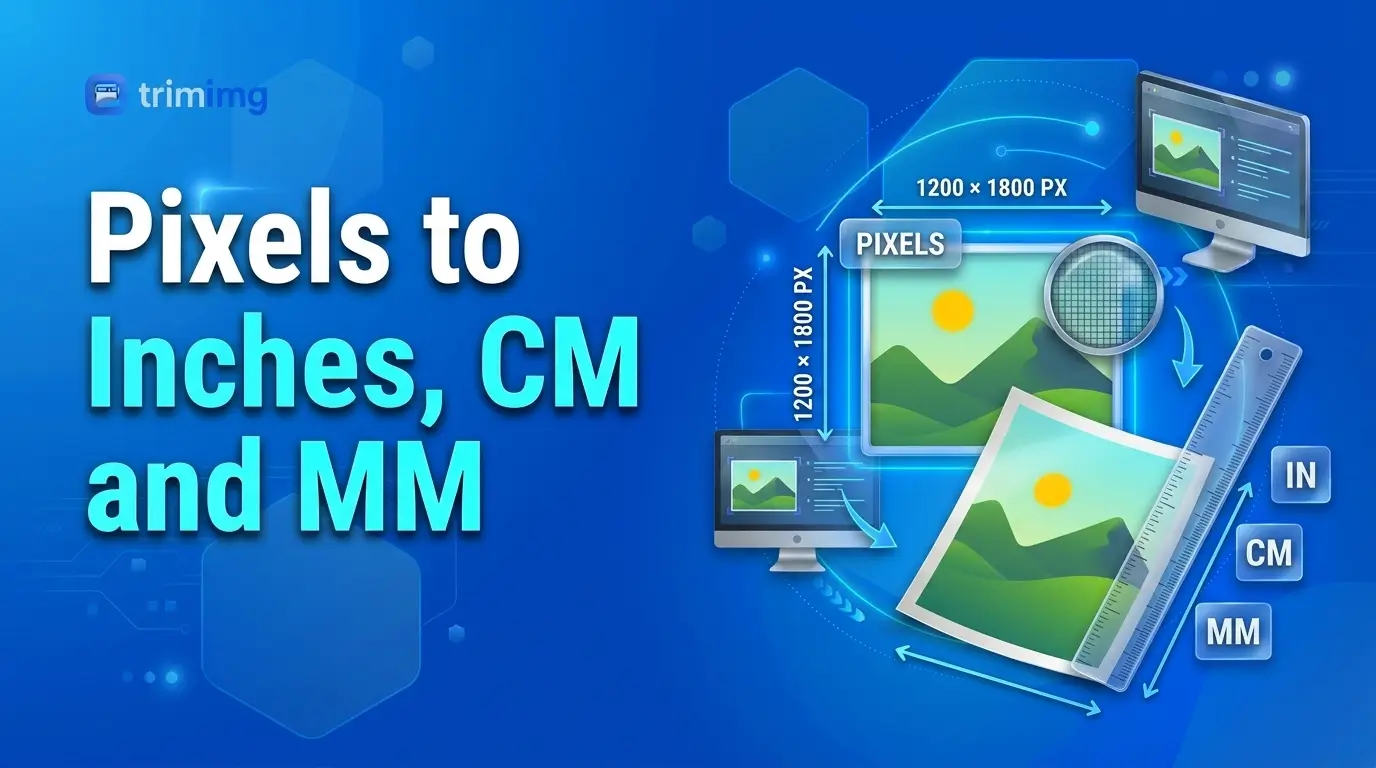
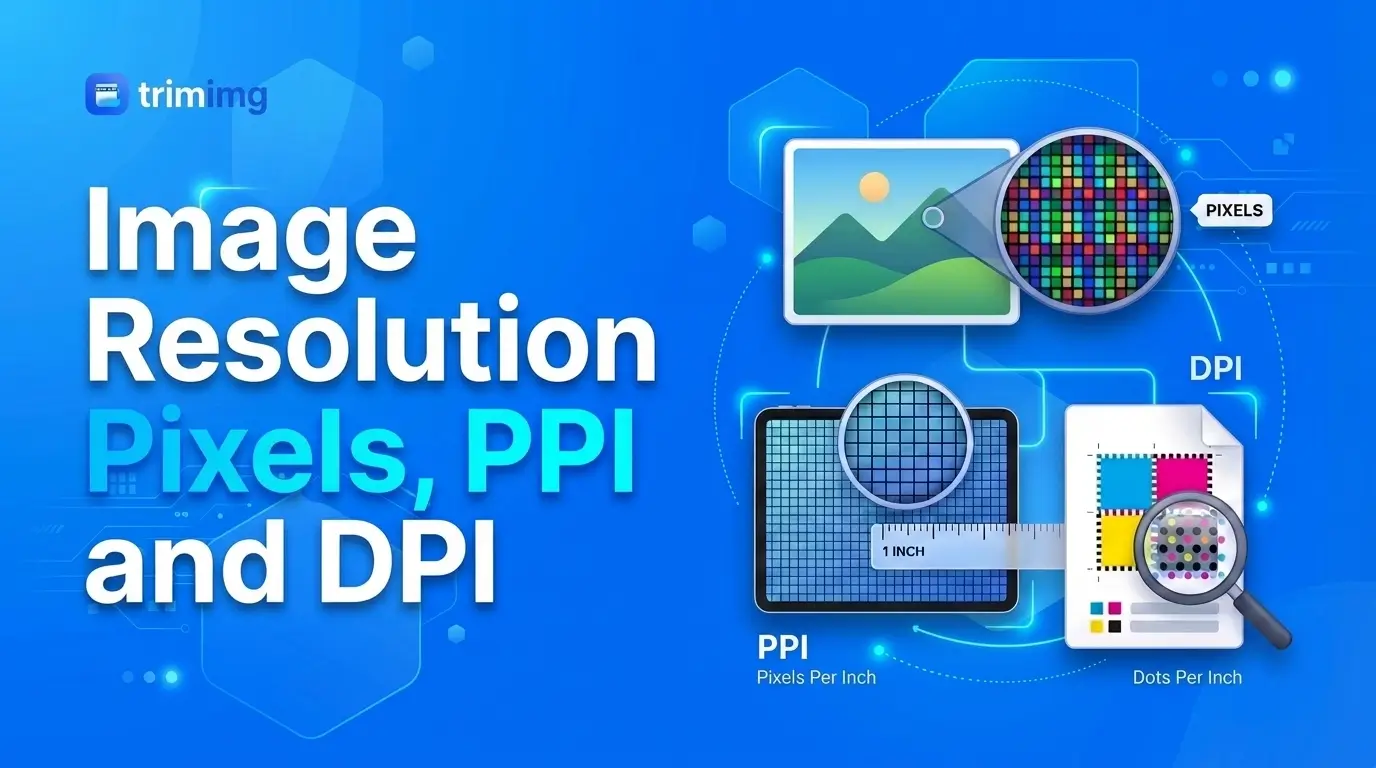
A pixel is a tiny square that stores one color. Millions of them together form a digital photo. An image's pixel dimensions are its width and height in pixels: a 1920 × 1080 image contains 2,073,600 pixels, or about 2.07 megapixels.
When you change those dimensions, the software has to recalculate every pixel. This process is called resampling, and it works differently in each direction.
When you make an image smaller (downsampling)
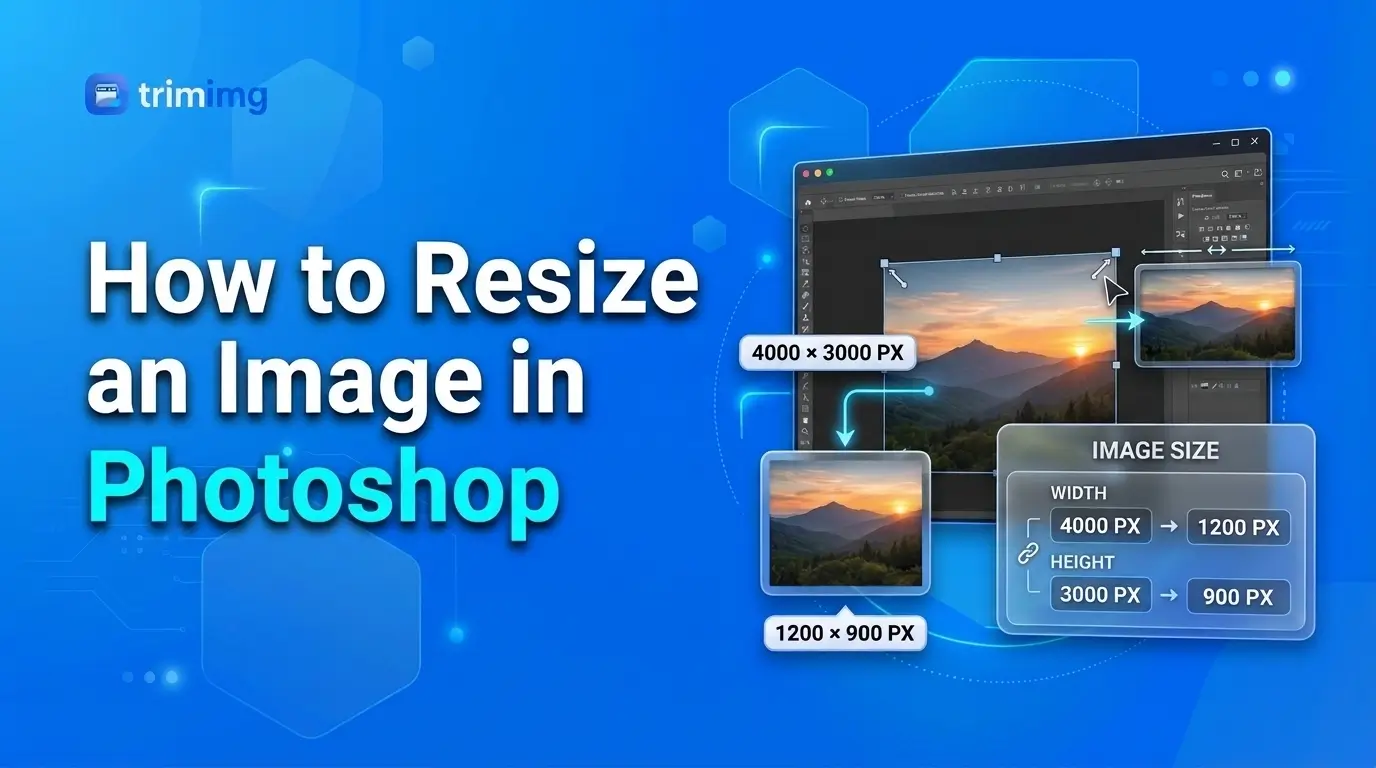
Say you reduce a 4000 × 3000 photo (12 million pixels) to 800 × 600 (480,000 pixels). The new image holds just 4% of the original pixels.
The software can't keep every pixel, so it blends groups of neighboring pixels into one. Main shapes, colors, and contrast survive well. Very fine textures, tiny text, and thin lines can disappear. Once that information is gone, enlarging the small version again won't bring it back.
When you make an image larger (upsampling)
Now enlarge that 800 × 600 image to 2400 × 1800. The output has nine times as many pixels, but not nine times as much detail.
The software fills the gaps by interpolation: it estimates each new pixel from the pixels around it. That's why enlarged images often look soft, blurry, or blocky. The extra pixels are guesses, not new information captured by the camera.
Adobe explains the difference between pixel dimensions, resolution, and resampling in its official guide to image size and resolution.
Does Making an Image Smaller Reduce Quality?
Usually not in a way you'll notice, as long as the new size suits where the image will be shown. A 4000 × 3000 photo reduced to 1200 × 900 for a blog post will typically look crisp on screen.
Downscaling can even make a photo look cleaner, because minor noise and small imperfections become less visible at a smaller size.
You're more likely to see problems when:
- Small text or fine lines become unreadable after a big reduction.
- Detailed product textures (fabric, wood grain, jewelry) turn flat.
- Fine repeating patterns produce moiré or jagged edges.
- You resize an already-resized copy instead of the original.
Does Enlarging an Image Reduce Quality?
Yes, more often than shrinking does. Enlarging asks the software to create detail that isn't in the file, so there's a practical limit to how far you can go.
Three problems typically appear:
- Blur: edges and textures lose definition as transitions are smoothed.
- Pixelation: individual pixels or blocky shapes become visible.
- Artifacts: halos around edges, jagged diagonal lines, or distorted patterns.
As a rough rule of thumb, enlarging a photo by up to about 1.5x with good resampling is often hard to spot at normal viewing size. Beyond 2x, softness is usually obvious.
Can you enlarge a picture without losing quality?
You can often enlarge a picture so it still looks acceptable, but no method preserves every detail. For the best result:
- Start with the highest-resolution original you have.
- Enlarge only as much as you need.
- Pick a resampling method that suits the content (see the table below).
- Check edges and text for blur, halos, and pixelation.
- For big enlargements, try an AI image upscaler instead of standard interpolation.
AI upscaling can produce sharper, more natural-looking results, but the added detail is predicted, not recovered. Avoid relying on it where accuracy matters, such as product listings, documents, or evidence.
Which Resampling Method Should You Use?
The resampling method decides how new pixel values are calculated. Most tools pick one automatically, but knowing the options helps you understand the result.
| Method | How it works | Best for | Watch out for |
|---|---|---|---|
| Nearest neighbor | Copies the closest pixel | Pixel art, icons, screenshots at exact 2x or 3x | Jagged, blocky edges on photos |
| Bilinear | Averages the 4 nearest pixels | Fast previews, small changes | Noticeable softness |
| Bicubic | Weighs the 16 nearest pixels | Most photos, up or down | Slight halos when sharpened |
| Lanczos | Uses a wider sinc-based filter | Downscaling detailed photos | Ringing around high-contrast edges |
| AI upscaling | A trained model predicts detail | Large enlargements of photos | Invented or inaccurate details |
Resizing vs. Compression: Which One Lowers Quality?
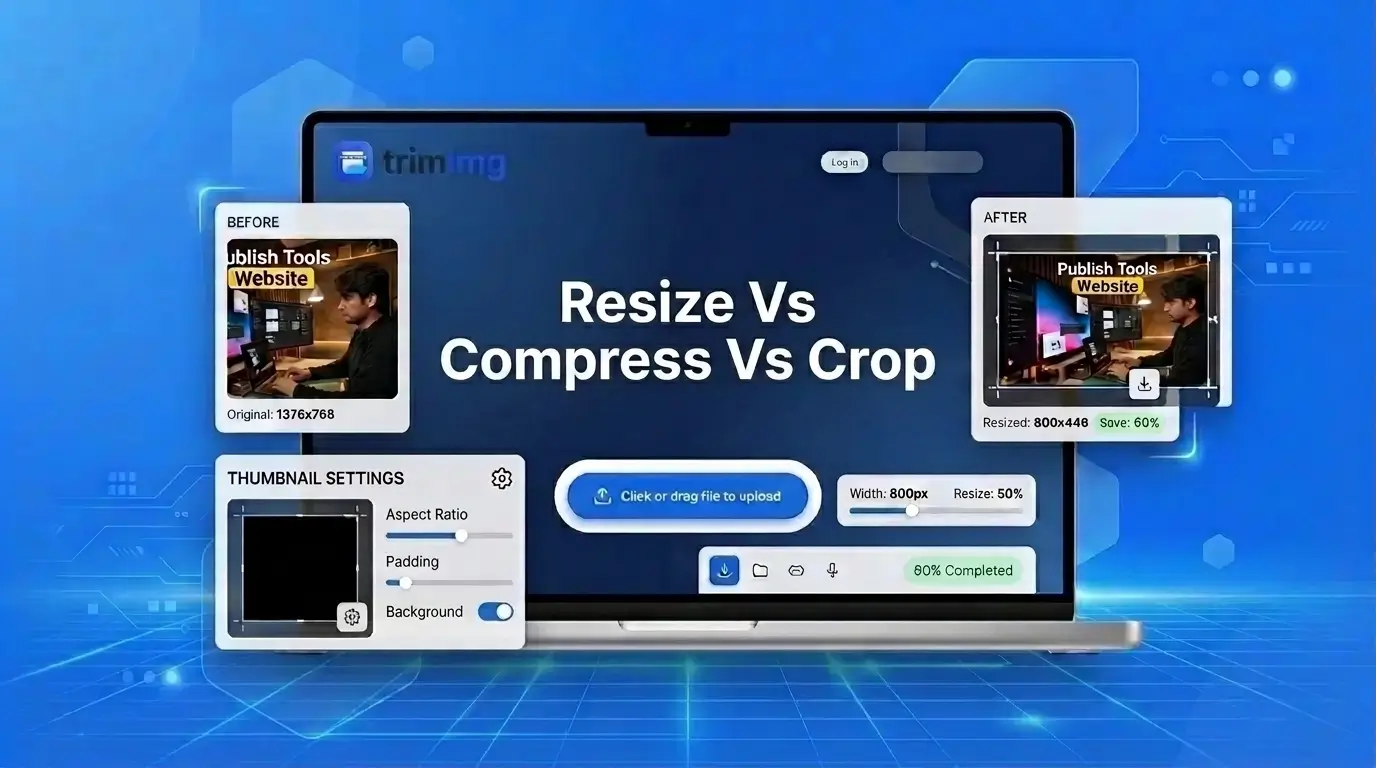
Resizing changes an image's pixel dimensions. Compression changes how the image data is stored to make the file smaller. Both can affect what you see, but in different ways.
| Resizing | Compression | |
|---|---|---|
| What changes | Width and height in pixels | How pixel data is encoded |
| Reduces file size? | Usually, when downscaling | Yes |
| Can lower visible quality? | Yes, especially when enlarging | Yes, with strong lossy settings |
| Example | 3000 × 2000 → 1200 × 800 px | A 2 MB JPEG → 400 KB, same dimensions |
The two work best together: resize to the size you need first, then compress. For a side-by-side breakdown of all three edits, see the difference between resizing, compressing, and cropping.
Does compression always reduce quality?
No. It depends on the type of compression:
- Lossy compression (JPEG, lossy WebP) discards some data. Heavy settings cause blocky artifacts around edges, text, and smooth gradients.
- Lossless compression (PNG, lossless WebP) shrinks the file without throwing away image data.
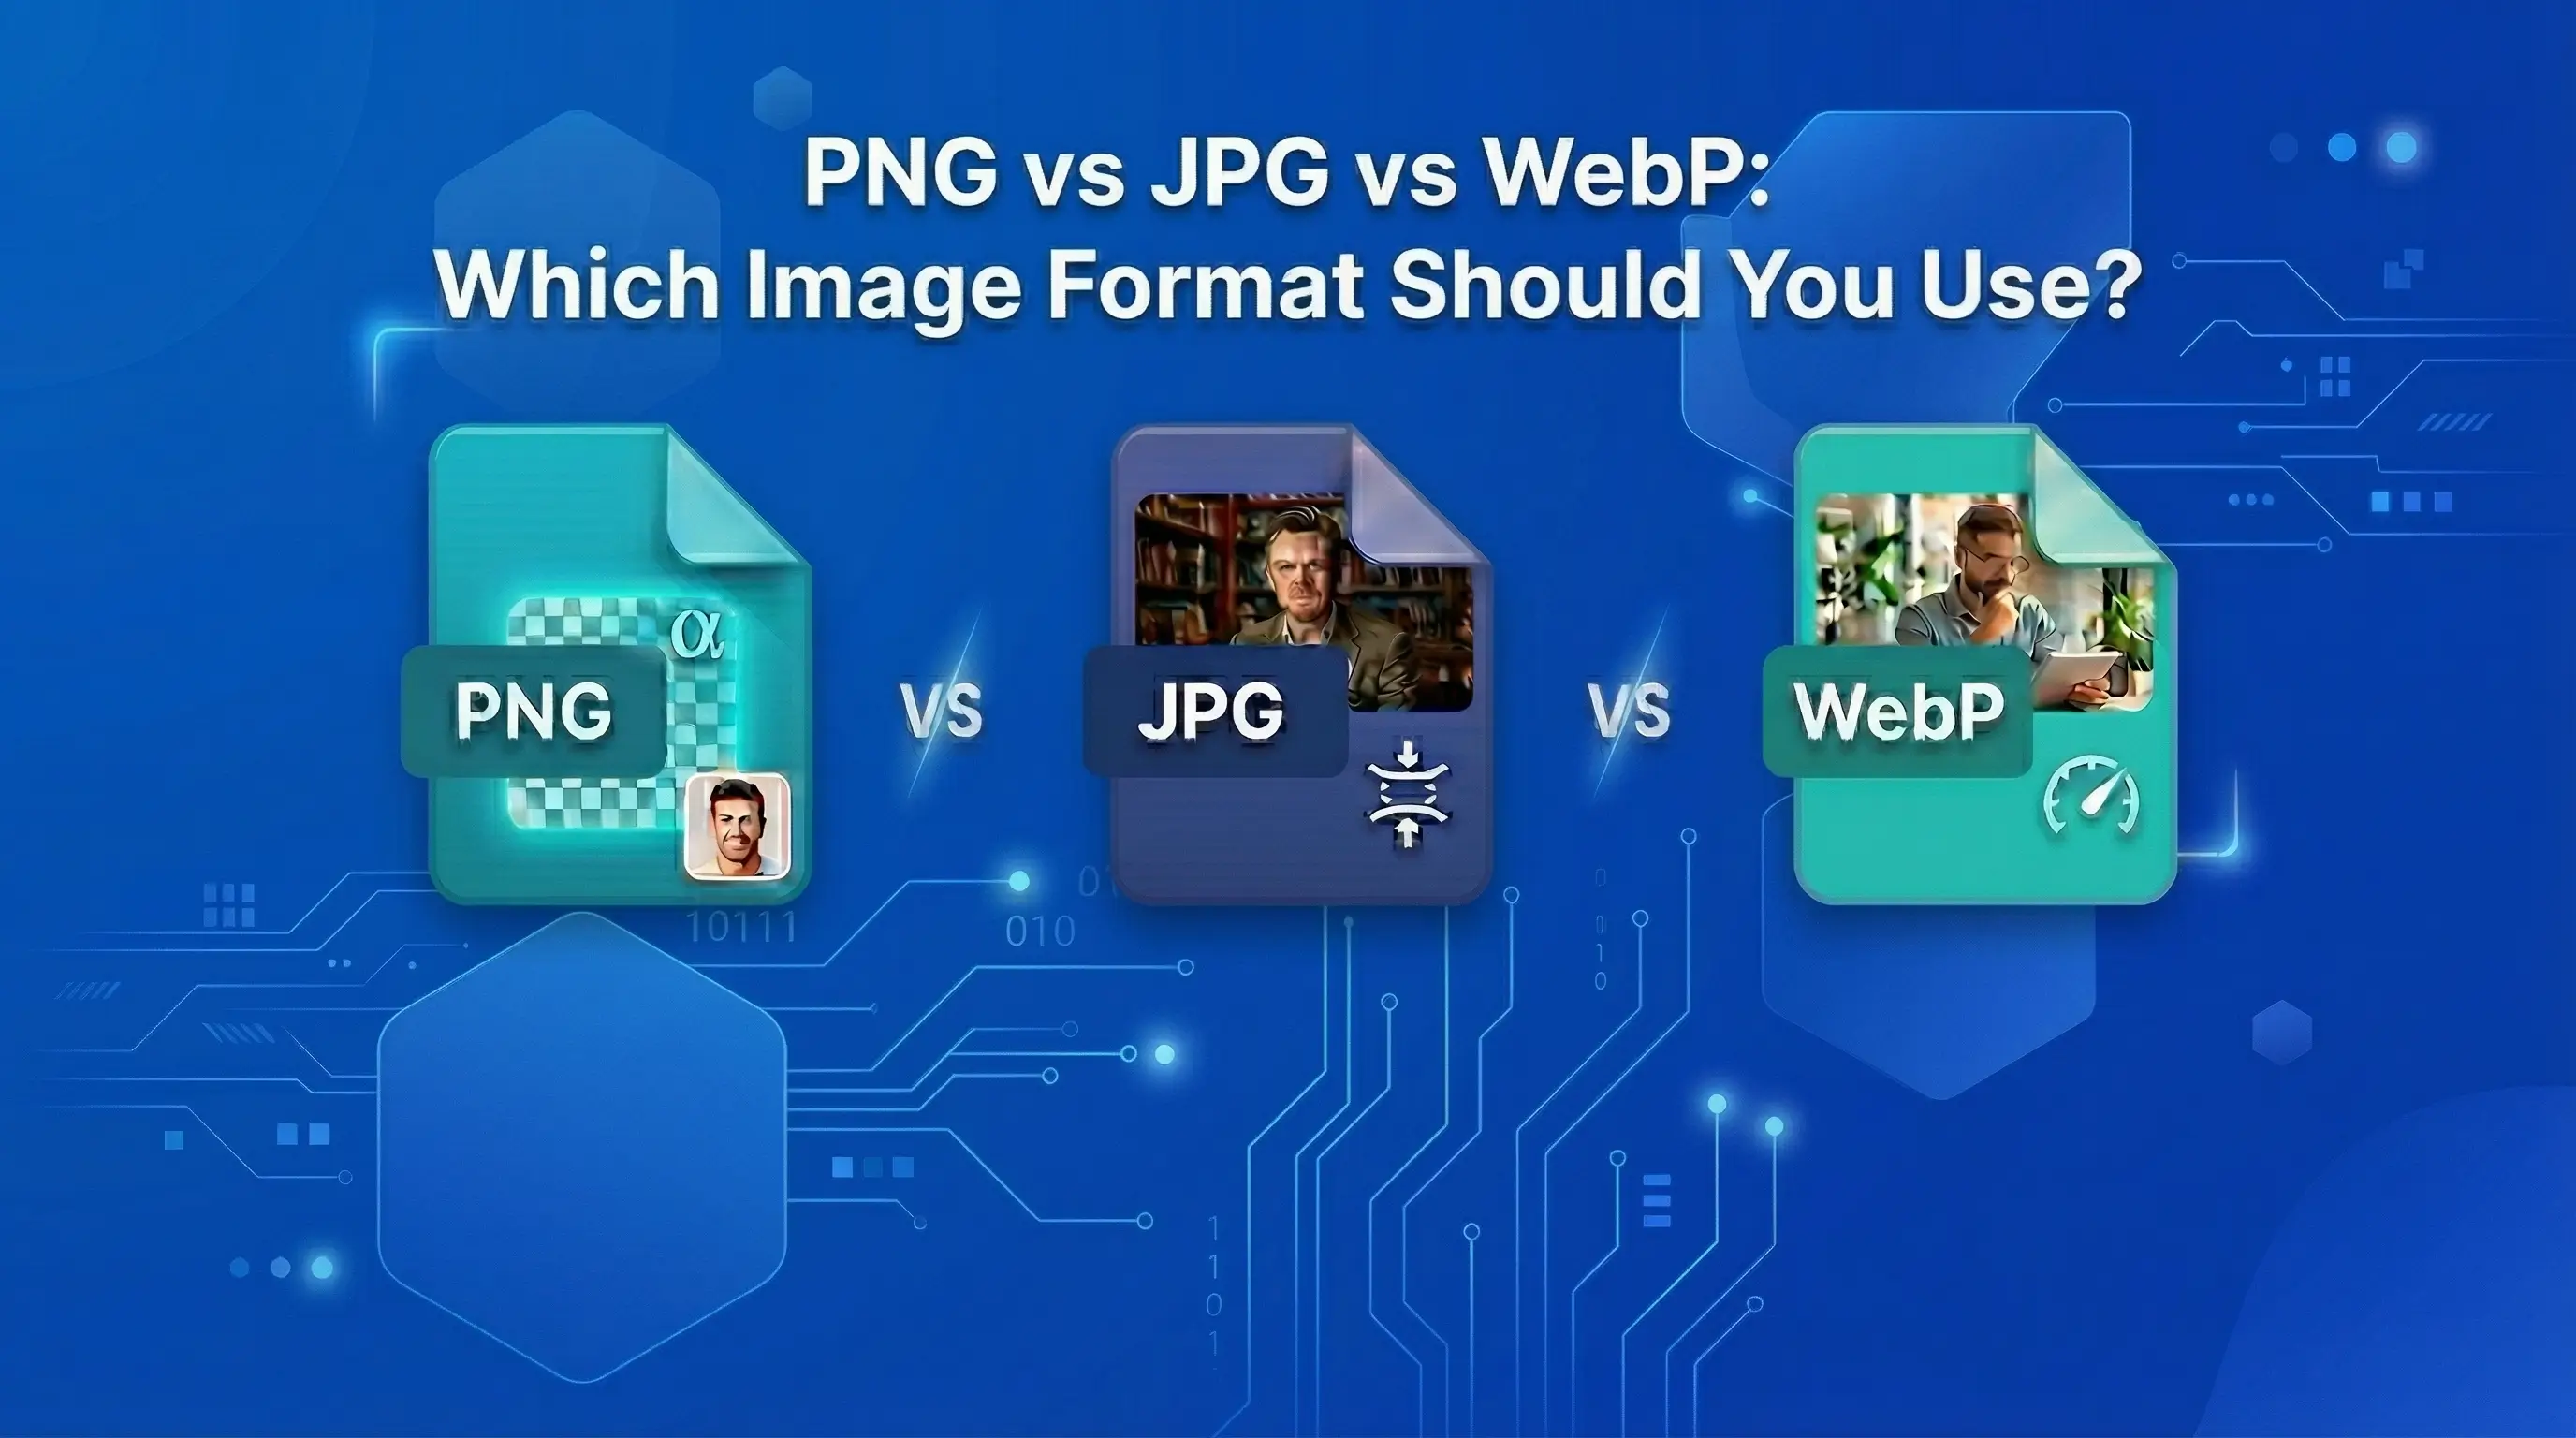
Saving a resized image as PNG won't restore detail lost during resampling. Converting a JPEG to PNG won't undo earlier JPEG artifacts either; it just makes the file bigger. Our guide on how to compress images without losing quality shows which settings to use, and PNG vs JPG vs WebP explains which format suits which image. Google's web.dev guide to images covers performance in more depth.
Does Image Resolution or DPI Affect Quality?
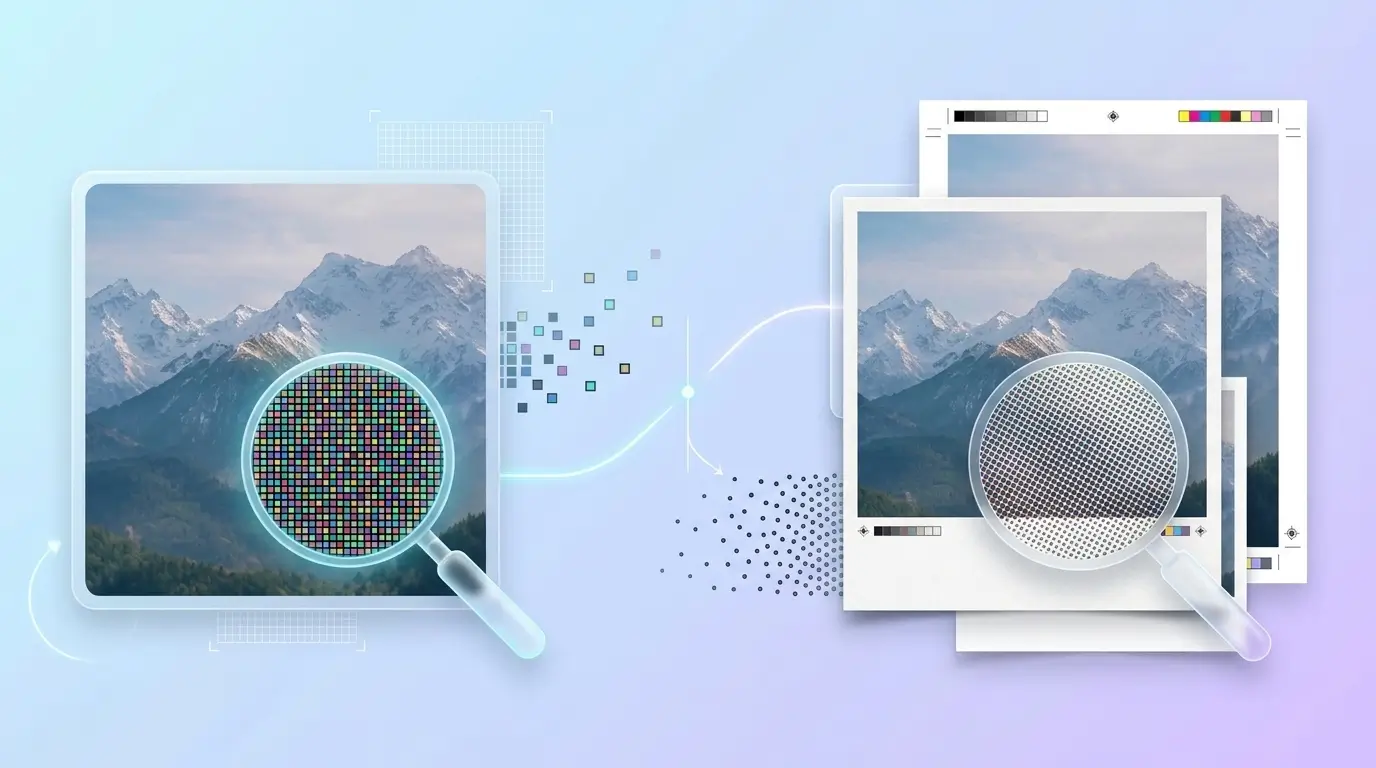
On screen, only pixel dimensions matter. The DPI or PPI value stored in the file doesn't change how sharp an image looks on a monitor or phone.
PPI (pixels per inch) matters only for print, because it decides how large the image prints. The pixels stay the same; only the physical size changes:
| Image size | Print at 300 PPI | Print at 150 PPI |
|---|---|---|
| 1200 × 800 px | 4 × 2.7 in | 8 × 5.3 in |
| 3000 × 2000 px | 10 × 6.7 in | 20 × 13.3 in |
| 6000 × 4000 px | 20 × 13.3 in | 40 × 26.7 in |
Changing 72 PPI to 300 PPI without resampling adds no detail; it just prints the image smaller. If you resample to add pixels, the software has to estimate them, exactly as with any enlargement. For the full explanation, read image resolution: pixels, PPI, and DPI explained.
Why Does My Image Look Blurry After Resizing?
Blur after resizing almost always has one of these causes. Check them in order:
| Cause | How to tell | Fix |
|---|---|---|
| Source was already small or soft | The original looks soft at 100% zoom | Find a larger original or use AI upscaling |
| Enlarged too far | Output is more than 2x the source size | Reduce the target size or upscale with AI |
| Repeated resizing | The file was resized more than once | Start again from the original |
| Repeated JPEG saves | Blocky artifacts around edges and text | Export once, at a higher quality setting |
| Wrong resampling method | Soft photos or jagged pixel art | Bicubic for photos, nearest neighbor for pixel art |
| Viewing at extreme zoom | Looks fine at normal size | Judge at the size people will actually see |
If the image looks good at its intended display size, slight softness when zoomed to 400% isn't a real problem.
How to Resize an Image Without Losing Quality
You can't guarantee every pixel survives a resize, but this workflow keeps losses to a minimum.
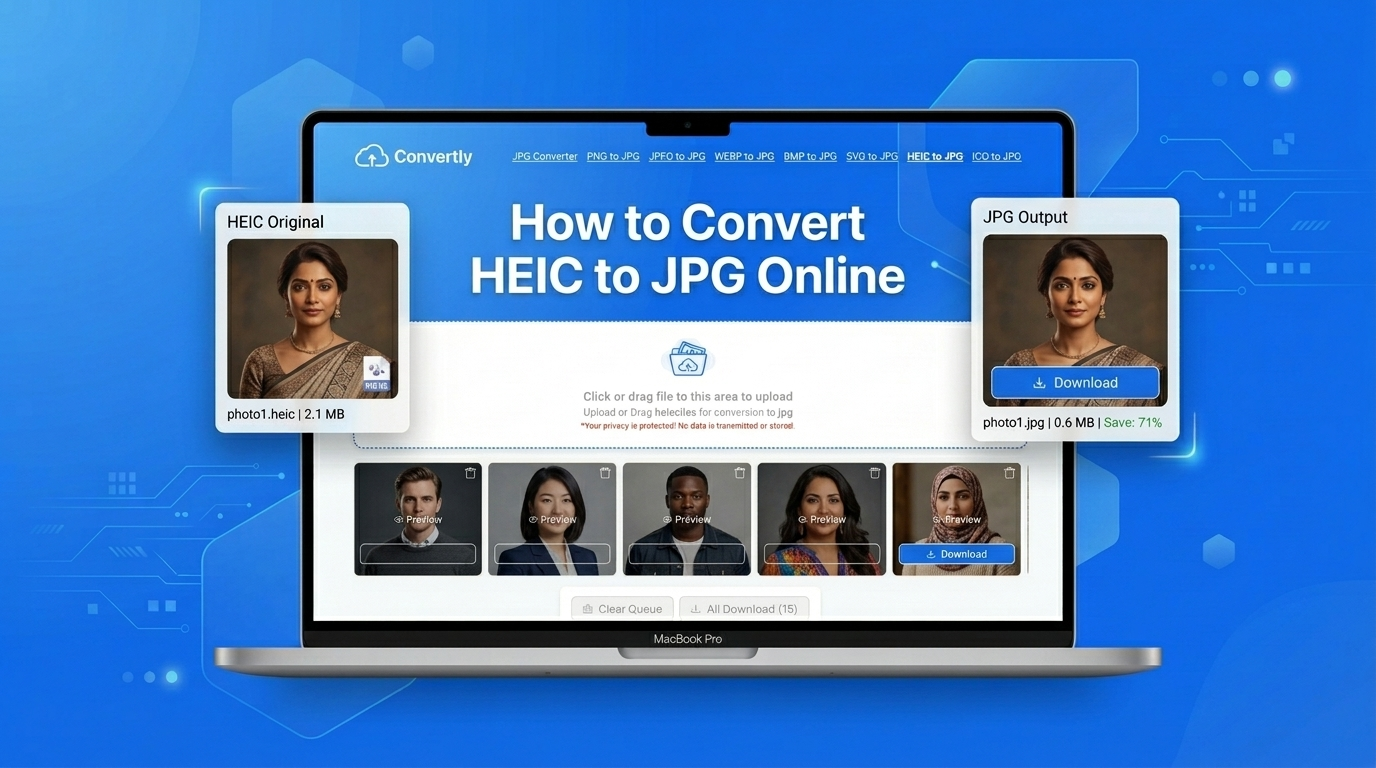
- Start with the original. Use the largest, least-compressed version you have, not a thumbnail, screenshot, or messaging-app copy. iPhone photos are often HEIC; if your tool doesn't accept them, convert iPhone HEIC photos to JPG first at full quality.
- Decide the exact size you need. Check the dimensions your website theme, store platform, or social network actually displays. Don't enlarge just because bigger numbers sound better.
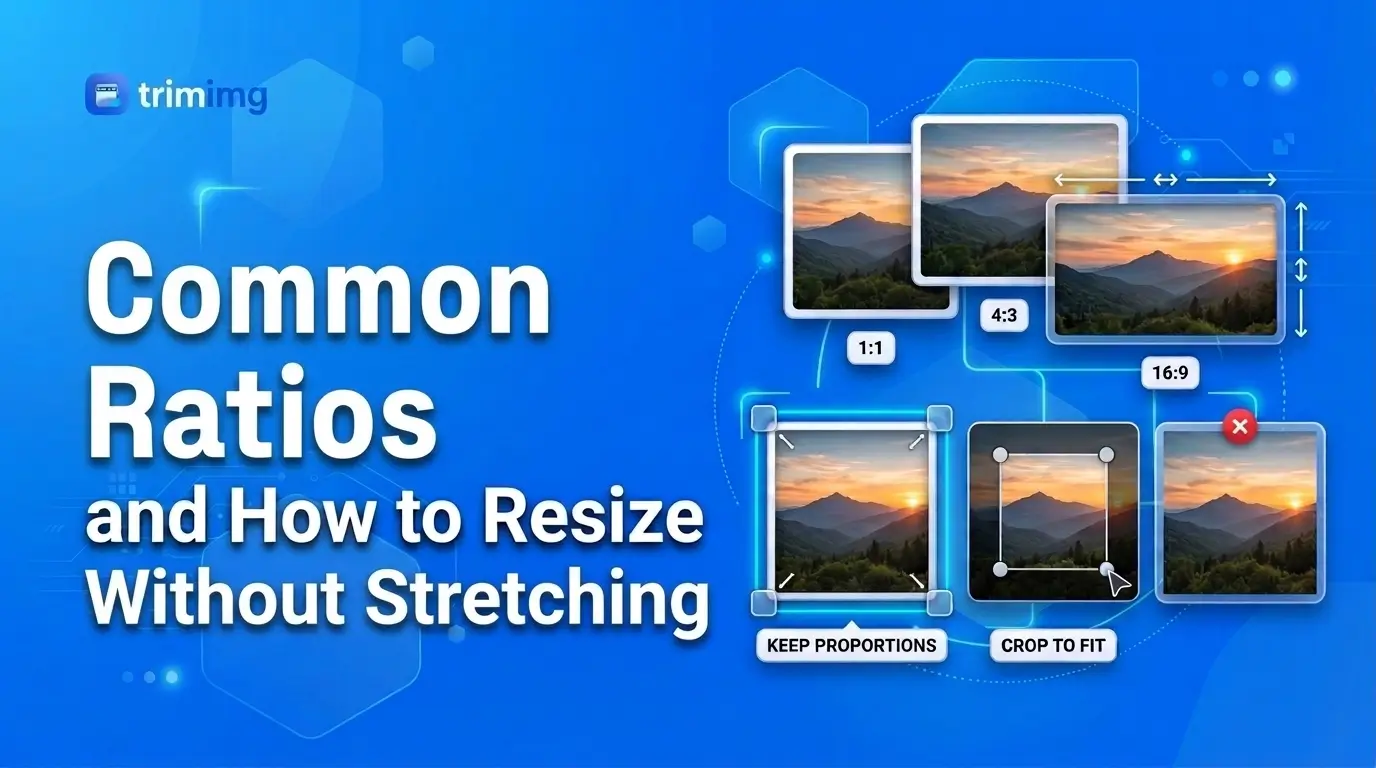
- Lock the aspect ratio. Changing width and height independently stretches or squashes the image. A 1600 × 1200 photo (4:3) resized to 800 × 600 keeps its shape; forcing it to 800 × 800 distorts it. If you need a different shape, crop or pad instead. Our guide to understanding aspect ratios lists the common ones.
- Choose suitable resampling. Bicubic suits most photos, Lanczos suits detailed downscales, and nearest neighbor suits pixel art (see the table above).
- Resize once. Go straight from the original to the final size. If you need several sizes, make each one from the original, not from a resized copy.
- Save in the right format. JPEG for photos, PNG for screenshots, logos, and text, and WebP for websites that need small files. You can convert JPG to WebP to cut load time further.
- Check the result. View it at its real display size. Make sure text is readable, edges are clean, and product details are still visible.
For quick jobs, you can resize images online right in your browser: enter the width or height, keep the aspect ratio locked, and download the result.
How to Reduce Image File Size Without Losing Quality
If your goal is a faster website or an easier upload, first decide whether you need smaller dimensions, a smaller file, or both. A 4000 × 3000 photo shown 800 px wide on a page wastes most of its data.
- Keep the original.
- Resize to the width your layout actually displays (for example 800 to 1600 px for most blog images).
- Export as JPEG or WebP for photos, PNG for graphics.
- Compress images online at a moderate quality setting.
- Compare the result with the original at normal size.
Dimensions and file size are separate measurements. A small file doesn't necessarily have fewer pixels, and halving the dimensions doesn't always halve the file.
Can You Crop an Image Without Losing Quality?
Yes. Cropping removes the outer part of an image without resampling the pixels that remain, so the kept area is unchanged. The catch is that you're left with fewer pixels. If you crop a small area and then enlarge it to fill the original size, it behaves like any other upscale and will look softer. Crop only what you need, and check the remaining pixel dimensions before enlarging.
Frequently Asked Questions
Does resizing an image always reduce quality?
No. A well-downscaled photo can look just as sharp at its display size, even with fewer pixels. Quality drops are most noticeable when enlarging.
How much can I enlarge an image before it looks bad?
With bicubic or Lanczos resampling, enlargements up to about 1.5x are often hard to notice. At 2x and beyond, use AI upscaling and inspect the result closely.
Why does enlarging an image make it pixelated?
The software must invent pixels the original never had. If the source has too little detail, you see blocky shapes or soft edges, especially with nearest-neighbor resampling.
Does resizing affect JPEG, PNG, and WebP differently?
Resampling works the same way on any format. The difference comes when saving: JPEG and lossy WebP add compression artifacts, while PNG and lossless WebP don't. When you resize PNG images, text and sharp edges stay crisp because no lossy compression is applied.
Can I recover quality from a blurry resized image?
Not fully. Discarded pixel data can't be restored. Sharpening or AI upscaling can improve how it looks, but the added detail is estimated, not recovered.
Does changing DPI make an image sharper?
No. DPI or PPI only affects print size. On screens, sharpness depends on pixel dimensions.
Can I resize an image online without software?
Yes. Browser-based tools let you change dimensions without installing anything. Check the output size, format, and quality before you use the file.
Final Thoughts
Resizing doesn't automatically ruin an image. Shrinking usually keeps it sharp, while enlarging is limited by the detail in the original. What matters most is starting from the best source, resizing once to the exact size you need, keeping the aspect ratio locked, and saving with sensible compression.
Resize your image without losing quality
No installs, no sign-up. Use TrimIMG's free online resizer to set the exact pixel size you need.
Found this helpful? Share it with your team:
Hello, it's Mujahid Hussain Creative and Professional Senior Software Engineer with 6+ years of experience building rich and interactive websites. I have a comprehensive understanding of WordPress themes, plugins, databases, and its functions.