How to Batch Resize Images: 7 Fast Methods for Windows, Mac and Online
 Mujahid H.
- November 4, 2026
- 10 min read
Resizing one photo takes only a few seconds. Resizing 50, 100, or 500 photos individually is a different story. If you need product images for an online store, smaller photos for a website, or a folder of pictures with consistent dimensions, batch resizing can save considerable time.
The good news is that you don't need Photoshop to resize multiple images at once. You can use a browser-based image resizer, free Windows utilities, built-in Mac tools, or command-line software to apply the same resizing settings to an entire selection of photos.
In this guide, you'll learn seven ways to batch resize images, how to choose the right method for your device, and how to avoid common problems such as stretched photos, accidental cropping, and overwritten originals.
Quick answer: For a straightforward online workflow, try TrimIMG's online image resizer. On Windows, Microsoft PowerToys is a convenient desktop option. On a Mac, Preview can resize a selection of images, while ImageMagick is useful for repeatable batch jobs and automation.
Quick comparison: Which batch image resizer should you use?
| Method | Platform | Best for | Installation |
|---|---|---|---|
| 1. TrimIMG | Browser | Quick online batch resizing | No desktop installation |
| 2. PowerToys Image Resizer | Windows | Resizing selected files from File Explorer | Required |
| 3. IrfanView | Windows | Batch resizing with additional processing options | Required |
| 4. Preview | Mac | Occasional batches without extra software | Built in |
| 5. Automator | Mac | Repeating the same resize workflow | Built in on supported macOS versions |
| 6. ImageMagick | Windows, Mac, Linux | Scripts, folders and automated workflows | Required |
| 7. XnConvert | Windows, Mac, Linux | Visual batch processing with reusable actions | Required |
The best choice depends on how many images you need to process, whether you want to install software, and how much control you need over dimensions, output formats, and filenames. Actual processing time and supported file limits depend on your device, image sizes, software version, and tool configuration.
Method 1: Batch resize images online with TrimIMG
Best for: People who want to resize multiple photos without installing desktop software.
A browser-based tool is a practical option when you need to resize a group of images quickly. TrimIMG's online image resizer supports batch image resizing and several image formats, including JPG, JPEG, PNG, WebP, BMP, SVG, HEIC, and GIF, according to its tool page.
Steps to resize multiple images online
- Open the TrimIMG image resizer.
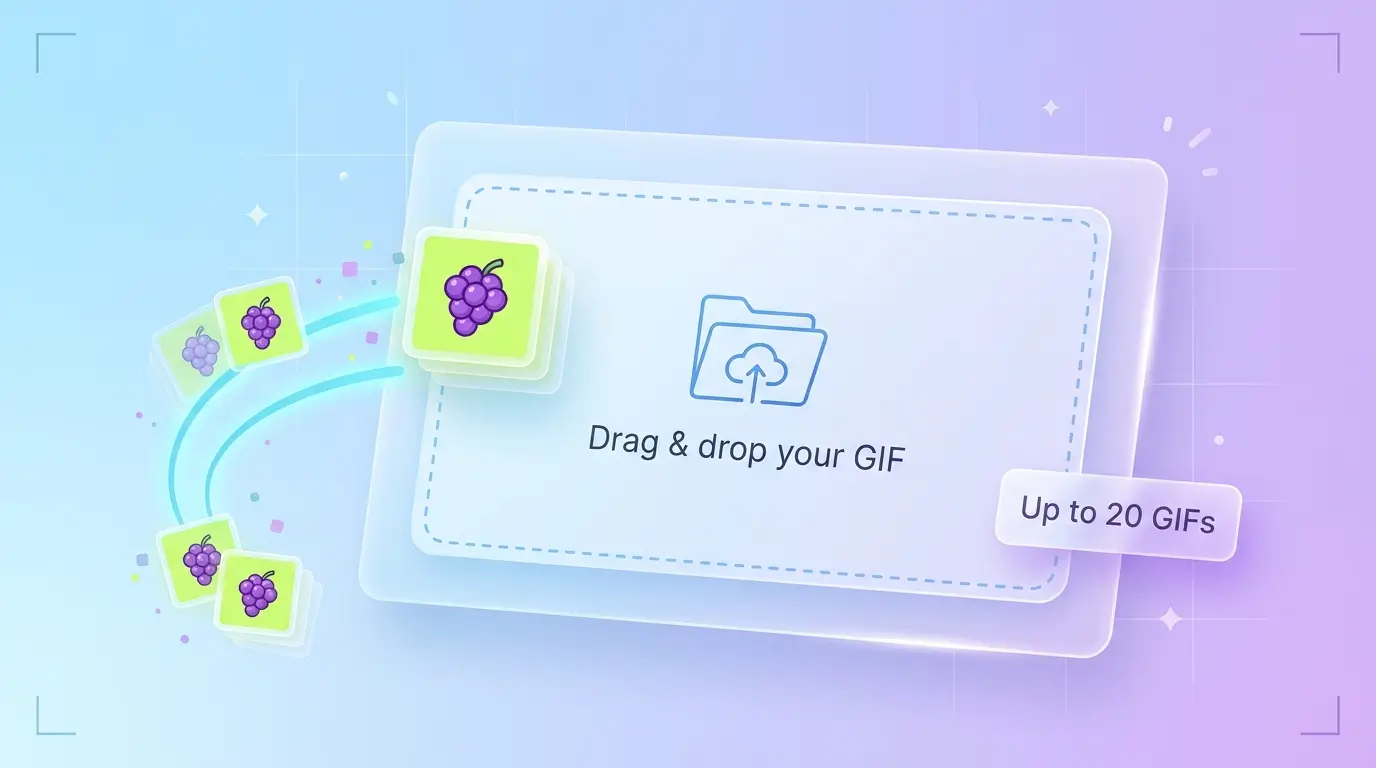
- Add the images you want to resize using the tool's upload interface.
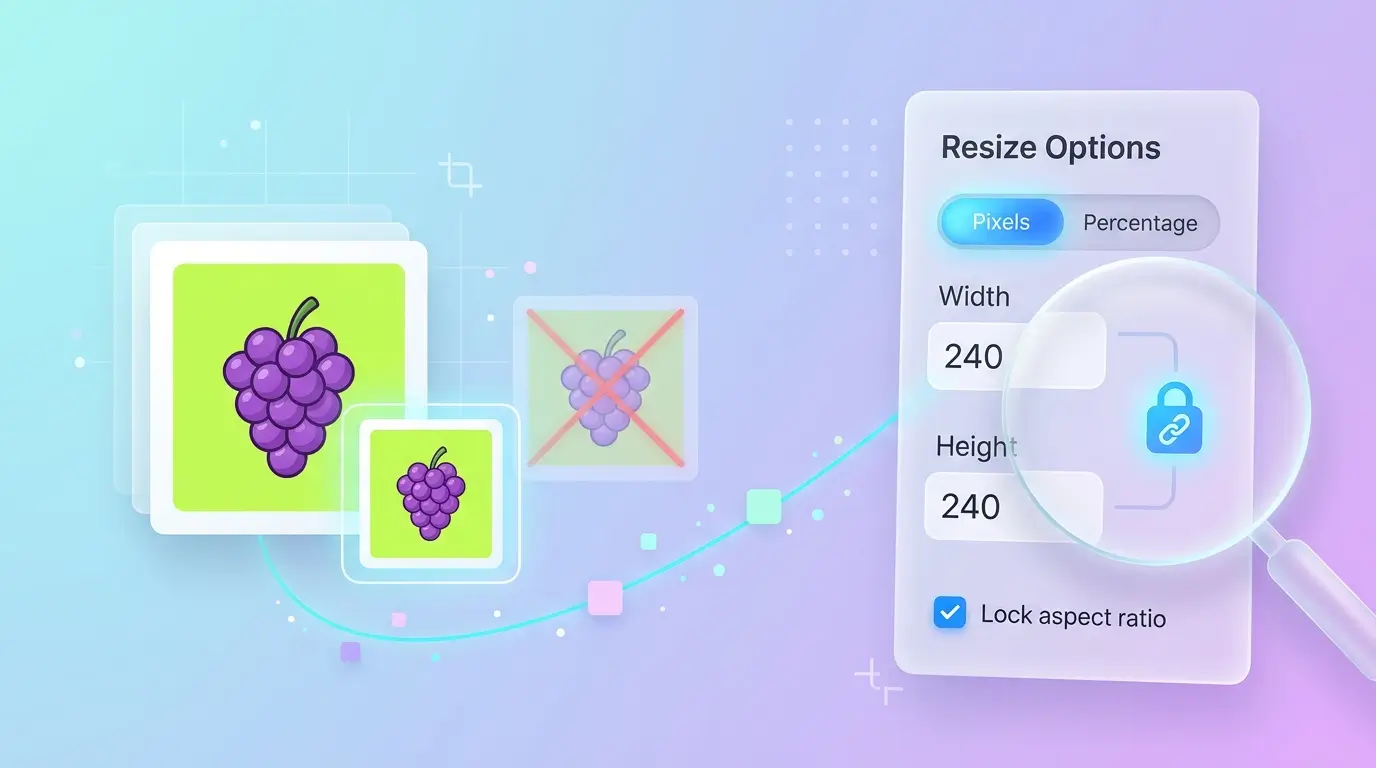
- Choose your required dimensions or resizing settings.
- Check the preview or output settings, where available, to make sure the images will retain the proportions you need.
- Start the resizing process.
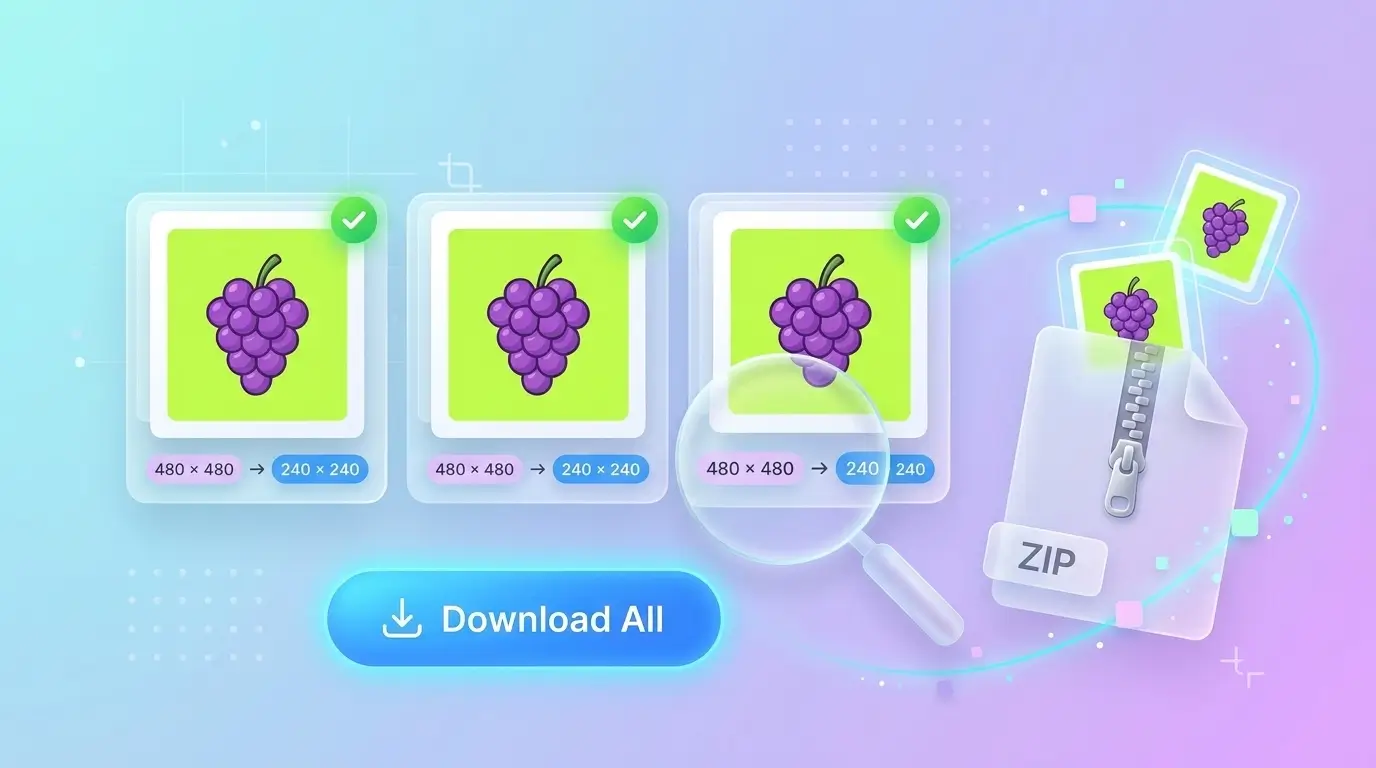
- Download the resized images using the options provided by the tool.
The exact controls and download options may vary with the current version of the page, so check the interface before processing a large collection.
When should you use an online bulk image resizer?
This method is useful when:
- You need to resize images on a Windows PC, Mac, or another device with a supported browser.
- You don't want to install a dedicated desktop application.
- You need to prepare photos for a website, online shop, email, or form.
- You only need to run a batch occasionally.
Important: Don't assume every browser-based tool has the same upload limit, maximum file size, or privacy practices. Check the current tool's limits and privacy information before processing a large batch or sensitive photographs. TrimIMG's batch capability is documented, but an exact maximum batch count should be confirmed from the live interface rather than guessed.
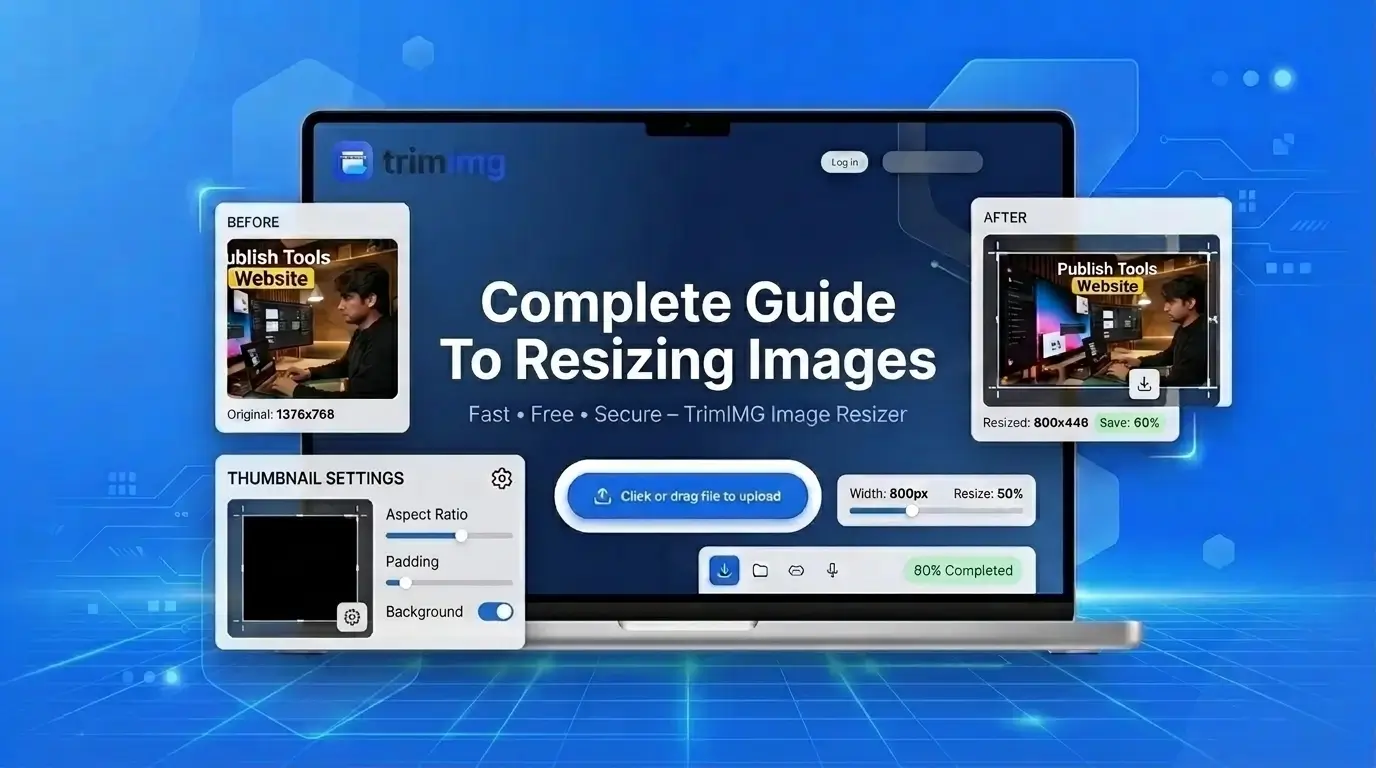
If you only need to resize one picture, see our complete guide to resizing images for more options.
Method 2: Batch resize images on Windows with PowerToys
Best for: Windows users who want a convenient right-click workflow.
Microsoft PowerToys includes an Image Resizer utility that adds a resizing command to File Explorer. You can select multiple files, choose a preset or custom dimensions, and process the selection without opening each picture individually.
Source: Microsoft Learn
Steps to bulk resize images with PowerToys
- Install Microsoft PowerToys from an official Microsoft source.
- Open PowerToys Settings and make sure Image Resizer is enabled.
- Open File Explorer and navigate to the folder containing your pictures.
- Select the images you want to resize. Use Ctrl to select individual files or Ctrl + A to select all files in the folder.
- Right-click the selection and choose Resize with Image Resizer. Depending on your Windows version, the option may appear under Show more options.
- Select a preset size or configure a custom size.
- Review the resizing options and start processing.
PowerToys supports different fit modes. Fit preserves the whole image without cropping, Fill can crop the image to fill the target dimensions, and Stretch can distort the image when its proportions don't match the requested size.
Source: Microsoft Learn
How to resize a folder of images to the same size
Suppose you have product photos with different original dimensions and want them to fit within an 800 × 800-pixel box.
Choose a proportional Fit workflow if you want to keep each complete photo. The resulting images may have different widths and heights, but each will fit within the specified dimensions.
If every output must be exactly 800 × 800 pixels, you'll need to decide how to handle different aspect ratios. Cropping, padding, or stretching produces different results; simply entering the same width and height does not guarantee that every photo will retain its original composition.
PowerToys is a strong option for Windows users who frequently resize files from File Explorer. Its documentation also describes configurable presets, filename patterns, and command-line options.
Source: Microsoft Learn
Method 3: Batch resize photos with IrfanView
Best for: Windows users who need a dedicated batch-processing interface.
IrfanView offers a batch conversion and renaming workflow that can resize multiple pictures and save them to a chosen output folder. Its interface provides more control than a simple one-click resize command.
Steps to resize images in IrfanView
- Install IrfanView from its official website.
- Open the application.
- Go to File → Batch Conversion/Rename.
- Select the batch conversion mode.
- Add the images you want to process.
- Choose the destination folder so that your resized copies remain separate from the originals.
- Enable the advanced options for resizing.
- Set the target dimensions and review the aspect-ratio settings.
- Choose an output format and any relevant quality options.
- Start the batch and inspect the results.
Menu labels can differ slightly between versions.
When is IrfanView a better choice?
Consider IrfanView if you regularly need to resize and rename image collections, select a particular output format, or use advanced batch settings.
For a quick, basic resize from File Explorer, PowerToys may be simpler. For repeatable processing jobs, a dedicated batch interface can be worth the extra setup.
Method 4: Batch resize images on a Mac using Preview
Best for: Mac users who want to resize a selection of images without installing another application.
Preview is included with macOS and can resize multiple selected images. The key is to open the pictures together and select the appropriate thumbnails before adjusting their dimensions.
Steps to resize multiple images with Preview
- Open Finder and locate the images.
- Select the files you want to resize.
- Open them in Preview.
- In Preview's sidebar, select the image thumbnails you want to process.
- Press Command + A if you want to select all the images in that window.
- Choose Tools → Adjust Size.
- Enter the desired width or height.
- Keep proportional scaling enabled if you want to avoid stretching the photos.
- Apply the changes and save or export the results using the available options.
Before starting, make a copy of the originals. Depending on how you save the images, changes may overwrite the source files. Check the result on a few pictures before processing the entire collection.
What if your photos have different aspect ratios?
If you set a width of 1,200 pixels and preserve proportions, the height will vary according to each photo's original shape.
For example, a landscape photo and a portrait photo can both be resized to 1,200 pixels wide, but their final heights will be different. That's normal.
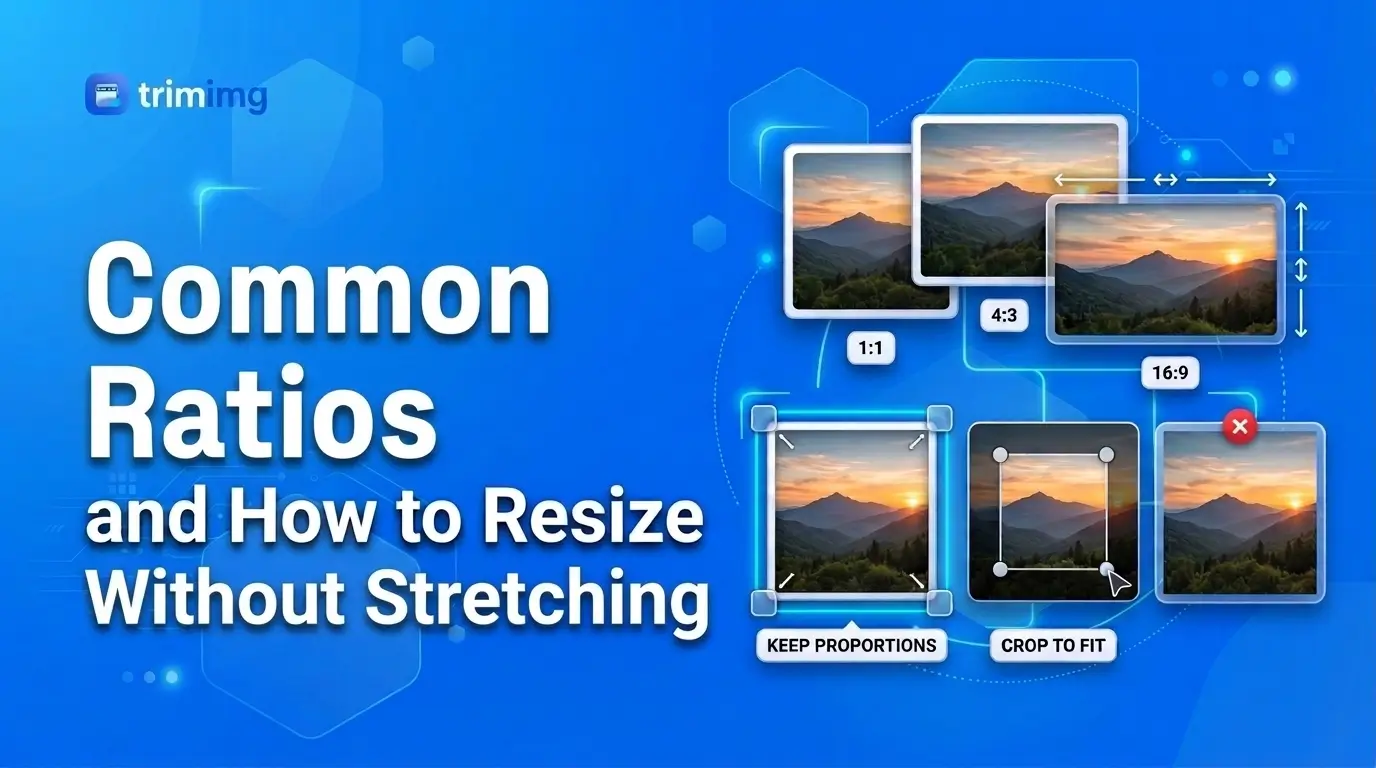
If you're unsure how proportions work, read our guide to common image aspect ratios and resizing without stretching.
Method 5: Create a reusable batch-resize workflow with Mac Automator
Best for: Mac users who repeat the same resizing task regularly.
Preview works well for occasional batches. If you often resize images to the same dimensions, Automator can help you create a reusable Quick Action that runs from Finder.
The exact available actions depend on your macOS version.
Steps to create a resizing Quick Action
- Open Automator on your Mac.
- Create a new Quick Action.
- Configure the workflow to receive image files from Finder.
- Search the action library for an image-scaling action, such as Scale Images, if available.
- Add the action to the workflow.
- Set the desired pixel dimensions.
- Save the Quick Action with a clear name, such as Resize to 1200 px.
- In Finder, select a group of images and look for your saved workflow under Quick Actions or the context menu.
Test the workflow on copies first. Some workflows may prompt you to create copies, while others may alter the selected files.
Why use Automator?
A reusable workflow saves you from configuring the same dimensions each time. It can be useful for preparing website images, email attachments, or repeated batches of product photos.
For an occasional task, however, Preview or an online tool may be quicker to set up.
Method 6: Batch resize images with ImageMagick
Best for: Developers, technical users, and anyone who needs a repeatable workflow for many files.
ImageMagick is a command-line image-processing tool available across major desktop operating systems. It can resize image collections, convert formats, and run repeatable operations from scripts.
It is powerful, but you should be comfortable using a terminal and understanding the commands before applying them to important files.
Example 1: Resize every JPG in a folder
The following command resizes JPG files to a maximum width of 800 pixels while preserving their proportions:
magick mogrify -resize 800x *.jpgWarning: mogrify modifies the source files. Work on a duplicate folder or use an output workflow if you need to preserve the originals.
Example 2: Save resized copies to another folder
To keep the originals untouched, use a command that writes output files to a separate destination:
mkdir -p resized
magick mogrify -path resized -resize 800x *.jpgRun this from the directory containing the source JPG files. The output folder should exist or be created before processing.
Example 3: Resize several image formats
For a shell that supports brace expansion, such as Bash:
mkdir -p resized
magick mogrify -path resized -resize 1200x *.{jpg,jpeg,png,webp}This example processes matching files in the current folder and writes resized copies to resized. Confirm that your shell expands the filename pattern as expected before running it on an important directory.
What does 800x mean?
In ImageMagick's resize geometry, 800x specifies a width of 800 pixels without specifying a fixed height. The image's proportions are preserved, so the height is calculated automatically.
If you need an exact canvas size, you must decide whether the image should fit inside the box, be cropped to fill it, or be stretched. Those are different operations and should not be treated as interchangeable.
When should you choose ImageMagick?
ImageMagick is particularly useful when you need to:
- Resize files repeatedly with the same settings.
- Process folders through a script.
- Integrate image resizing into a development workflow.
- Combine resizing with other supported image-processing operations.
If you prefer a graphical interface, choose PowerToys, IrfanView, or XnConvert instead.
Method 7: Batch resize images with XnConvert
Best for: Users who want a graphical interface for repeatable batch processing across desktop platforms.
XnConvert is a desktop batch-processing application designed to apply operations to groups of images. It can be useful when you want to configure actions visually instead of writing terminal commands.
Steps to resize images in XnConvert
- Download and install XnConvert from its official website.
- Open the application and add the images you want to process.
- Open the Actions section.
- Add a resize action.
- Enter the target dimensions and select the appropriate resizing mode.
- Review any additional actions you need, such as output-format conversion or renaming.
- Configure the output folder and file format.
- Run the batch.
- Inspect a sample of the exported images before using the entire set.
The exact action names and interface can vary by release. Check the application's current documentation for supported formats and processing options.
Is XnConvert right for your workflow?
Choose XnConvert if you need more than a basic resize and prefer a graphical interface. If you only need to shrink a handful of photos, using an online tool or your operating system's built-in features may be easier.
For occasional simple jobs, extra software isn't necessarily an advantage. Choose based on the controls you actually need.
How to choose the correct dimensions for a batch
Before you resize a folder of images, decide what the output is for. A single setting may not work well for every use case.
| Use case | Example target | Important consideration |
|---|---|---|
| Website images | 1,200 px on the longest side | Preserve proportions; choose dimensions based on actual display needs |
| Product photos | 800 × 800 px | Crop or pad if every image must use a square canvas |
| Email attachments | 1,000–1,600 px on the longest side | Check the total attachment-size limit as well |
| Thumbnails | 300–500 px on the longest side | Make sure the subject remains recognizable |
| Large photo collection | Percentage reduction or maximum dimensions | Avoid enlarging images that are already small |
| Social media graphics | The platform's current recommended dimensions | Check the intended placement and aspect ratio first |
These are illustrative starting points, not universal requirements. Always use the dimensions specified by your website, platform, client, or upload form.
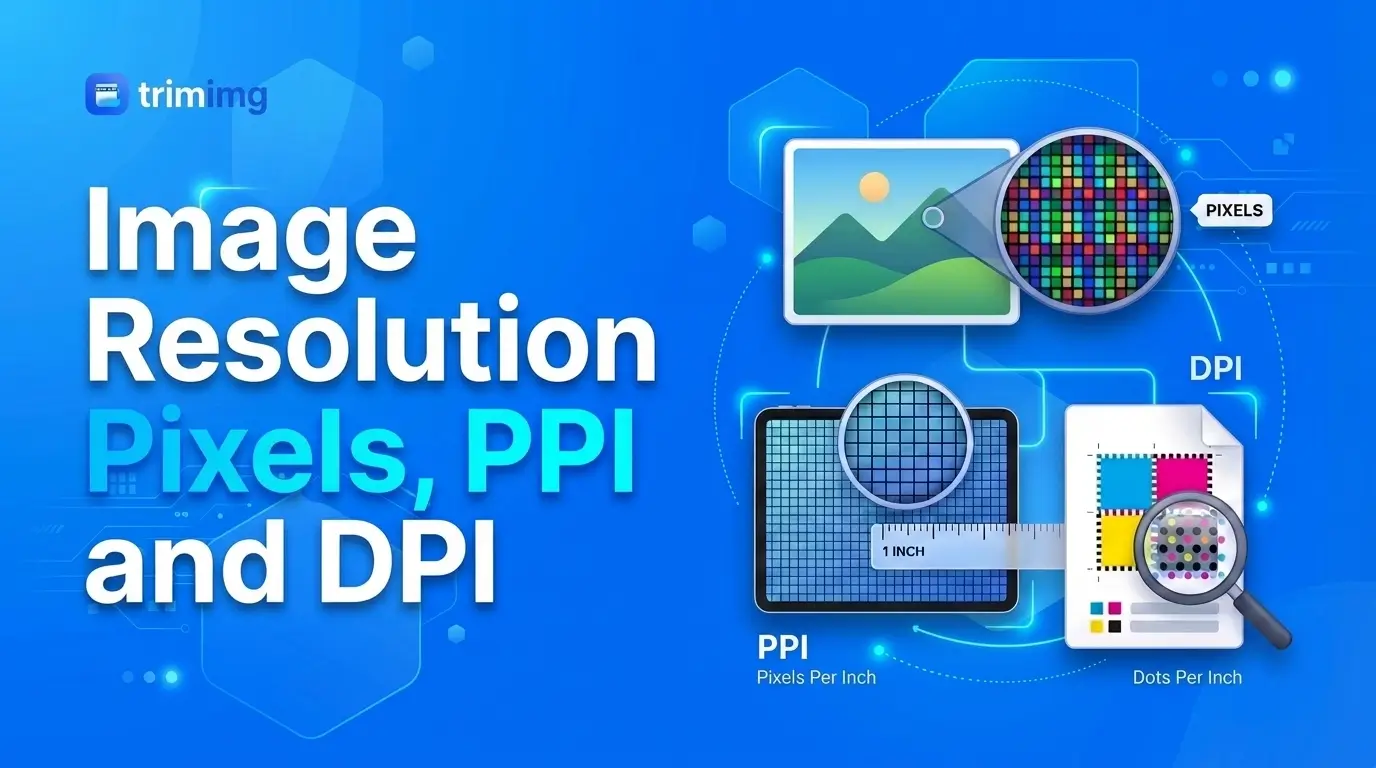
For more detail on pixel dimensions and resolution, see Image Resolution Explained: Pixels, PPI and DPI.
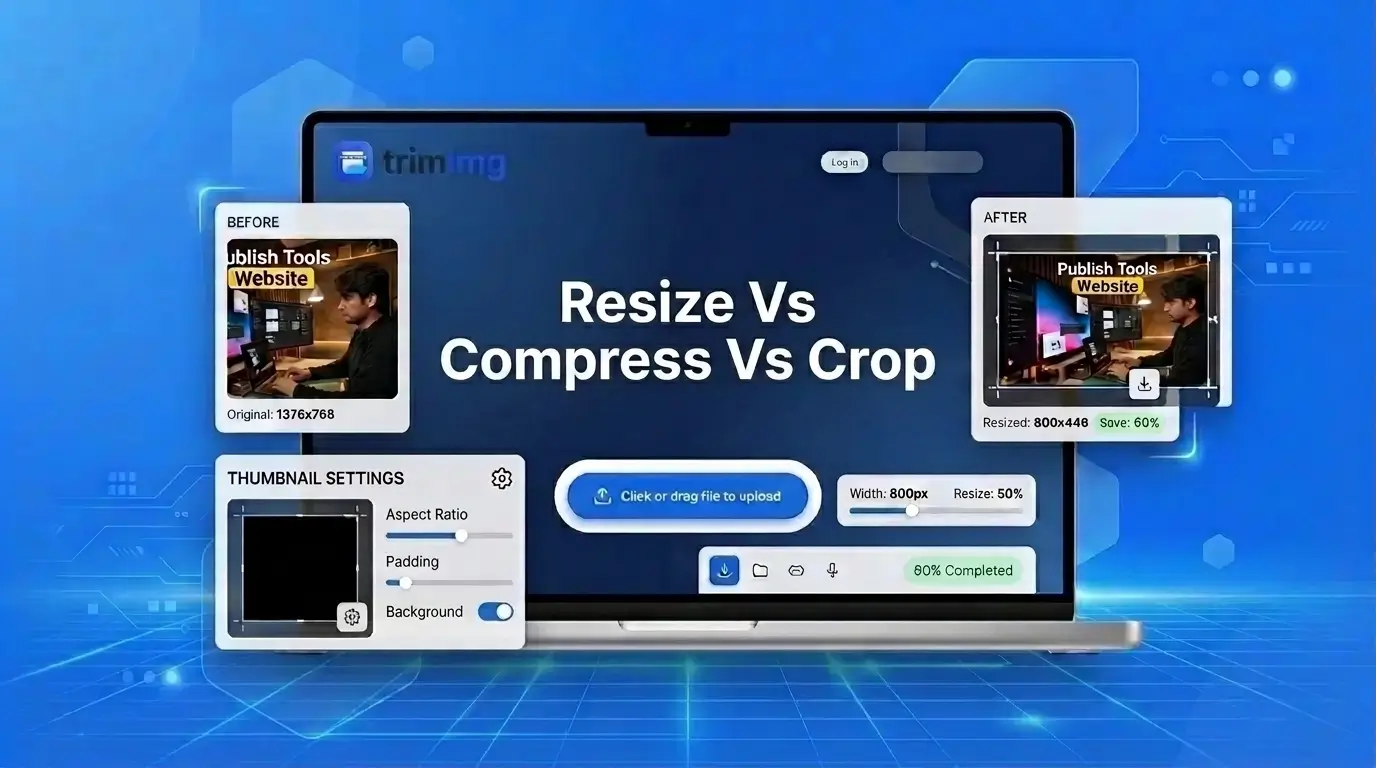
Batch resize vs. batch compress: What's the difference?
Batch resizing and batch compression are related, but they solve different problems.
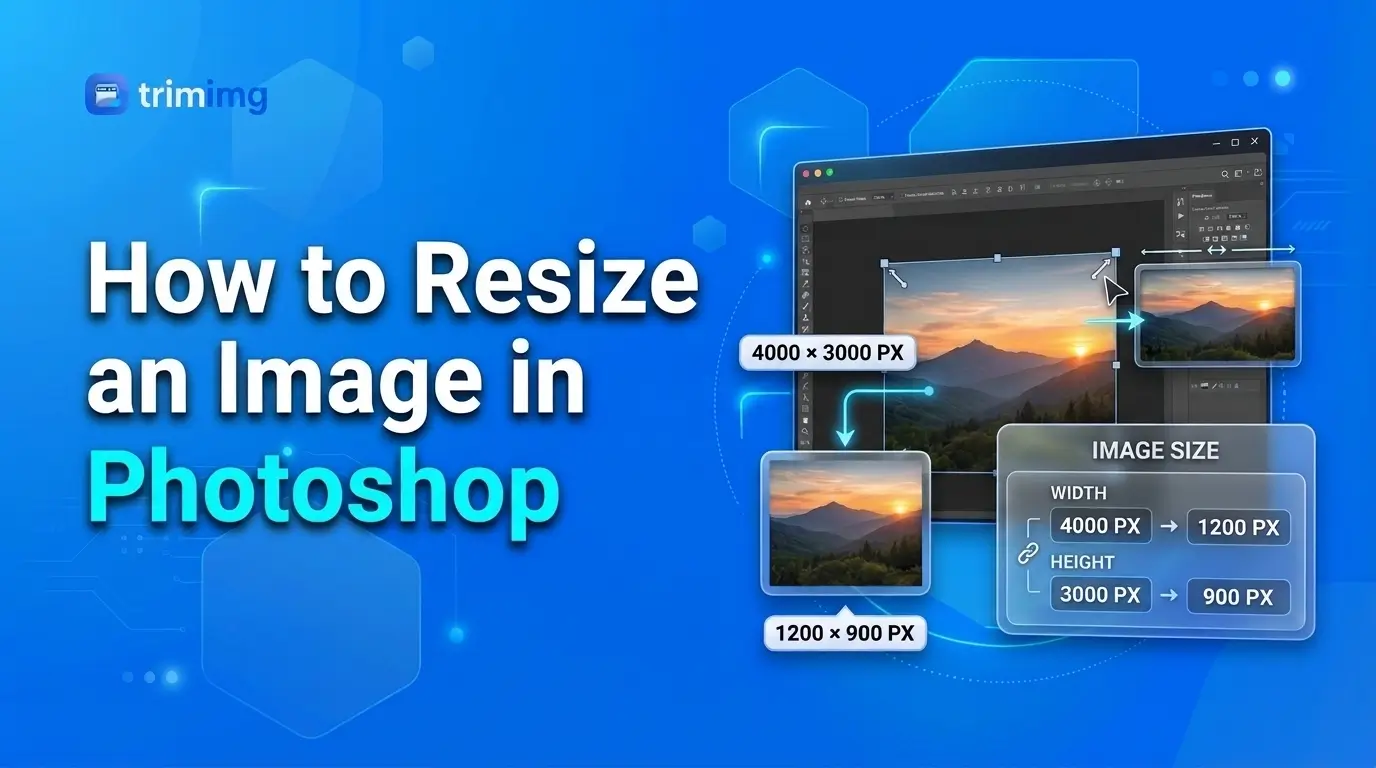
- Resizing changes the image's pixel dimensions. For example, a 4,000 × 3,000 image might become 1,200 × 900 pixels.
- Compression changes how image data is stored to reduce the file size, depending on the format and settings.
- Cropping removes part of the image to change its visible composition or aspect ratio.
Reducing pixel dimensions often reduces file size, but the final file size depends on the image content, format, and compression settings. Resizing alone does not guarantee that every image will meet a specific KB or MB upload limit.
If your main goal is to reduce file size, use the appropriate image compression workflow. If you need to understand when to resize, compress, or crop, read Resize vs. Compress vs. Crop.
How to batch resize images without losing quality
Resizing changes pixel dimensions, so some detail may be lost when images are reduced. The goal is to choose appropriate dimensions and avoid unnecessary processing.
Follow these guidelines:
- Keep your originals. Create a separate output folder or duplicate your files before processing.
- Preserve the aspect ratio. Keep proportional scaling enabled unless you intentionally want to crop or stretch an image.
- Test a small sample. Process a few portrait and landscape photos before applying the settings to the entire collection.
- Avoid unnecessary enlargement. Increasing pixel dimensions cannot recover detail that was not present in the original image.
- Choose the output format carefully. JPEG, PNG, and WebP behave differently. Transparency, image content, and quality settings can affect the result.
- Check the final dimensions. Confirm that the output matches the requirements of your website, form, or destination platform.
- Check metadata if it matters. Some workflows preserve metadata, while others may remove it. This can affect camera information, timestamps, and location data.
For a deeper explanation, read Does Resizing an Image Reduce Quality?
Common batch-resizing problems and how to fix them
All my resized photos have different dimensions
This usually happens because the source images have different aspect ratios and the tool preserves their proportions.
Fix: Resize them to fit within a maximum width and height, or crop or pad them if identical canvas dimensions are essential.
My photos look stretched
The resizing mode may have forced images into a fixed width and height without preserving their proportions.
Fix: Enable proportional scaling or choose a fit mode. Use cropping only when removing some of the image is acceptable.
Some photos have been cropped unexpectedly
A fill mode may crop images to cover the target dimensions.
Fix: Switch to a fit mode if the entire photo must remain visible. If every output must be the same dimensions, consider adding padding instead of cropping.
The resized files are still too large
Pixel dimensions and file size are not the same thing. A smaller image can still have a large file size, depending on the image format and encoding.
Fix: After resizing, use suitable compression settings or an image compressor. Check the final file size rather than assuming resizing alone will meet the limit.
I accidentally overwrote my original photos
Some batch operations modify source files rather than creating copies.
Fix: Before running another batch, select a separate output folder or enable the option to create copies. If the original files are important, maintain a backup.
My batch is taking too long
Large source files, limited memory, slow storage, and complex image operations can affect processing time.
Fix: Test the workflow on a small group first. If you are processing very large collections, split them into manageable batches and use a desktop application or scripted workflow designed for repeated processing.
Frequently asked questions
How do I batch resize multiple images at once?
Select a group of files in a batch-resizing tool, set your desired dimensions, and run the resize operation. Windows users can use PowerToys, Mac users can use Preview, and browser-based tools such as TrimIMG provide an online alternative.
Can I batch resize photos without Photoshop?
Yes. Photoshop is not required. You can use an online image resizer, PowerToys, IrfanView, Preview, Automator, ImageMagick, or XnConvert, depending on your operating system and workflow.
What is the best free bulk image resizer?
There is no single best choice for everyone. TrimIMG is an option for online batch resizing; PowerToys suits simple Windows workflows; Preview is convenient for Mac users; and ImageMagick offers extensive control for technical and automated tasks. Compare supported formats, output options, privacy practices, and current processing limits before choosing.
Can I resize a whole folder of images to the same dimensions?
Yes, but the result depends on your resizing mode. Proportional resizing preserves the complete image but can produce different output heights or widths. To make every output exactly the same dimensions, you may need to crop or pad images.
Does batch resizing reduce file size?
Often, but not always by the amount you expect. Reducing pixel dimensions generally removes image data, while the final file size also depends on the format and encoding settings. If you have a strict upload limit, check the final file size of each output.
Can I batch resize images on my phone?
A browser-based image resizer may work on a supported mobile browser. The number of images you can process comfortably depends on the tool, browser, device memory, and file sizes. For a large collection, a desktop workflow may be more convenient.
How many images can I resize at once?
There is no universal limit. The maximum depends on the specific tool, file sizes, available memory, and processing method. Check the current tool's documented limits or test a small batch before adding hundreds of files.
Final recommendation
If you want to batch resize images without Photoshop, start with the simplest method that meets your needs:
- For quick online jobs: Try TrimIMG's image resizer.
- For Windows: Use PowerToys for convenient resizing from File Explorer.
- For Mac: Start with Preview; use Automator if you repeat the same task.
- For advanced batch processing: Consider IrfanView or XnConvert.
- For scripts and automation: Use ImageMagick.
Before processing your entire collection, test a few files, preserve the originals, and confirm that the output dimensions and aspect ratios are correct.
If you only need to resize a single photo or want to compare other resizing methods, visit our complete guide to resizing images.
Batch resize your images online
No installs, no sign-up. Upload your images and resize them all at once in seconds.
Found this helpful? Share it with your team:
Hello, it's Mujahid Hussain Creative and Professional Senior Software Engineer with 6+ years of experience building rich and interactive websites. I have a comprehensive understanding of WordPress themes, plugins, databases, and its functions.