How to Resize an Image in Photoshop: Image Size Settings That Preserve Detail
 Mujahid H.
- October 28, 2026
- 9 min read
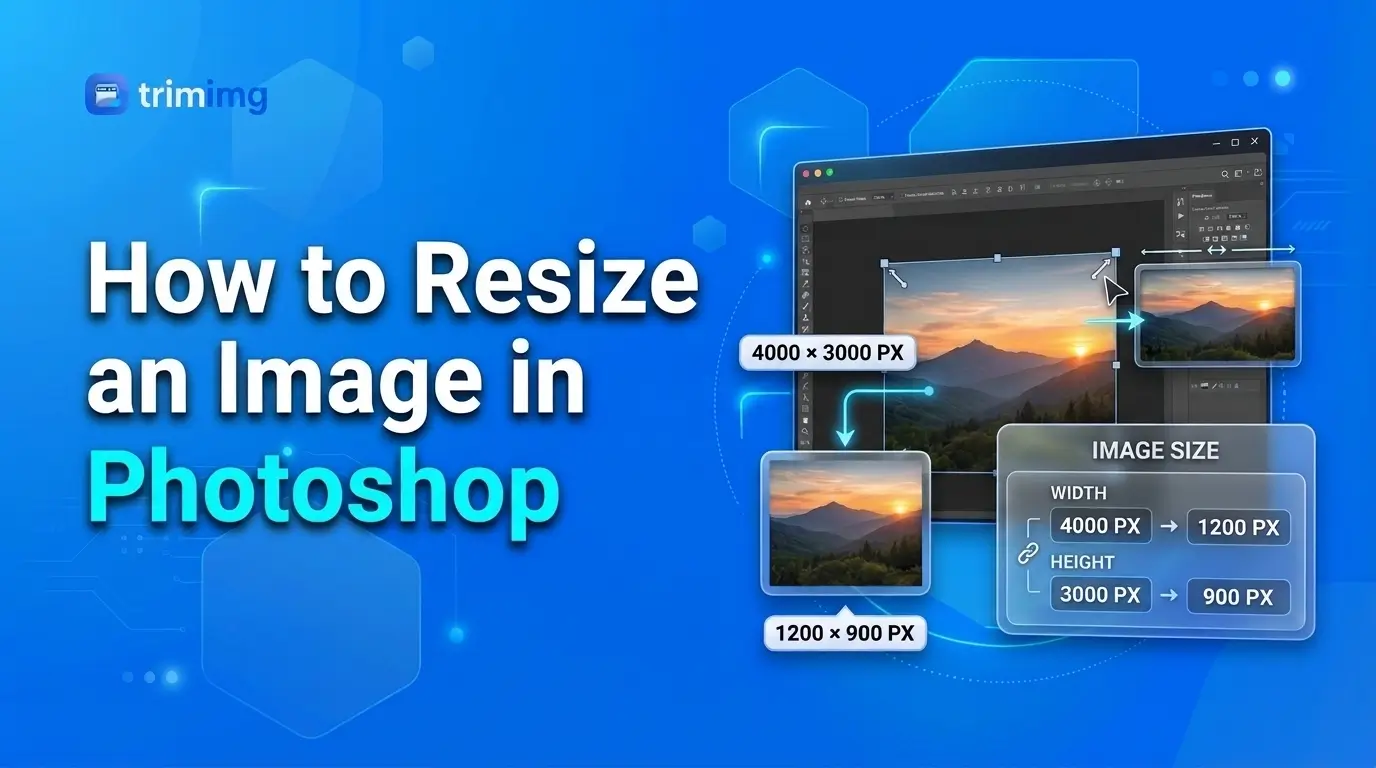
Resizing an image in Photoshop is easy once you know which settings to use. However, changing an image's dimensions without understanding resampling, resolution, and export quality can leave it looking softer than expected.
Whether you're preparing a photo for a website, reducing an image for an online form, or enlarging a picture for a design project, Photoshop provides several options to control the result.
In this guide, you'll learn how to resize an image in Photoshop using the Image Size dialog, choose the right resampling method, use Preserve Details 2.0 when enlarging images, and export the final file with suitable quality settings. You'll also find recommended settings for different situations and a free alternative if you don't have Photoshop.
Quick answer: How to resize an image in Photoshop
To resize an image in Photoshop:
- Open the image in Photoshop.
- Select Image → Image Size.
- Keep the width and height proportions linked.
- Enable Resample if you need to change the actual pixel dimensions.
- Enter your target width and height.
- Choose an appropriate resampling method.
- Click OK and inspect the result.
- Select File → Export → Export As to save a suitable copy.
For reducing photographs, Automatic or Bicubic Sharper is a useful starting point. For enlarging images, try Preserve Details 2.0 if your Photoshop version offers it. The best setting depends on the original image and the amount of resizing required.
What happens when you resize an image in Photoshop?
Before changing the dimensions, it helps to understand what Photoshop actually changes.
An image's pixel dimensions describe its width and height in pixels. For example, a 4000 × 3000-pixel photograph contains 12 million pixels.
If you resize that photograph to 1600 × 1200 pixels, the new image contains 1.92 million pixels. Photoshop recalculates the image data to fit the smaller dimensions, removing information that is no longer needed.
Enlarging an image works differently. Photoshop must estimate the values of additional pixels based on the existing image data. This can create a larger image, but it cannot guarantee the recovery of details that were never captured.
Three settings matter most:
- Width and Height: Determine the image's dimensions.
- Resolution: Determines pixel density for a specified physical print size.
- Resample: Controls whether Photoshop adds or removes pixels when resizing.
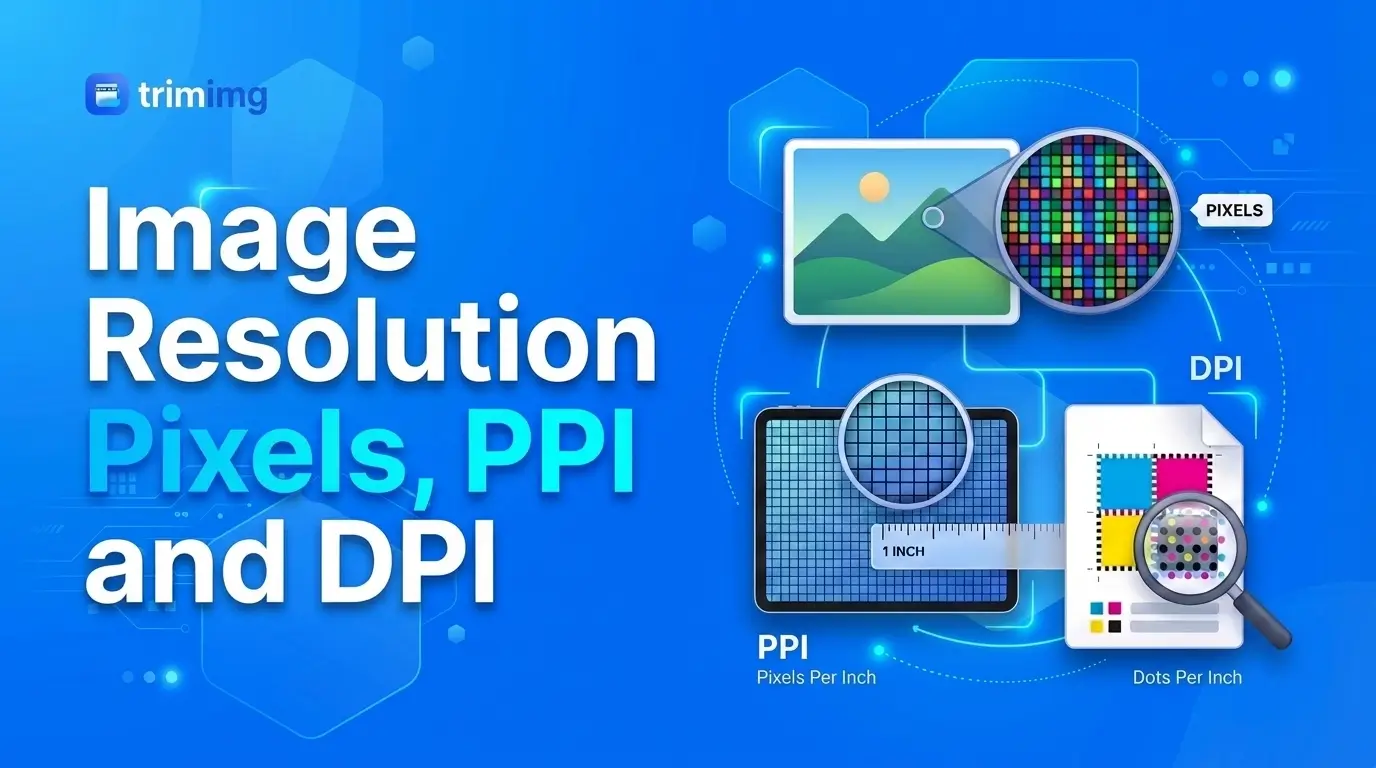
For a deeper explanation, read our guide to image resolution, pixels, PPI, and DPI.
How to resize an image in Photoshop step by step
Step 1: Open your original image
Launch Photoshop and select File → Open. Choose the photograph or graphic you want to resize.
Whenever possible, start with the original, full-resolution file rather than an image that has already been reduced or heavily compressed.
If you need to preserve the original, create a duplicate or save a separate working copy before making changes.
Step 2: Open the Image Size dialog
Select Image → Image Size from the top menu.
The Image Size dialog contains the controls for changing pixel dimensions, physical dimensions, resolution, and resampling behavior. The exact layout can vary by Photoshop version.
Step 3: Keep the proportions linked
The link icon between the width and height fields helps maintain the original aspect ratio.
When the proportions are linked, changing the width automatically adjusts the height. This prevents the photograph from becoming stretched or squashed.
For example, a 4000 × 3000-pixel image has a 4:3 aspect ratio.
| Width | Height |
|---|---|
| 2000 px | 1500 px |
| 1600 px | 1200 px |
| 1200 px | 900 px |
| 800 px | 600 px |
If you enter 1600 × 900 for the same photograph, its original proportions will change unless you crop the image or deliberately distort it.
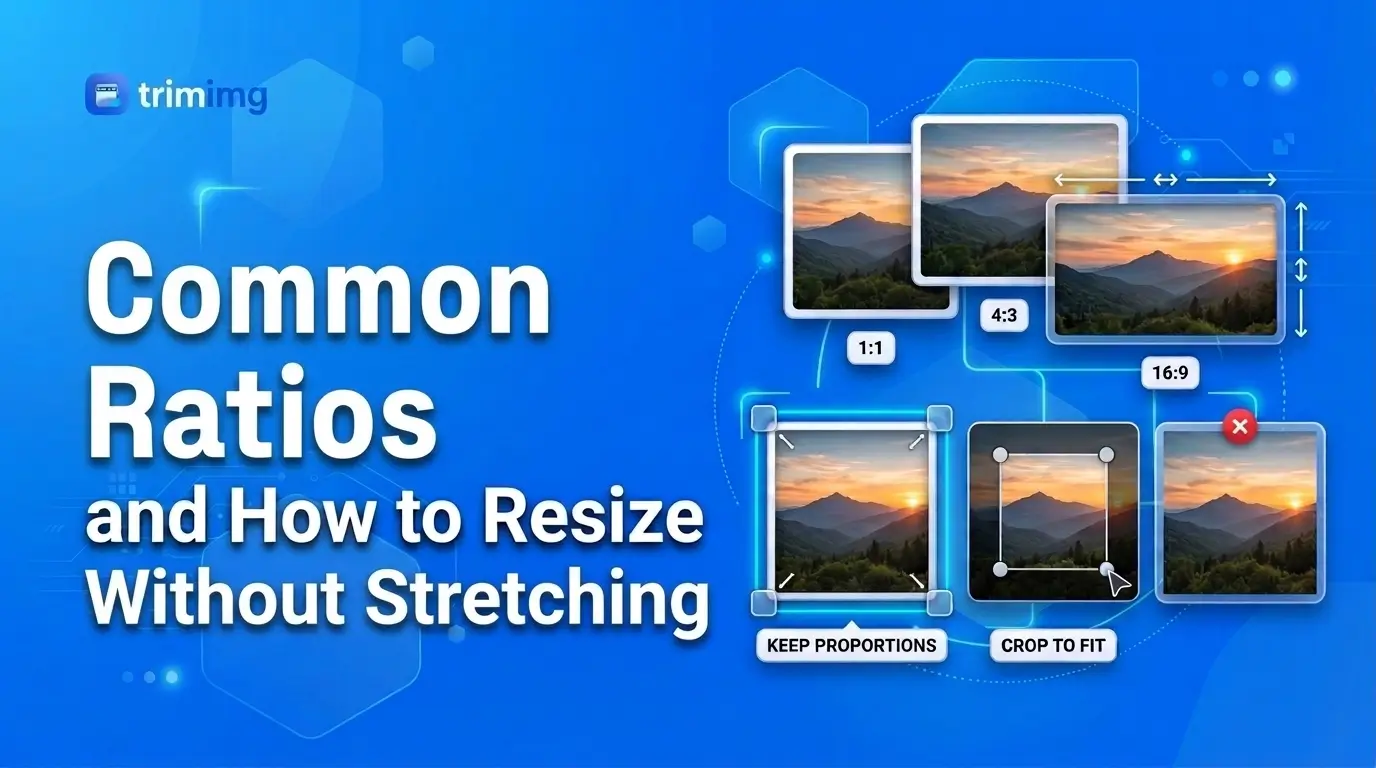
If you need a different shape, crop the photograph first rather than forcing unrelated width and height values. Our guide to aspect ratios and resizing without stretching explains how to choose suitable dimensions.
Step 4: Enable Resample to change pixel dimensions
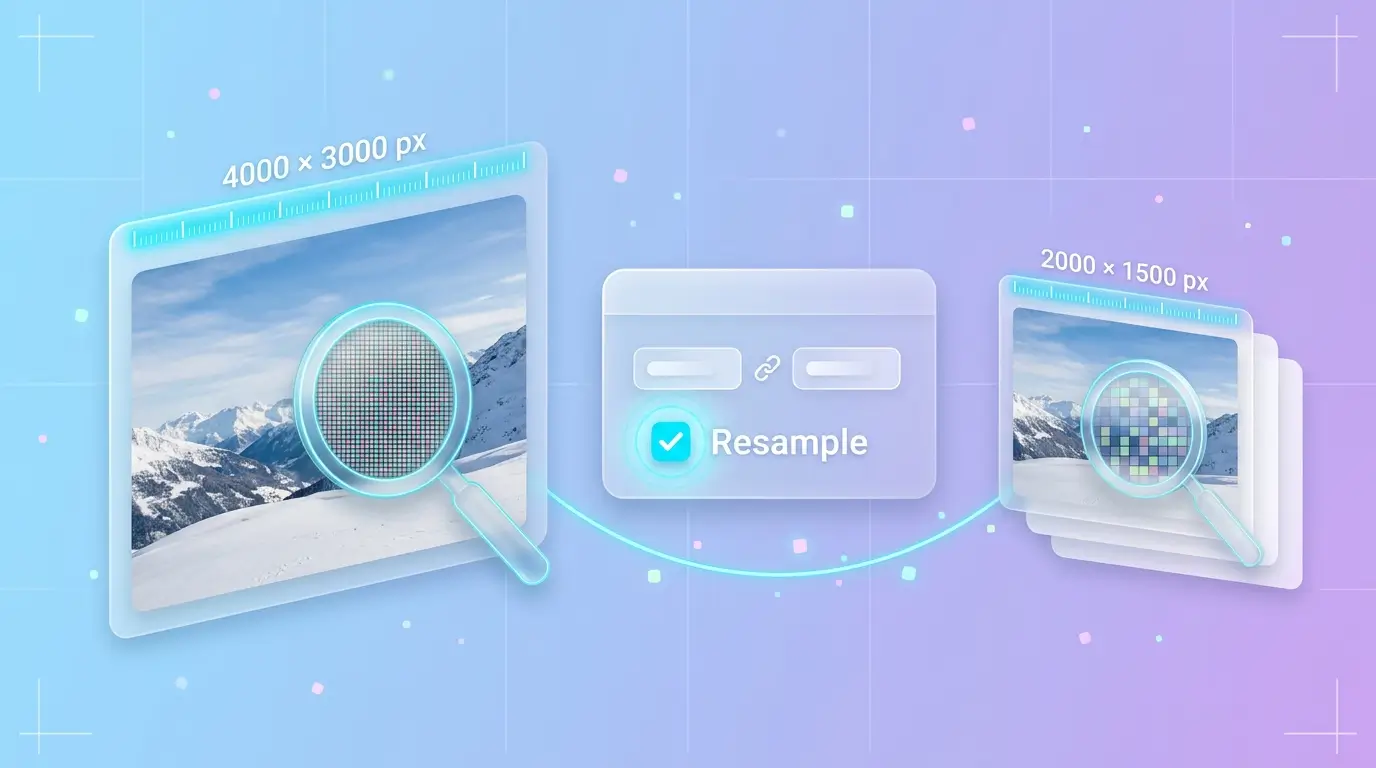
The Resample option determines whether Photoshop adds or removes pixels when the image is resized.
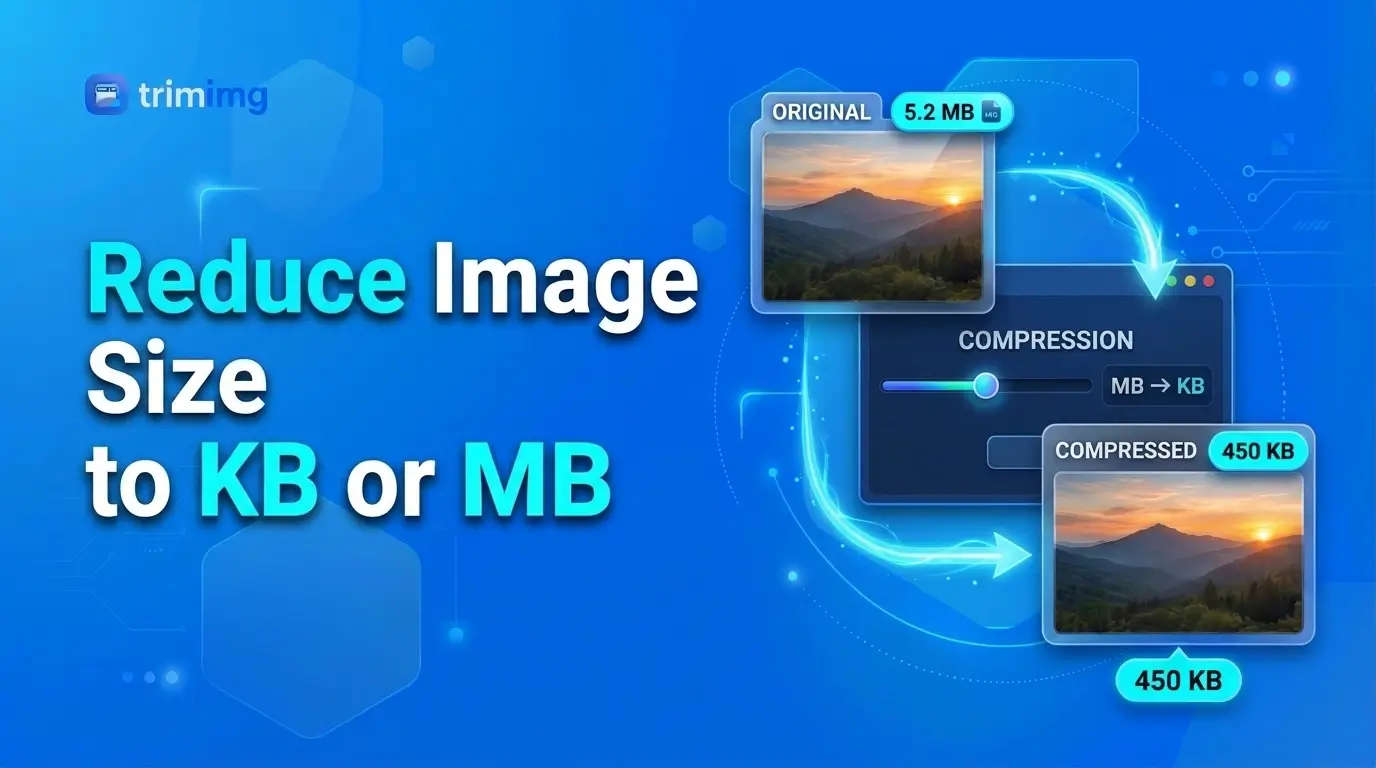
Keep Resample enabled when you need specific pixel dimensions for a website, online form, or social media post. You can then enter a new width or height and let Photoshop calculate the corresponding dimensions.
When Resample is disabled, Photoshop retains the existing pixel count and adjusts the relationship between resolution and physical print size instead. This is useful when you need to change print dimensions without adding or removing pixels.
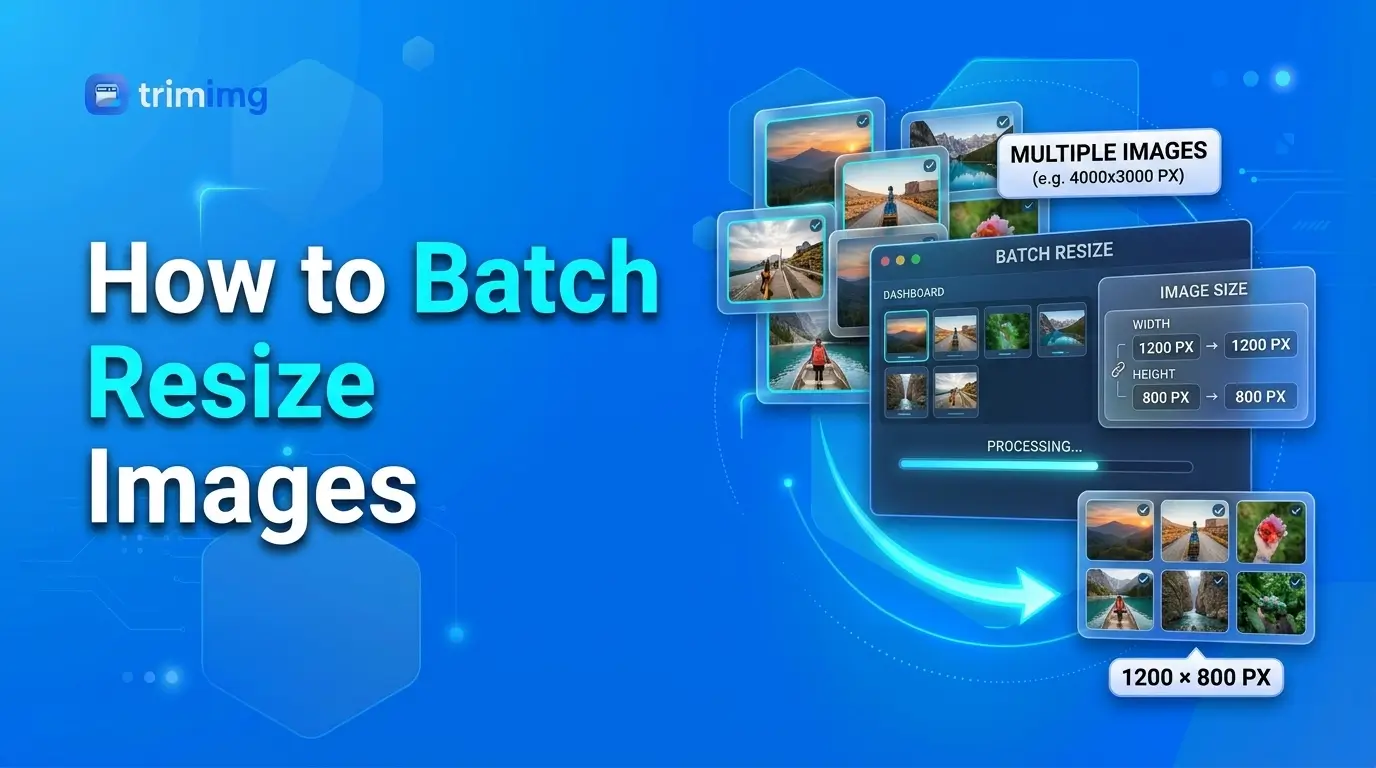
For example, if your image is 3000 × 2000 pixels and you want a 1500 × 1000-pixel version, enable Resample and enter the new dimensions.
Step 5: Enter your target dimensions
Select pixels as the measurement unit if you're resizing for digital use.
Enter your desired width or height and keep the proportions linked. Photoshop will calculate the other dimension automatically.
For example, if you need a blog image to be 1200 pixels wide and the source image has a 4:3 aspect ratio, the corresponding height will be 900 pixels.
Choose dimensions based on the actual requirements of the destination. Making an image larger than necessary can increase file size without improving its appearance at the intended display size.
Best Photoshop resampling settings for resizing
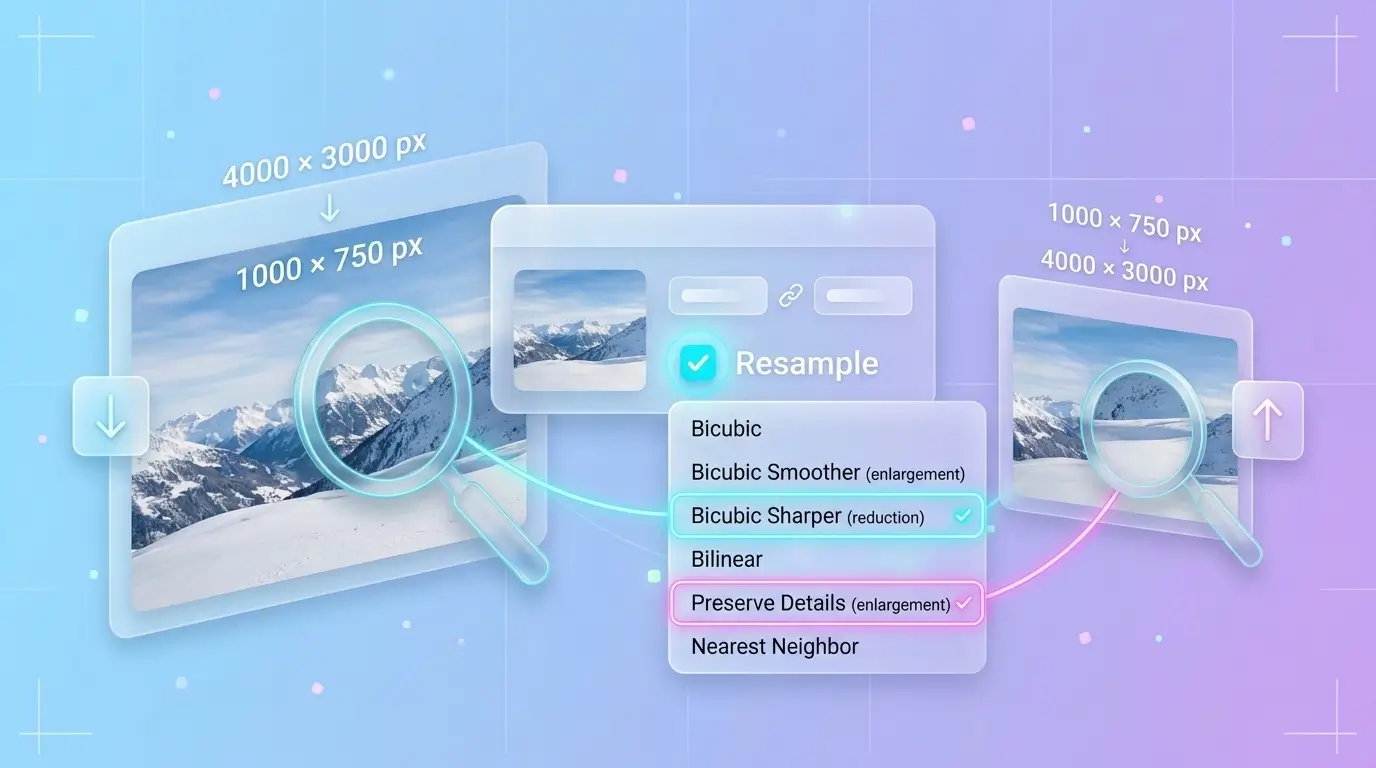
Photoshop offers several resampling methods. Each calculates new pixel values differently, so the best choice depends on whether you're reducing a photograph, enlarging it, or working with hard-edged graphics.
Recommended settings table
| Task | Recommended starting setting | Why |
|---|---|---|
| Reduce a photograph | Automatic or Bicubic Sharper | Helps retain apparent sharpness during reduction |
| Enlarge a photograph | Preserve Details 2.0, when available | Designed to preserve detail during enlargement |
| Enlarge an image with visible noise | Preserve Details 2.0 and adjust Reduce Noise | Helps balance noise and fine detail |
| Resize a general-purpose image | Automatic | Photoshop selects an appropriate method |
| Resize pixel art | Nearest Neighbor | Preserves hard pixel edges |
| Avoid excessive sharpening | Automatic or Bicubic | Can produce a more natural result for some images |
These are starting points rather than guaranteed best settings for every image. Adobe describes the available methods in its Photoshop resampling documentation.
How to use Preserve Details 2.0
Preserve Details 2.0 is a Photoshop resampling option designed for enlarging images while maintaining the appearance of edges, textures, and fine details.
To use it:
- Open Image → Image Size.
- Enable Resample.
- Open the resampling-method dropdown.
- Select Preserve Details 2.0, if available.
- Enter your target dimensions.
- Adjust Reduce Noise if necessary.
- Preview the image and click OK when you're satisfied.
Preserve Details 2.0 can improve the appearance of an enlarged photograph, but it cannot guarantee that missing details will be restored. For a small or blurry source image, a more modest enlargement may produce a more natural result.
Bicubic Sharper vs. Bicubic Smoother
These methods serve different purposes.
- Bicubic Sharper (reduction): Intended for reducing image dimensions while helping maintain apparent sharpness.
- Bicubic Smoother (enlargement): Designed to create smoother transitions when enlarging.
- Bicubic: A general-purpose interpolation method that can be useful when you want a balanced result.
For ordinary photographs, start with Automatic. If the resized image looks too soft or develops halos around edges, compare the relevant Bicubic option and inspect the result at 100% zoom.
How to resize an image in Photoshop without losing quality
No resampling setting can guarantee zero quality loss when pixel dimensions change. However, you can avoid many common problems by following a careful workflow.
Start with the original file. A full-resolution source generally gives Photoshop more information to work with than a thumbnail or a previously resized image.
Resize only as much as necessary. Choose dimensions based on the actual display or print requirements rather than enlarging the image without a specific reason.
Keep the aspect ratio consistent. Link width and height unless you deliberately want to change the image's proportions. Crop first if a different shape is required.
Inspect fine details. Check faces, text, product edges, hair, and textured areas at 100% zoom. Look for softness, jagged edges, noise, or bright halos.
Avoid repeatedly resizing the same file. Keep an original copy and make the required size adjustment from that source whenever possible.
Use suitable export settings. An image can look good in Photoshop but lose visible quality if it is saved with overly aggressive JPEG compression.
For more detail, see what resizing an image does to its quality.
How to export a resized image from Photoshop
Once you're happy with the dimensions, export the image in a format suited to its intended use.
Export As
For most website images, File → Export → Export As is a practical starting point.
- Open Export As.
- Choose the output format.
- Confirm the width and height.
- Adjust the quality setting if you're exporting as JPEG.
- Preview the result.
- Export a separate copy.
Higher JPEG quality generally retains more visual information but creates a larger file. Lower quality reduces file size but can introduce visible compression artifacts.
What about Save for Web (Legacy)?
Save for Web (Legacy) is available in some Photoshop versions. It can be useful when comparing web-friendly formats and adjusting optimization settings.
For most new workflows, start with Export As. Use Save for Web (Legacy) if its preview and optimization controls better suit your needs.
Which image format should you choose?
| Format | Best use | Consideration |
|---|---|---|
| JPEG / JPG | Photographs | Lossy compression can reduce quality |
| PNG | Screenshots, graphics, and transparency | Can produce larger photographic files |
| WebP | Website photographs and graphics | Confirm the destination supports it |
| GIF | Simple animations and limited-color graphics | Restricted color palette |
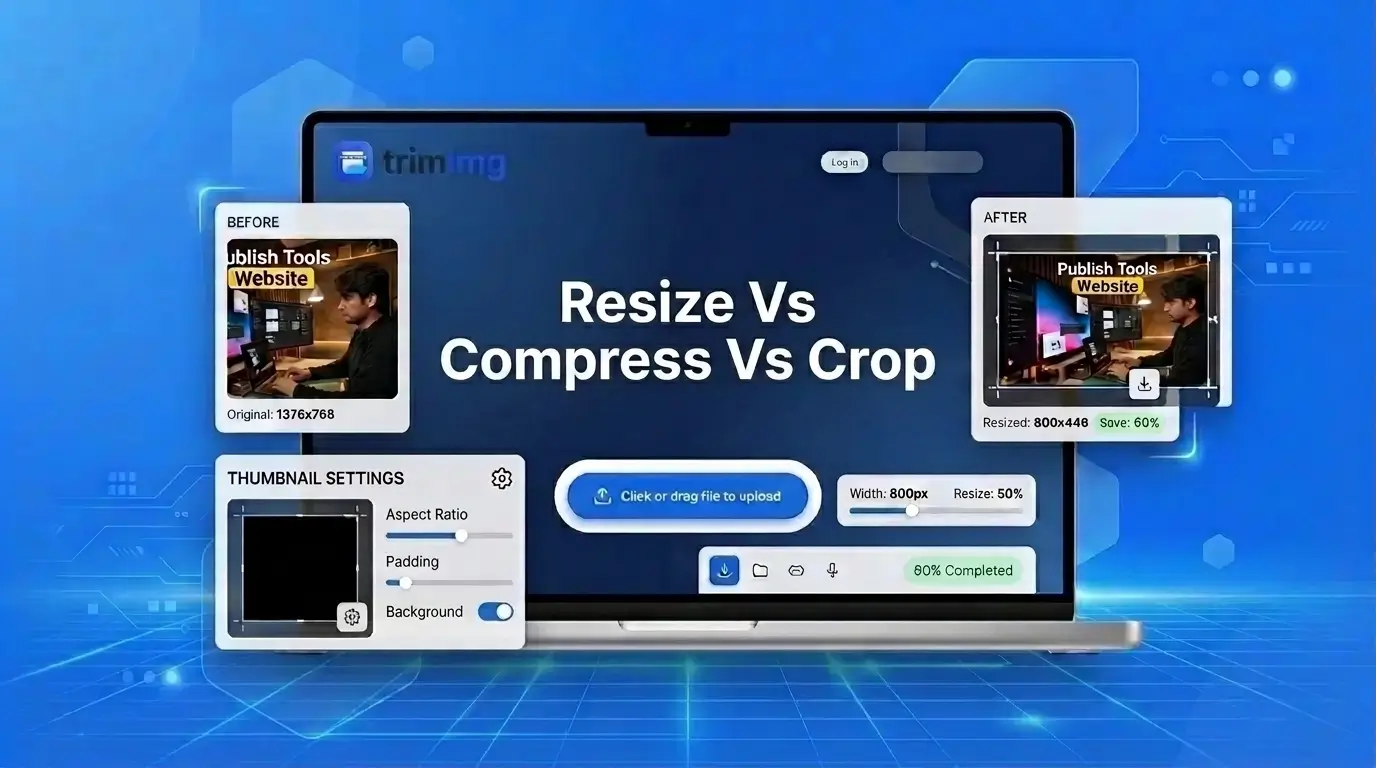
If your image has the correct dimensions but is still too large, you may need compression rather than further resizing. Our guide to resizing, compressing, and cropping images explains the difference.
No Photoshop? Resize an image online with TrimIMG
Photoshop is useful when you need advanced editing controls, but you may not need it just to change an image's dimensions.
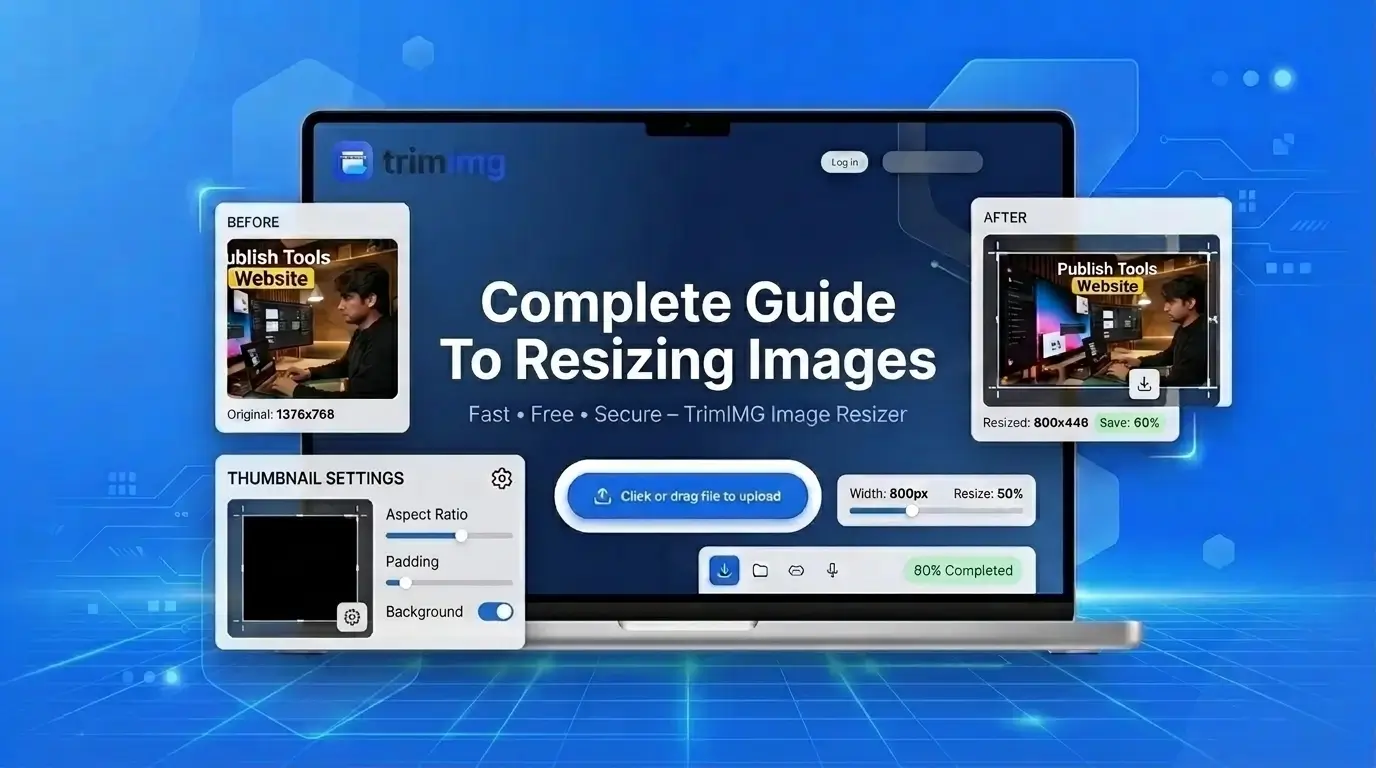
The TrimIMG Image Resizer lets you resize images online by entering pixel dimensions or selecting a percentage. It supports multiple image formats and allows you to process several images together.
How to resize an image using TrimIMG
- Open the TrimIMG Image Resizer.
- Upload your image or drag it into the upload area.
- Choose the pixel-based resizing option.
- Enter your target dimensions and keep the proportions consistent when needed.
- Apply the changes and download the resized image.
- Check the final dimensions and appearance before using it.
Choose Photoshop when you need detailed control over editing, resampling, and exporting. Choose TrimIMG when you simply need to resize an image in your browser without installing desktop software.
Frequently Asked Questions
How do I resize an image in Photoshop without losing quality?
Open Image → Image Size, enable Resample, keep the proportions linked, and enter your target dimensions. Use Automatic or Bicubic Sharper when reducing a photograph, and try Preserve Details 2.0 when enlarging if available. Inspect the result before exporting.
What is the best Photoshop Image Size setting?
There is no single setting that works best for every image. Automatic is a useful general-purpose choice, Bicubic Sharper is designed for reductions, and Preserve Details 2.0 is designed for enlargement.
What does Resample mean in Photoshop?
Resample controls whether Photoshop adds or removes pixels when you change an image's dimensions. Enable it when you need specific pixel dimensions for a website or digital upload.
Does Preserve Details 2.0 improve image quality?
It can help maintain apparent detail when enlarging images, but it cannot guarantee recovery of information missing from the original. Results depend on the source image and the amount of enlargement.
Should I use Export As or Save for Web?
Export As is a practical starting point for modern web workflows. Save for Web (Legacy) can also be useful if your Photoshop version includes it and you prefer its optimization controls.
Can I resize an image to exact pixels without Photoshop?
Yes. The TrimIMG Image Resizer lets you enter pixel dimensions in your browser without installing Photoshop.
Does changing DPI make an image sharper?
Changing the PPI or DPI metadata alone does not add image detail or increase the pixel count. To change pixel dimensions, you need to resample or use an appropriate upscaling method.
Final thoughts
Resizing an image in Photoshop is about more than entering a new width and height. Choosing the right resampling method, maintaining the aspect ratio, and exporting with appropriate settings can help you retain as much useful detail as possible.
For reducing photographs, start with Automatic or Bicubic Sharper. For enlargement, try Preserve Details 2.0 when available and compare the results before exporting.
If you only need to change pixel dimensions, the TrimIMG Image Resizer offers a straightforward online alternative.
Resize your image without opening Photoshop
No installs, no sign-up. Upload your image and resize it to the exact pixel dimensions you need in seconds.
Found this helpful? Share it with your team:
Hello, it's Mujahid Hussain Creative and Professional Senior Software Engineer with 6+ years of experience building rich and interactive websites. I have a comprehensive understanding of WordPress themes, plugins, databases, and its functions.