How to Resize an Image in Word, PowerPoint and Google Docs
 Mujahid H.
- October 30, 2026
- 9 min read
Images make documents and presentations more useful, but they can also create problems. A picture may appear too large on the page, stretch out of proportion, move text around, or make a document difficult to email.
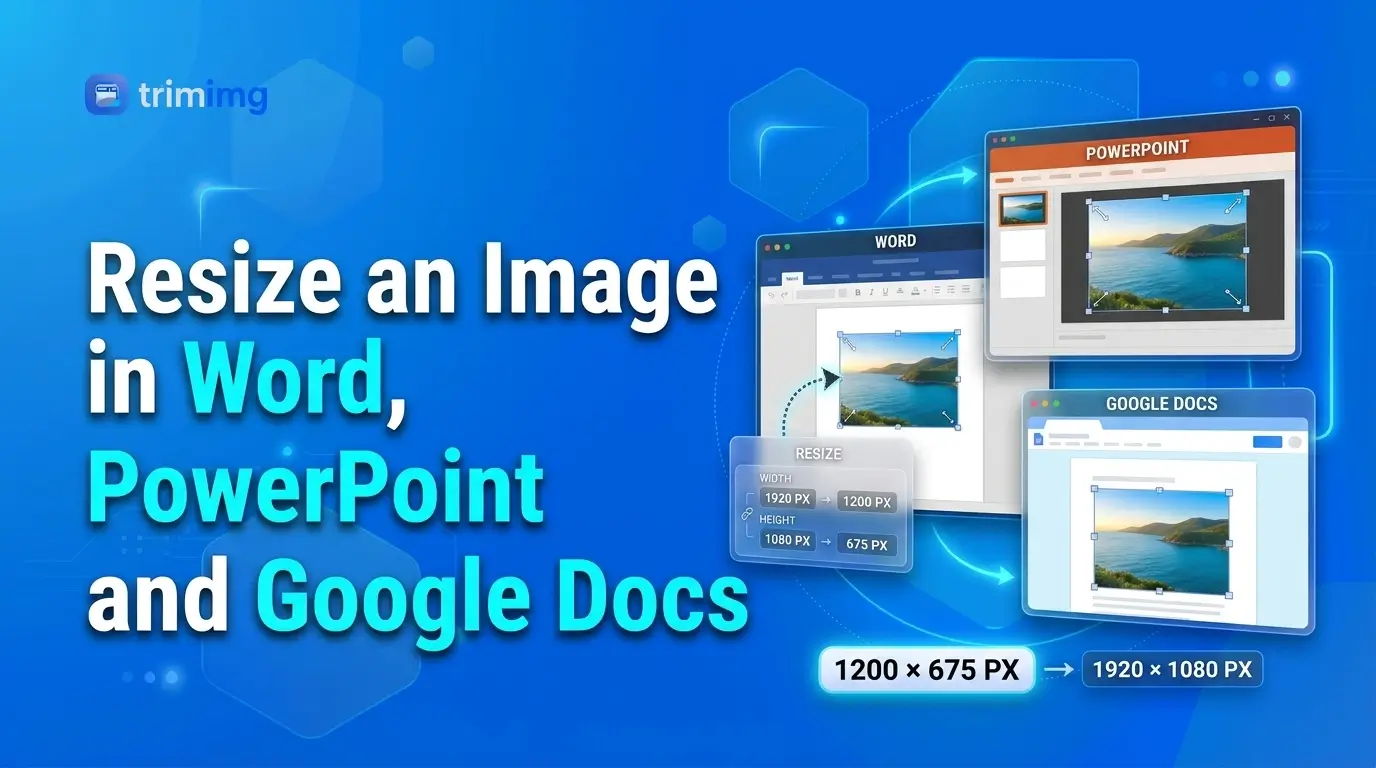
The good news is that you can resize images directly in Microsoft Word, PowerPoint and Google Docs without using a separate editing application. The exact controls differ between the three apps, but the basic process is similar: select the image, adjust its dimensions and preserve its aspect ratio.
There is one important distinction to understand first: resizing an image on the page does not necessarily reduce the document's file size. If you insert a full-resolution photo and simply make it look smaller, the original image data may still be stored in the file.
This guide explains how to resize pictures in each app, maintain the correct proportions, crop images when necessary, and reduce document size when large images are the problem. If you need exact pixel dimensions before inserting an image, you can also use a free online image resizer.
Quick comparison: Which method should you use?
| Your goal | Best method |
|---|---|
| Make a picture smaller or larger in Word | Use the Picture Format size controls |
| Set an exact picture width and height | Enter measurements in the Format Picture or Size controls |
| Resize a picture on a PowerPoint slide | Use Picture Format or drag a corner handle |
| Change image dimensions in Google Docs | Select the image and use Image options |
| Remove unwanted edges | Use the app's Crop tool |
| Reduce a Word document or PowerPoint file size | Compress pictures or resize the source images before inserting them |
| Prepare an image with exact pixel dimensions | Resize it before insertion using an online tool |
1. How to resize an image in Microsoft Word
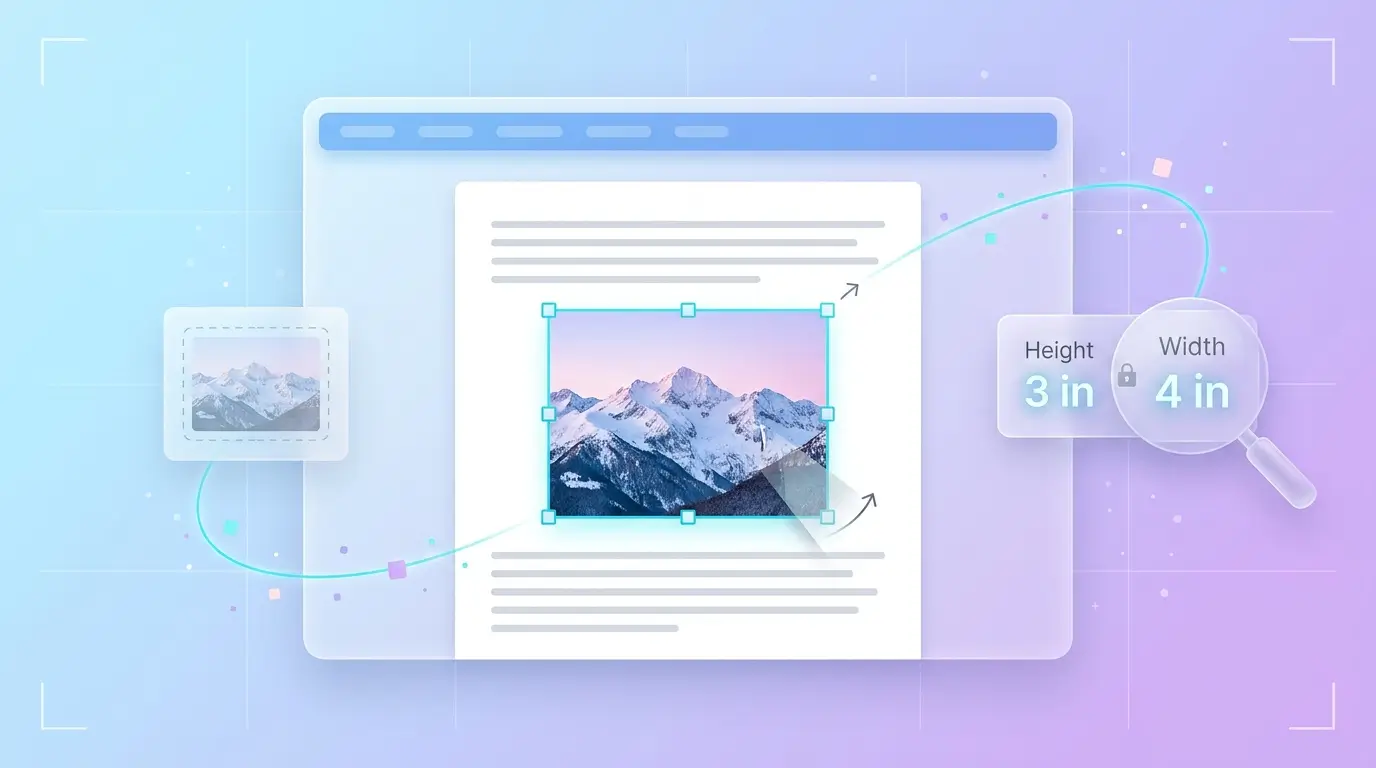
Microsoft Word lets you resize a picture by dragging its handles or entering precise measurements. For reports, assignments, resumes and other documents, entering a specific width is often more reliable than resizing by eye.
Step 1: Select the picture
Open your document and click the image you want to resize. Word should display the Picture Format tab in the ribbon. The tab may have a slightly different name or layout depending on your version.
Step 2: Change the width or height
Open Picture Format and look for the Size group. Enter your preferred width or height in the measurement boxes. If you only need an approximate size, drag a corner handle inward to shrink the picture or outward to enlarge it.
Step 3: Keep the correct proportions
To prevent stretching, open the Size dialog or Format Picture pane and enable Lock aspect ratio, if available. Then change either the width or height; Word will calculate the other dimension proportionally.
Microsoft documents these controls in its guide to changing picture size in Word.
How to resize a picture to an exact size in Word
Suppose a report requires a picture that is 4 inches wide.
- Select the picture.
- Open Picture Format.
- Find the Height and Width fields in the Size group.
- Enter 4" in the Width field.
- Keep Lock aspect ratio enabled if you want to preserve the original shape.
- Check the result and adjust the surrounding text if necessary.
The height will depend on the original aspect ratio. A landscape photo and a square image will not have the same height at a width of four inches.
Important: Word's width and height fields normally describe the picture's physical size in the document, not its pixel dimensions. A picture displayed at four inches wide can still contain thousands of pixels.
How to resize an image without moving text around in Word
If the picture jumps to another part of the page or pushes paragraphs out of position, the problem may be its text-wrapping setting rather than its size.
- In Line with Text: The image behaves like a large character within a paragraph.
- Square or Tight: Text flows around the image.
- In Front of Text: The image can be positioned over text.
- Behind Text: Text appears in front of the image.
Choose the layout that suits your document, then resize the picture using its corner handles or measurement fields. If you're preparing a document with several images, check the layout of each one after resizing.
2. How to resize a picture in PowerPoint
PowerPoint uses similar sizing controls to Word, but the goal is usually to fit the image neatly within a slide without distorting it or making it look blurry when presented on a large screen.

Step 1: Select the image on your slide
Open the presentation and click the picture. The Picture Format tab should appear. If you cannot select the picture, check whether another object is covering it or whether it belongs to the slide background.
Step 2: Enter the desired dimensions
Use the Height and Width fields in the Size group for a precise result. For quick adjustments, drag a corner handle while keeping the picture's proportions intact.
Step 3: Crop or reposition if needed
If the picture is the right size but shows too much of the background, use Crop to remove unwanted edges. Reposition the image so it fits the slide composition without covering titles or other content.
How to resize a picture for a PowerPoint slide
For a full-slide background, the image needs to fit the slide's aspect ratio. A widescreen presentation is commonly 16:9, but your presentation may use a different layout.
If the source image has a different shape, you have two main options:
- Resize proportionally: Keep the whole image visible, accepting empty space if the shapes do not match.
- Crop to fill: Fill the slide completely, removing some of the image's edges.
Avoid dragging a side handle to force a landscape photo into a different aspect ratio. That can stretch faces, logos and other visual details.
If you're preparing images for multiple slides, resizing them to suitable pixel dimensions before inserting them can also help control presentation size. A JPG image resizer is a useful option for ordinary photographs, while a PNG image resizer can be appropriate for screenshots, diagrams and graphics that need to remain in PNG format.
3. How to change Google Docs image size
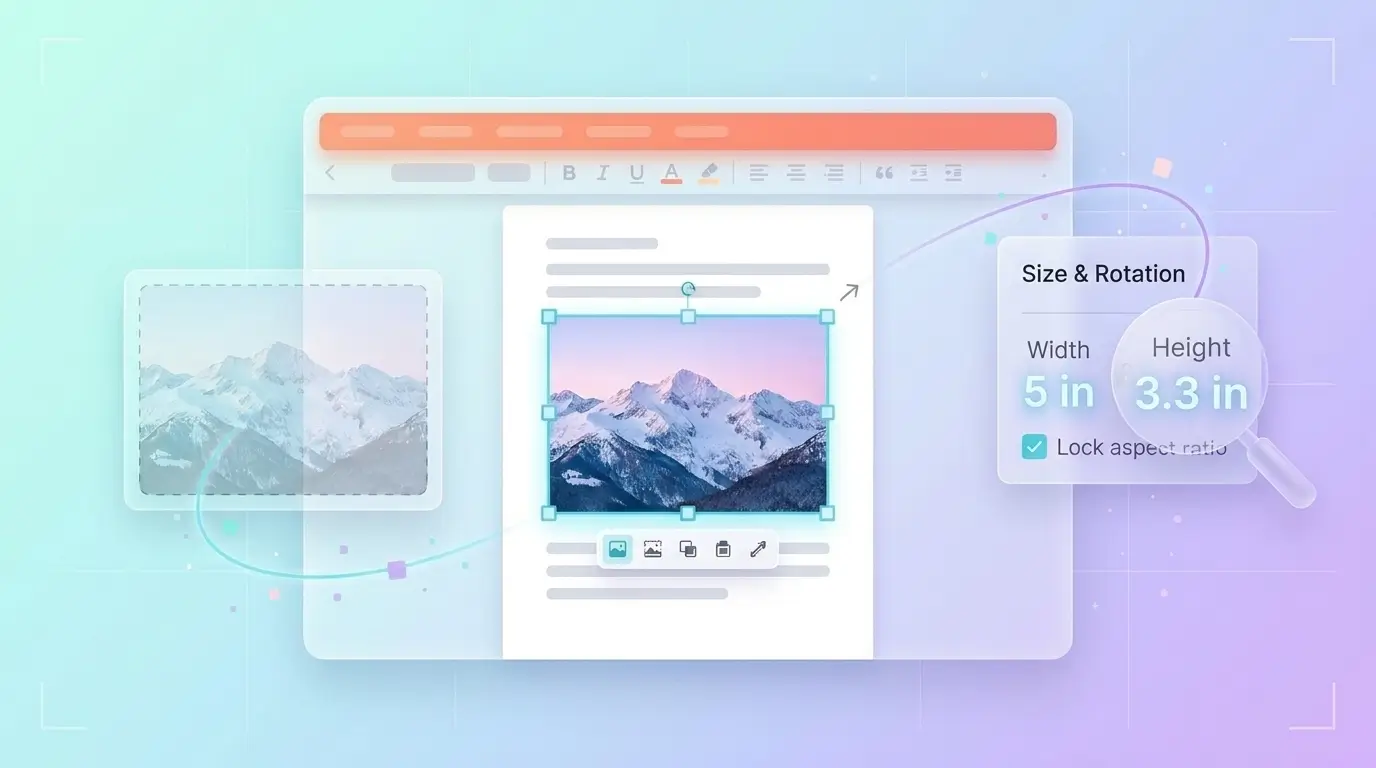
Google Docs allows you to resize pictures directly in the document. You can drag the handles for a quick adjustment or use Image options to enter more precise dimensions.
Step 1: Select the image
Open your Google Docs document and click the picture. Handles should appear around its edges.
Step 2: Open Image options
Right-click the picture and choose Image options, or open the image options from the toolbar when available. Expand Size & Rotation to find the width, height and rotation controls.
Step 3: Adjust the dimensions
Enter a new width or height. Keep the aspect ratio locked where that option is available, so the image doesn't become stretched. Check the surrounding paragraphs and page layout after making the change.
What to know about image size in Google Docs
Google Docs image dimensions generally refer to how large the picture appears in the document, rather than the number of pixels stored in the source file.
For example, reducing a photograph's displayed width from six inches to three inches does not necessarily reduce the number of pixels embedded in the document. If the file is still too large, you may need to resize or compress the original image before inserting it.
If your image is difficult to position, try changing its text-wrapping option. Depending on your layout, In line, Wrap text or Break text may work better. Available options can differ depending on the document mode and interface.
4. How to lock aspect ratio when resizing an image
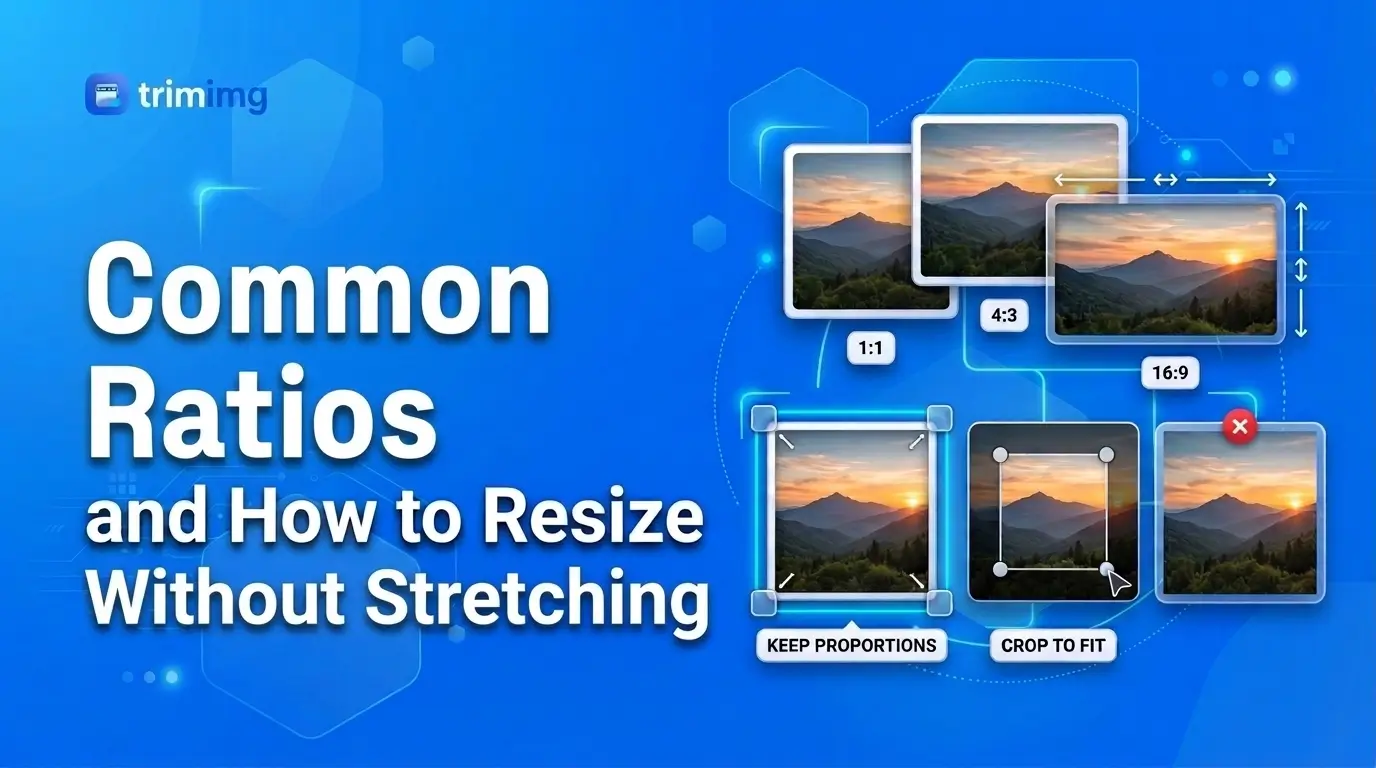
An image's aspect ratio is the relationship between its width and height. Keeping it locked prevents the picture from becoming stretched or squashed when you change its dimensions.
For example, a photo measuring 1600 × 1200 pixels has a 4:3 aspect ratio. If you reduce its width to 800 pixels while preserving the ratio, its height becomes 600 pixels.
| Original dimensions | New width | Correct height |
|---|---|---|
| 1600 × 1200 px | 800 px | 600 px |
| 1920 × 1080 px | 960 px | 540 px |
| 1000 × 1000 px | 500 px | 500 px |
To keep an image proportional:
- Select the picture.
- Open the app's picture-formatting or image-options controls.
- Find Lock aspect ratio, if available.
- Enter the new width or height.
- Check that the picture still looks natural.
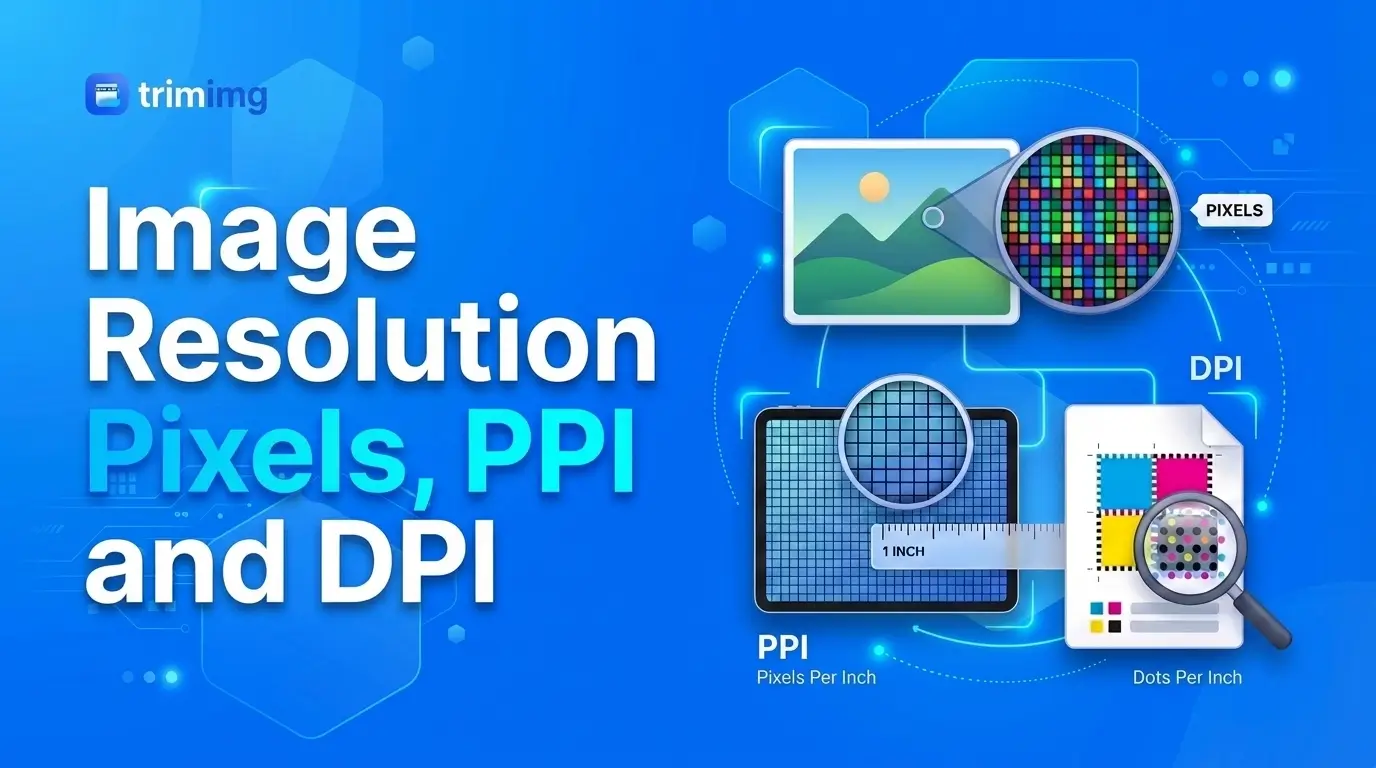
If you need a different shape, crop the image rather than stretching it. For a deeper explanation, see our guide to image resolution, pixels, PPI and DPI.
5. How to shrink a Word document or PowerPoint file size
If your document is too large to email, upload or share, changing the displayed picture size may not be enough. You need to reduce the image data stored inside the file.
A document containing ten original 8 MB photographs could potentially become very large, even if each photograph looks small on the page. The exact final size depends on the images, file format, compression settings and application.
Use the following methods to reduce the size without sacrificing more quality than necessary.
Method 1: Resize images before inserting them
This is often the easiest approach when you have not yet added the images to your document.
- Identify the approximate dimensions needed for each image.
- Open the original image in an online image resizer.
- Enter suitable pixel dimensions while keeping the aspect ratio.
- Download the resized image.
- Insert the new version into Word, PowerPoint or Google Docs.
For example, if a photo is 4000 × 3000 pixels but only needs to appear as a small illustration in a report, a smaller source image may be sufficient. Choose the dimensions based on the intended display size and quality requirements rather than shrinking every image to the same dimensions.
Method 2: Compress pictures in Microsoft Word
In the desktop version of Word, you can compress images already inserted into your document.
- Open the document and select a picture.
- Go to Picture Format.
- Select Compress Pictures.
- Choose whether to compress only the selected picture or all pictures, depending on the options shown.
- Select an appropriate resolution or output-quality setting.
- Confirm the changes and save the document.
Microsoft notes that picture-compression features are not available in the web versions of Word and PowerPoint in the same way they are in their desktop applications. Options can vary by version. Review the official Microsoft guide to reducing picture file size.
Tip: Keep a backup before applying compression to important documents. Compression can reduce detail, and some editing information may be discarded.
Method 3: Compress pictures in PowerPoint
PowerPoint's desktop version offers a similar Compress Pictures feature.
- Open the presentation.
- Select a picture.
- Choose Picture Format → Compress Pictures.
- Select the relevant resolution or quality setting.
- Apply the changes to the selected image or all images, as appropriate.
- Save the presentation and check that text, charts and photos still look clear in Slide Show mode.
For presentations intended primarily for screens, you may not need every pixel from a high-resolution camera image. However, images that will be zoomed in, cropped significantly or displayed on large screens may need higher resolution.
Method 4: Reduce image file size before uploading to Google Docs
Google Docs does not provide the same built-in picture-compression workflow as desktop Word or PowerPoint. A practical alternative is to prepare the image before inserting it.
- Resize oversized images to suitable pixel dimensions.
- Compress photographs if their file sizes are unnecessarily large.
- Retain enough resolution for the image to look sharp when printed or viewed.
- Replace the original image in the document with the prepared version.
If the dimensions are already correct but the file is still too large, use an image compressor to target file size without unnecessarily changing the displayed dimensions.
For more detail on the difference between the two operations, read resize vs. compress vs. crop.
6. Should you resize or compress an image before inserting it?
The right method depends on the problem you're trying to solve.
| Problem | Recommended action | Why |
|---|---|---|
| The picture looks too large on the page | Resize inside the app | Changes its displayed dimensions |
| The image needs a specific pixel width | Resize the source image first | Gives you control over the pixel dimensions |
| The document file is too large | Compress the images or replace them with smaller versions | Reduces the image data stored in the file |
| The image has unwanted edges | Crop it | Removes parts of the visible composition |
| The picture looks stretched | Lock the aspect ratio | Preserves the original proportions |
| The image looks blurry after enlargement | Start with a larger, better-quality original | Upscaling cannot reliably restore missing detail |
Remember that resizing and compression are different processes. Resizing changes pixel dimensions when applied to the image itself; compression reduces the amount of data needed to store the image. Some image formats and compression methods can do both, but the terms are not interchangeable.
7. Common mistakes to avoid
- Changing width and height independently: This can distort the picture. Keep the aspect ratio locked unless you intentionally want to stretch the image.
- Assuming a smaller picture means a smaller document: Display dimensions and embedded image data are separate.
- Overcompressing photographs: Excessive compression can create visible artifacts, particularly around text and fine details.
- Enlarging a small image too much: Adding pixels does not automatically restore detail that was not present in the original.
- Ignoring cropping: If you need to remove unwanted edges, crop rather than distort the image.
- Overlooking print requirements: An image that looks fine on screen may not be detailed enough for a large printed page or poster.
Frequently asked questions
How do I resize an image in Word without distorting it?
Select the picture, open Picture Format and change its width or height. Keep Lock aspect ratio enabled in the Size dialog or Format Picture pane, where available. This preserves the relationship between the two dimensions.
How do I resize a picture in PowerPoint to exact dimensions?
Select the picture, open Picture Format and enter the required height and width in the Size controls. Keep the aspect ratio locked unless the picture is intended to have different proportions.
How do I change Google Docs image size in pixels?
Google Docs primarily lets you control an image's displayed size in the document. If you need an image with exact pixel dimensions, resize the source file before inserting it, then adjust its displayed size in Google Docs as needed.
Does resizing an image in Word reduce the file size?
Not necessarily. Changing the picture's displayed dimensions does not guarantee that Word removes the original image data. To reduce the document's file size, use the desktop picture-compression feature or prepare smaller image files before inserting them.
Can I resize multiple images at once?
In desktop Microsoft Office applications, you can select multiple pictures in supported versions and enter common size measurements. Be careful when applying identical dimensions to images with different aspect ratios. In Google Docs, you may need to adjust pictures individually depending on your workflow and available controls.
Should I resize or compress an image first?
If the image has excessive pixel dimensions, resize it first. If its dimensions are suitable but the file is too large, compress it. You can use both methods when necessary, then inspect the result to ensure that the quality remains acceptable.
Conclusion
Resizing pictures in Word, PowerPoint and Google Docs is straightforward once you know where each app keeps its image controls. Use the built-in sizing options for page or slide layout, lock the aspect ratio to prevent distortion, and crop when you need to change the visible composition.
If your real goal is to reduce document size, don't rely on making pictures look smaller on the page. Prepare oversized images before inserting them, or use compression controls in the desktop Office apps where available.
For a simple workflow, start with the free image resizer to set suitable pixel dimensions, then use the image compressor if the resulting files still need to be smaller.
Resize your image before you insert it
No installs, no sign-up. Upload your image and resize it to the exact pixel dimensions you need in seconds.
Found this helpful? Share it with your team:
Hello, it's Mujahid Hussain Creative and Professional Senior Software Engineer with 6+ years of experience building rich and interactive websites. I have a comprehensive understanding of WordPress themes, plugins, databases, and its functions.