How to Resize an Image on Windows 10 and 11 (Photos, Paint and More)
 Mujahid H.
- October 22, 2026
- 12 min read
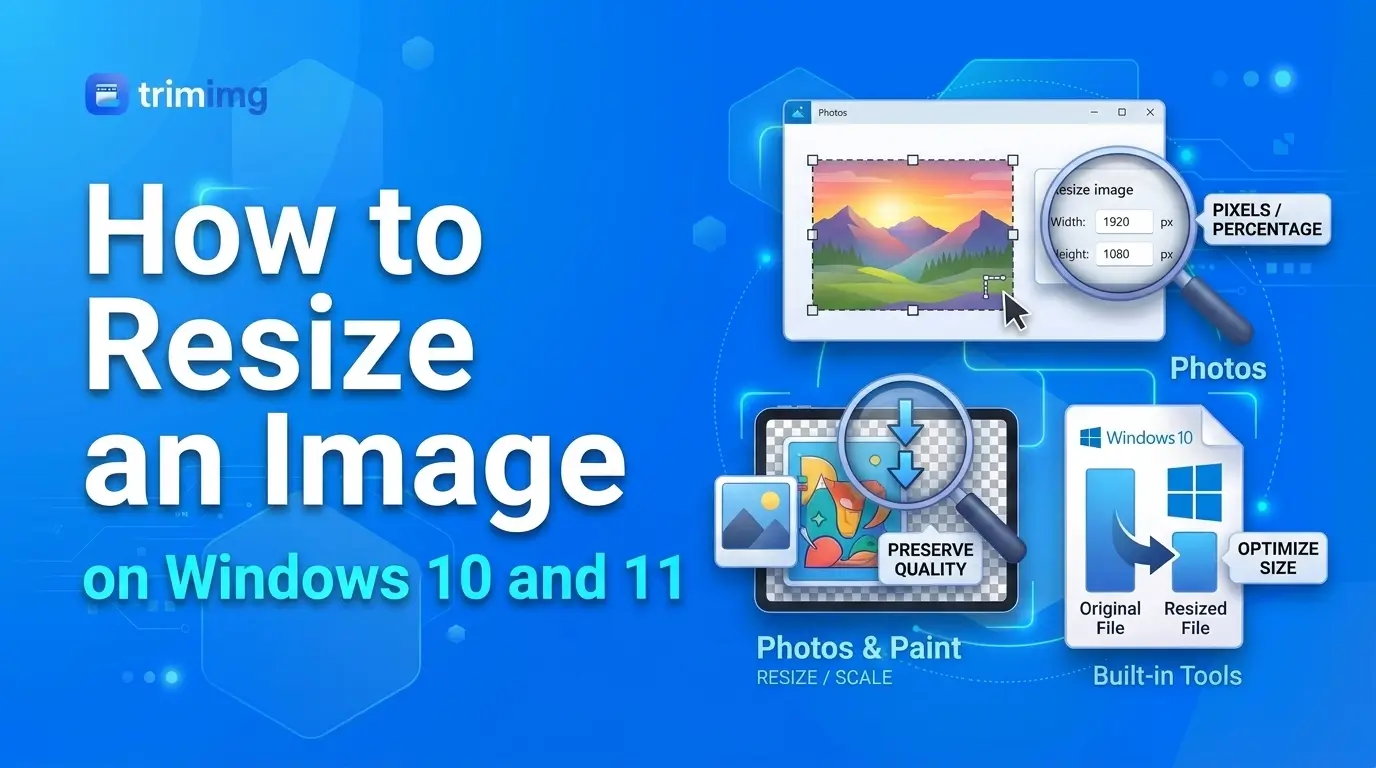
Need to resize an image on Windows 10 or 11? You can change a picture's dimensions using Microsoft Paint, the Photos app, or PowerToys Image Resizer. Each option works a little differently. Paint is useful when you need specific pixel dimensions, Photos offers a straightforward way to adjust individual pictures, and PowerToys can resize multiple images at once. You can also use an online image resizer if you prefer not to install additional software.
The right method depends on what you need. You might want to make a photo smaller for an email, prepare an image for a website, fit a picture into a document, or resize several photos without editing them one by one.
This guide explains how to resize an image on Windows 10 and 11, which method to choose, and how to avoid stretching your pictures or reducing their quality unnecessarily.
Quickest Way to Resize an Image on Windows
The quickest way to resize an image depends on whether you need to change one picture or several.
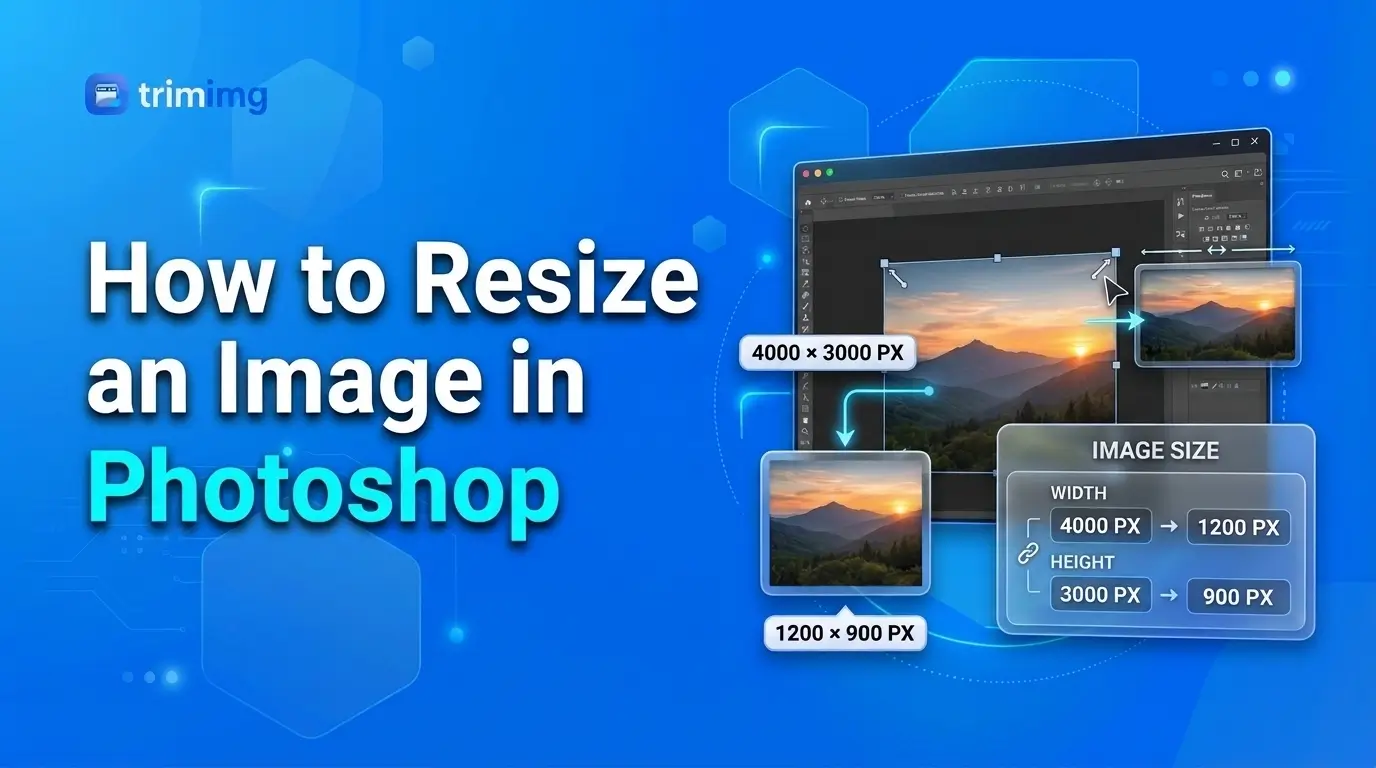
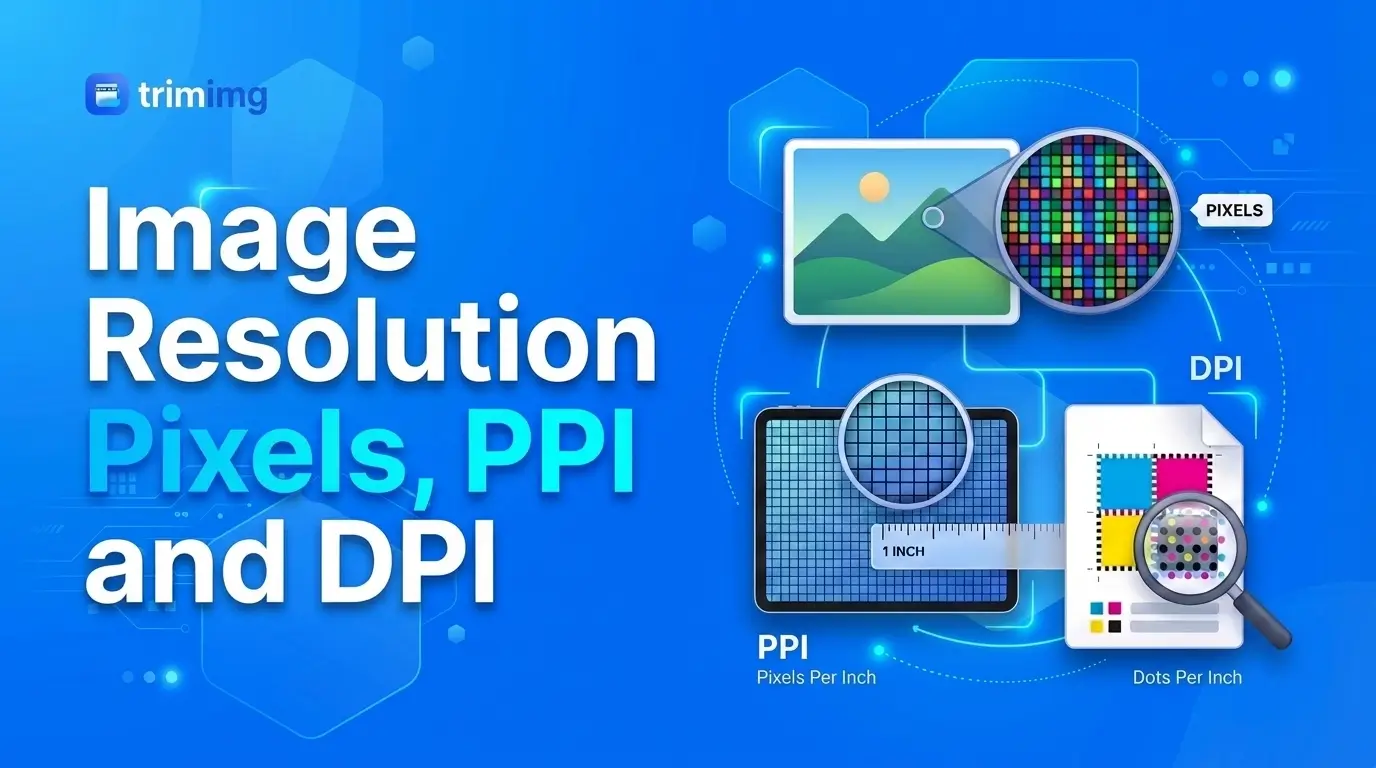
If you need to resize one picture, press the Windows key, type Paint, and press Enter. Open your image, select Resize, and enter the new dimensions. Keep the aspect ratio selected to avoid distortion. Learn more about image resolution and pixel dimensions.
For multiple images, PowerToys Image Resizer is more convenient because it works directly from File Explorer. If you do not want to install additional software, you can use an online image resizer in your browser. If your main goal is to reduce file size for email or websites, see this guide on compressing images without losing quality.
| Method | Best for | Main limitation |
|---|---|---|
| Microsoft Paint | Resizing one image to exact pixel dimensions or a percentage | No direct target file size in KB |
| Photos app | Making quick adjustments to an individual picture | Available controls vary by app version |
| PowerToys Image Resizer | Resizing multiple images from File Explorer | Requires installation |
| Online image resizer | Resizing pictures without installing desktop software | Requires a browser and, for most tools, an internet connection |
If you need to resize one image to exact dimensions, start with Paint. If you want to resize a folder of pictures, PowerToys is usually the more practical choice.
How to Resize an Image in Paint
Microsoft Paint is one of the easiest ways to resize an image on Windows 10 or 11. It lets you change the width and height in pixels or adjust the image by percentage. You do not need to install anything because Paint is included with Windows.
- Open your image in Paint. Find the image in File Explorer, right-click it, select Open with, then choose Paint. If Paint does not appear in the menu, open Paint from the Start menu and select File > Open to find your picture. You can also open Paint from Windows Search, then press Ctrl + O to open an image.
- Open the Resize tool. Once the image is open, find the Resize option in the Paint toolbar. In many versions, it appears in the Image section of the Home tab, and in many Paint versions you can open the Resize controls with Ctrl + W; if that shortcut does not work in your version, select Resize from the toolbar.
- Choose Pixels or Percentage. Pixels is best when you need specific dimensions, such as 800 × 600 or 1080 × 1350 pixels. Percentage is best when you want to make the image proportionally smaller or larger without calculating the new dimensions yourself. Setting both dimensions to 50% reduces an image from 1600 × 1200 pixels to 800 × 600 pixels, provided the proportions remain locked.
- Keep the aspect ratio locked. Before entering new dimensions, make sure Maintain aspect ratio is selected. This keeps the original relationship between the image's width and height, so changing the width automatically calculates the corresponding height. An image measuring 1600 × 1200 pixels has a 4:3 aspect ratio, so reducing its width to 800 pixels changes its height to 600 pixels. If you turn off the aspect ratio setting and enter unrelated width and height values, the picture may look stretched or compressed.
- Enter the new dimensions. Select Pixels or Percentage and enter your preferred value. To resize a 2400 × 1600 pixel image to half its original dimensions, choose Percentage and enter 50 for the horizontal and vertical values. If you need a specific width, select Pixels and enter that value, and with the aspect ratio locked, the other dimension should adjust automatically. Select OK to apply the changes.
- Save the resized image. Choose File > Save as if you want to keep the original image unchanged. Select a suitable format, such as JPEG or PNG, and save the resized picture with a new filename. This gives you two files: the original image and the smaller version.
When Paint is the best choice: use it when you need to resize a single image, enter exact pixel dimensions, or reduce an image by a percentage. Paint does not provide a direct control for setting the final file size to an exact number of kilobytes, so if your image must be below a specific upload limit, compress it after resizing.
Can You Resize an Image in the Windows Photos App?
The Windows Photos app is useful for basic photo editing, including cropping and adjusting the image's appearance. However, its available features can vary by app version, and a dedicated option for entering exact pixel dimensions may not be available.
Open Photos from Windows Search and check the available editing options. If you cannot find a Resize image command, use Microsoft Paint to enter specific pixel dimensions. You do not need to use Photos just because it is the default app for opening pictures.
- Open the picture in Photos. Find your image in File Explorer, right-click it, and select Open with > Photos. If another app opens instead, use Open with to select Photos.
- Find the Resize option. Look for the additional options menu, often shown as three dots, or another available image-editing control. If your version includes Resize image, select it to open the resizing options. Some versions of Photos may not display the same resize controls; if you cannot find the option, use Paint instead.
- Choose a size. Depending on your version, the resize window may offer preset sizes or a custom option. Choose a preset if it matches your needs, or select a custom size and enter the required dimensions when available. Check the displayed width and height before applying the changes, and keep any aspect ratio setting locked unless you deliberately want to change the shape of the image.
- Save the resized picture. Apply the new dimensions and save the resized image. If the app offers a separate save or export option, use it to create a new copy. Open the saved file and check its dimensions to confirm that the change was applied.
What if Photos does not have a resize option? The available controls can vary by Photos version and Windows setup. If you cannot find a resize command, you do not need to install another app just to resize one image. Open the picture in Paint and follow the steps in the previous section, since Paint offers a more consistent way to enter exact pixel dimensions.
How to Resize Multiple Images on Windows With PowerToys
If you need to resize dozens of photos, editing each one separately can take a long time. Microsoft PowerToys includes an Image Resizer utility that lets you resize multiple pictures directly from File Explorer. This is particularly useful for product photos, website images, documents, and large folders of pictures.
- Install Microsoft PowerToys. PowerToys is an additional Windows utility, so you need to install it before using Image Resizer. After installation, open PowerToys and find the Image Resizer settings, and make sure the utility is enabled.
- Select the images. Open File Explorer and navigate to the folder containing your pictures. Hold Ctrl while selecting individual images, or select a group of files together. You can also select all suitable images in a folder if you want to resize the entire group.
- Open Image Resizer. Right-click the selected images. On Windows 11, you may need to choose Show more options to access the classic context menu, depending on your setup. Select Resize with Image Resizer to open the resizing window.
- Choose a preset or custom size. PowerToys provides preset sizes and allows you to configure custom dimensions. Choose a preset if you regularly resize pictures to the same size, such as a smaller preset for email attachments or a larger one for website images. If you need a particular width or height, configure a custom size and review the available fit and enlargement settings before continuing.
- Resize the images. Choose the appropriate output settings and select the resize action. PowerToys processes the selected images together and, depending on your settings, can create resized copies rather than replacing the original files. Open the output images to check their dimensions and appearance.
If Resize with Image Resizer does not appear, open PowerToys settings and confirm that Image Resizer is enabled. On Windows 11, check Show more options in the right-click menu. If the option is still missing, confirm that PowerToys is installed correctly.
When preserving the original proportions is important, use a fit option that keeps the aspect ratio rather than forcing every image into identical width and height values. PowerToys offers different ways to fit an image into the selected dimensions:
- Fit: resizes the entire image proportionally without cropping it. The final image may not fill both target dimensions exactly.
- Fill: fills the target dimensions while preserving proportions, but may crop part of the image.
- Stretch: forces the image to fill the target dimensions, even if this distorts its original proportions.
Choose Fit when you want to keep the whole image visible. Use Fill when the image must cover a specific size and cropping is acceptable. Avoid stretching when preserving the original appearance is important.
PowerToys is useful when you regularly work with many images and want a repeatable process. You can use it to create smaller versions of product photos, prepare image sets for a website, or resize multiple pictures without opening each file individually. Keep in mind that batch resizing changes image dimensions, not necessarily the final file size in KB, so if the images must meet a strict upload limit, you may also need image compression.
How to Resize an Image Online Without Installing Software
If you only need to resize an image occasionally, an online image resizer can be a convenient alternative to desktop software. This approach is useful when you do not want to install PowerToys, when Paint does not offer the workflow you need, or when you are working on a computer with limited software access.
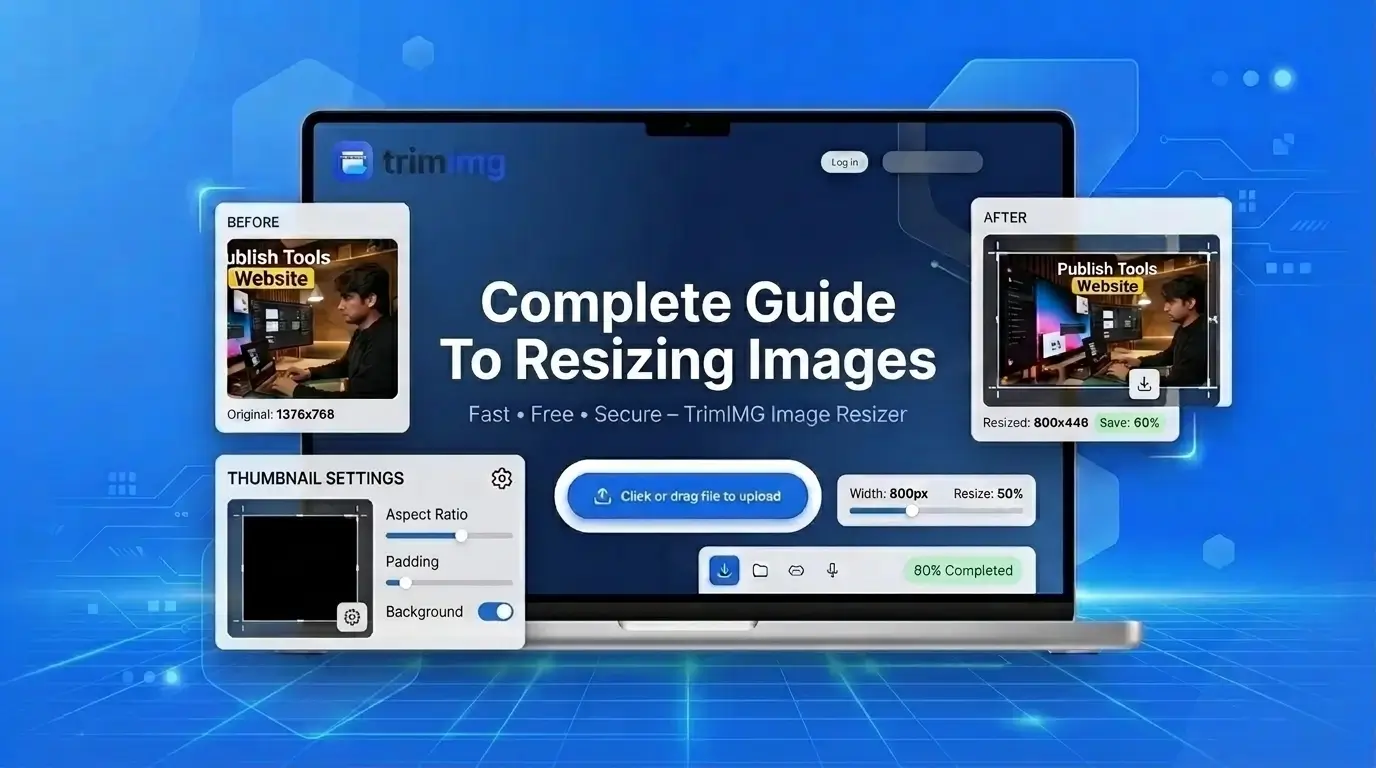
- Open the TrimIMG Image Resizer in your browser.
- Select the image from your computer. Check the tool's supported formats if you are working with a format such as HEIC or WebP.
- Enter the required width and height, and keep the aspect ratio locked when you want to preserve the image's original shape. If the required dimensions have a different shape, crop the image or add padding rather than stretching it.
- Apply the new dimensions and download the resized image.
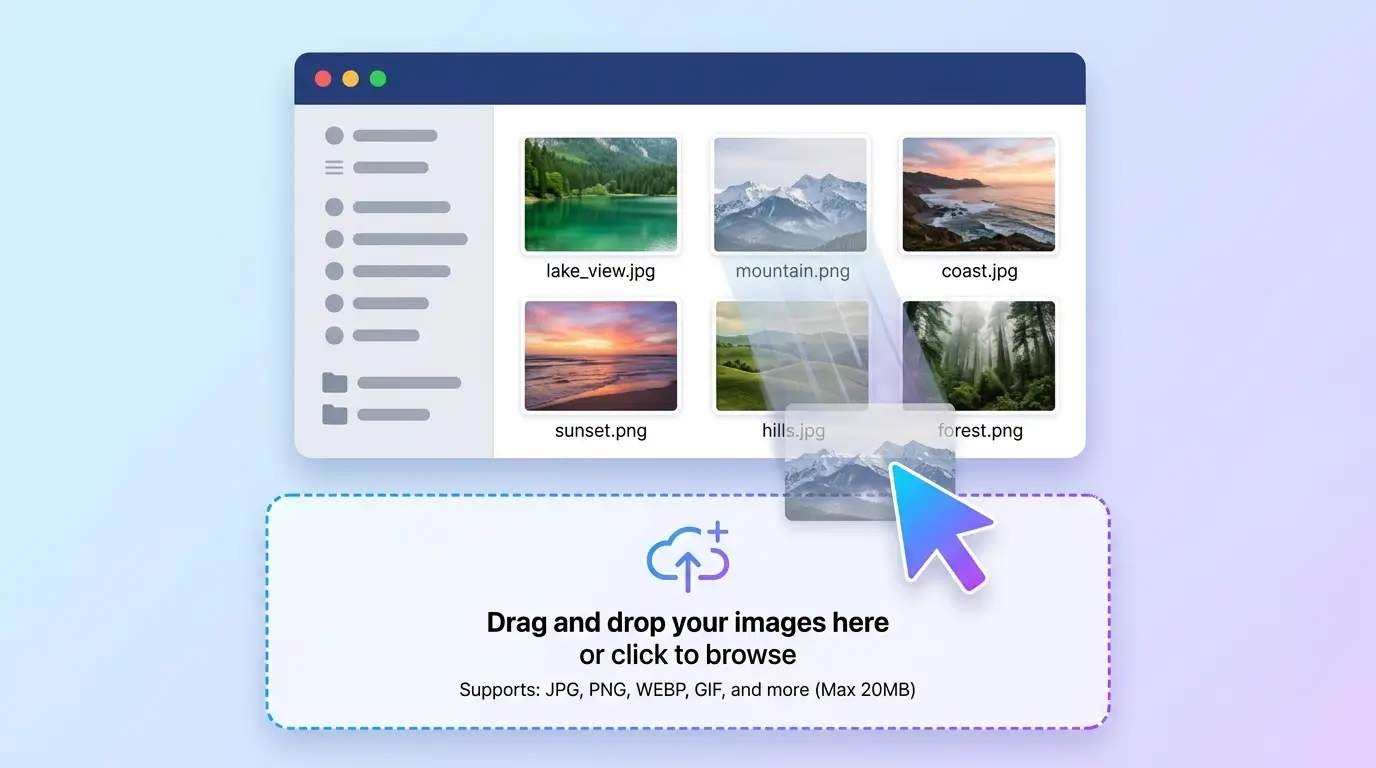
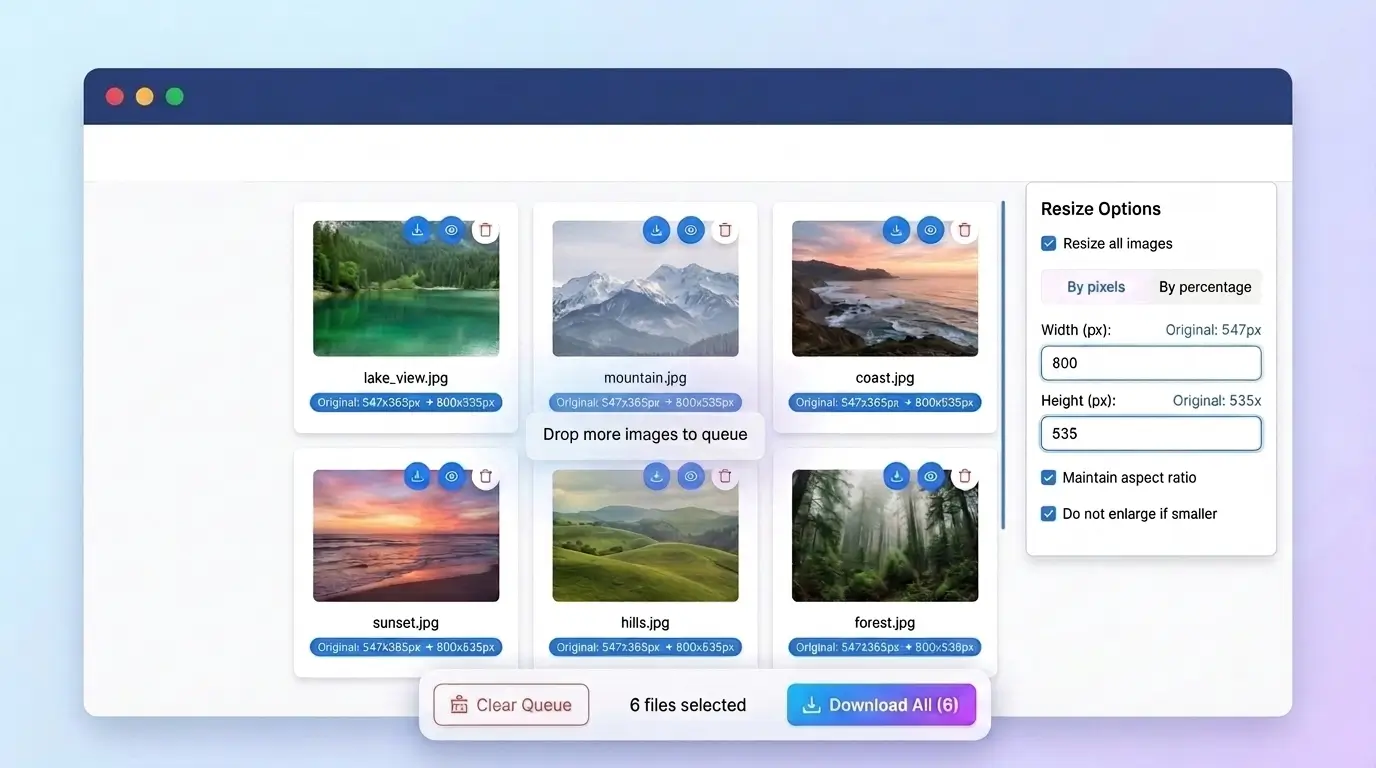
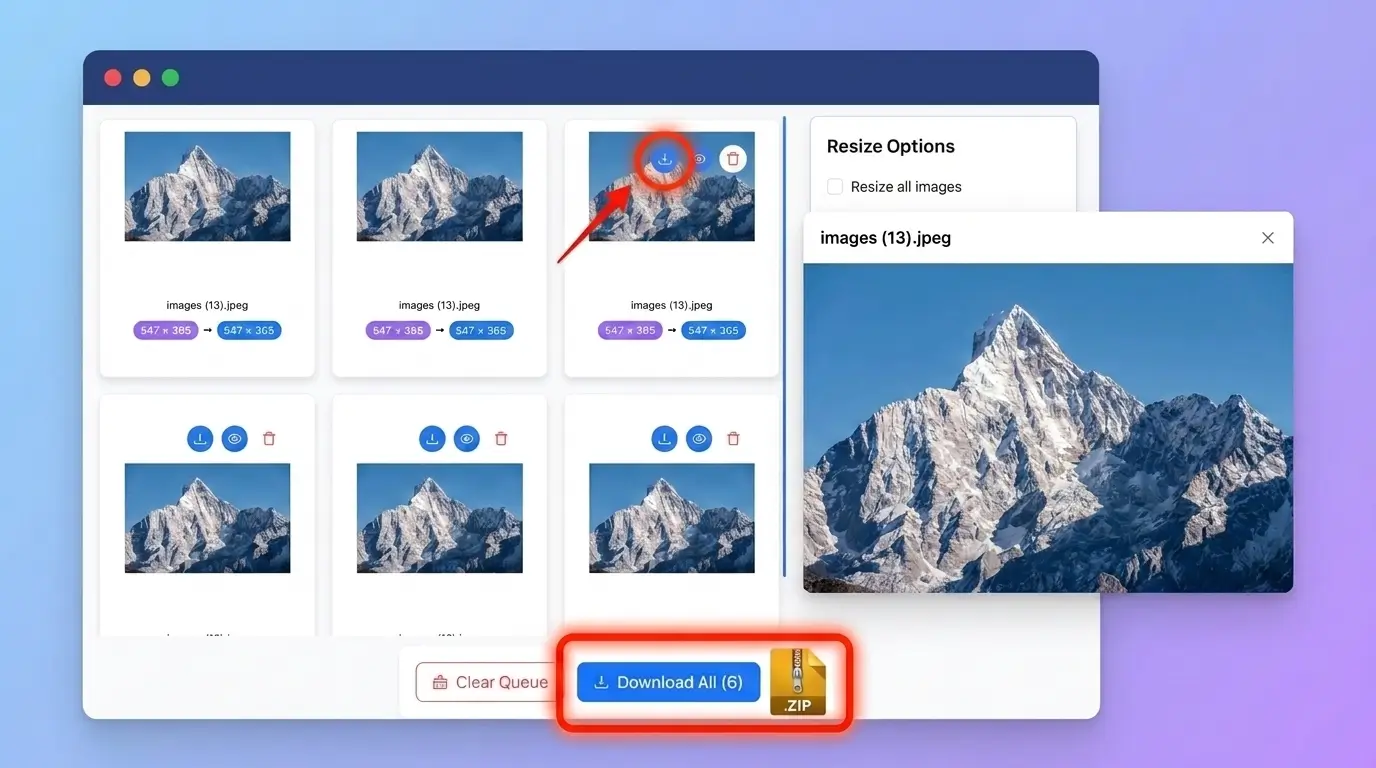
A browser-based image resizer is useful when you want to change dimensions without installing desktop software. If the image contains sensitive information, consider your privacy requirements before uploading it to an online service.
Check the downloaded file to make sure its dimensions, appearance, and format meet your requirements. An online resizer is a practical option for occasional edits, and for sensitive images, consider whether uploading the file to an online service is appropriate for your privacy needs.
How to Resize an Image Without Stretching It
One common problem when resizing pictures is changing their shape by accident. A person may look wider, a circle may become an oval, or an object may appear unnaturally narrow. This usually happens when the new width and height do not preserve the original aspect ratio.
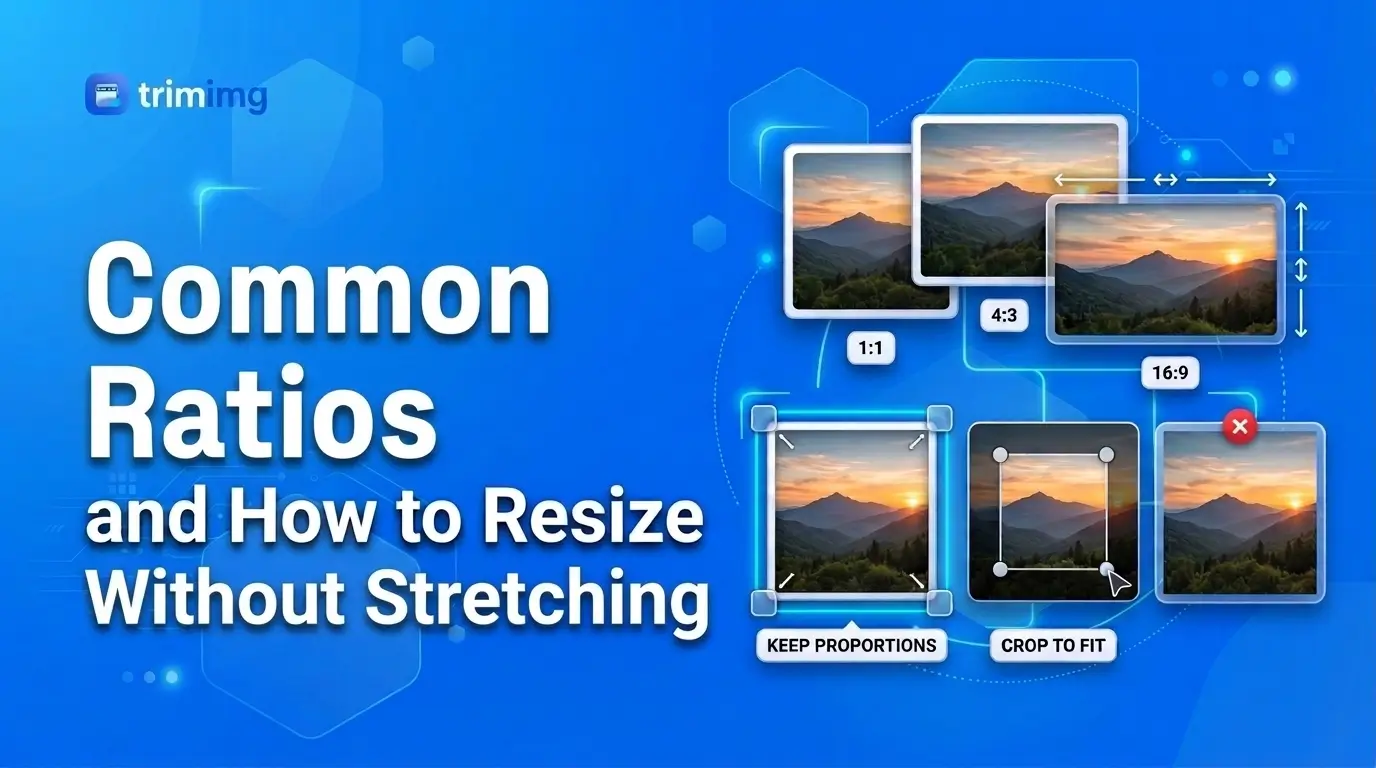
An image's aspect ratio describes the relationship between its width and height. For example, a 1600 × 900 pixel image has a 16:9 aspect ratio. There are three main ways to fit an image into new dimensions without stretching it.
1. Lock the Aspect Ratio
This is the simplest option when you want to make the whole image smaller or larger. Enable the aspect ratio setting in the resizing tool, enter the new width or height, and let the tool calculate the other dimension. Reducing a 1600 × 900 image to 800 pixels wide produces an image measuring 800 × 450 pixels. The entire image remains visible, but you cannot independently force it to fill an unrelated width and height without changing its shape.
2. Crop the Image
Cropping removes part of the picture to create the required shape. Suppose you have a landscape image measuring 1600 × 900 pixels, but you need a square image measuring 800 × 800 pixels. Simply changing the dimensions would stretch the picture. Instead, crop the image to a square shape and then resize it to 800 × 800 pixels. Cropping works well for profile pictures, product thumbnails, and social media images when the subject can remain visible after part of the image is removed.
3. Add Padding
Padding adds empty space around an image so that it fits a particular canvas without cutting off the original content. If you need a square image but have a wide landscape photo, you can place the photo on a square canvas and fill the extra space with a background color. This preserves the full picture while creating the required output dimensions. Padding is useful when cropping would remove important details, though the trade-off is that the final image includes extra space around the subject.
Use locked proportions when you want the entire image to become smaller or larger. Use cropping when the image must fill a specific shape. Use padding when you need exact canvas dimensions but cannot remove any part of the original picture. Avoid entering unrelated width and height values simply to match a required size, since that is one of the most common causes of distorted images.
How to Resize an Image Without Losing Quality
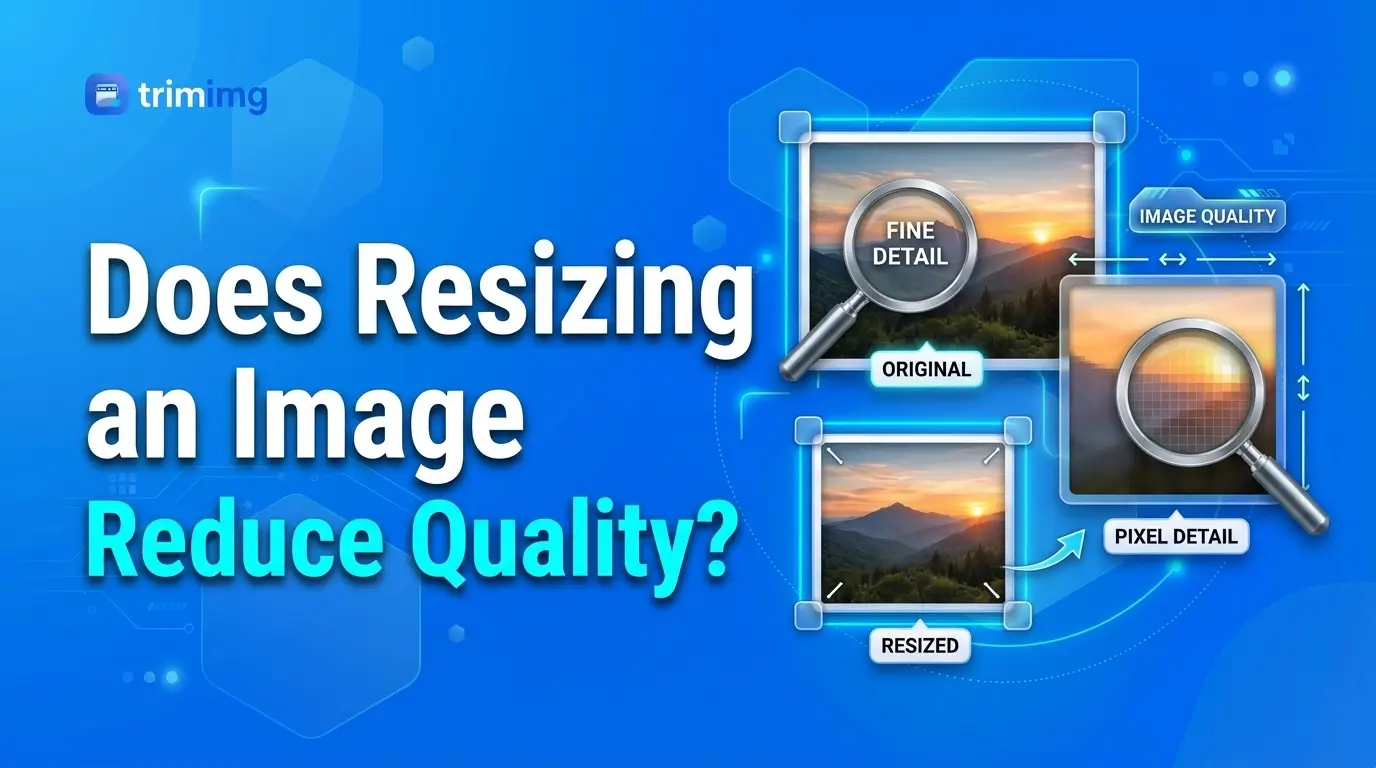
Resizing changes the number of pixels in an image. The result depends on the original resolution, the new dimensions, the image format, and the method used to resize it. Reducing an image's dimensions usually works well when the original picture is large enough. Enlarging a small image, however, cannot restore details that were never captured.
- Start with the original image. Whenever possible, resize the original file rather than repeatedly resizing an already reduced copy. Each time you resize an image, the software recalculates its pixels, and repeated edits can make details less clear, especially with compressed JPEG images.
- Keep the original proportions. Lock the aspect ratio unless you have a specific reason to change the image's shape. This prevents stretching and helps maintain a natural appearance.
- Avoid enlarging small images too much. If you increase the dimensions of a small image, the software must create additional pixels, and the result may look blurry or pixelated. Enlarging a 400 × 300 image to 1600 × 1200 pixels does not automatically produce the detail of a photograph captured at that larger resolution.
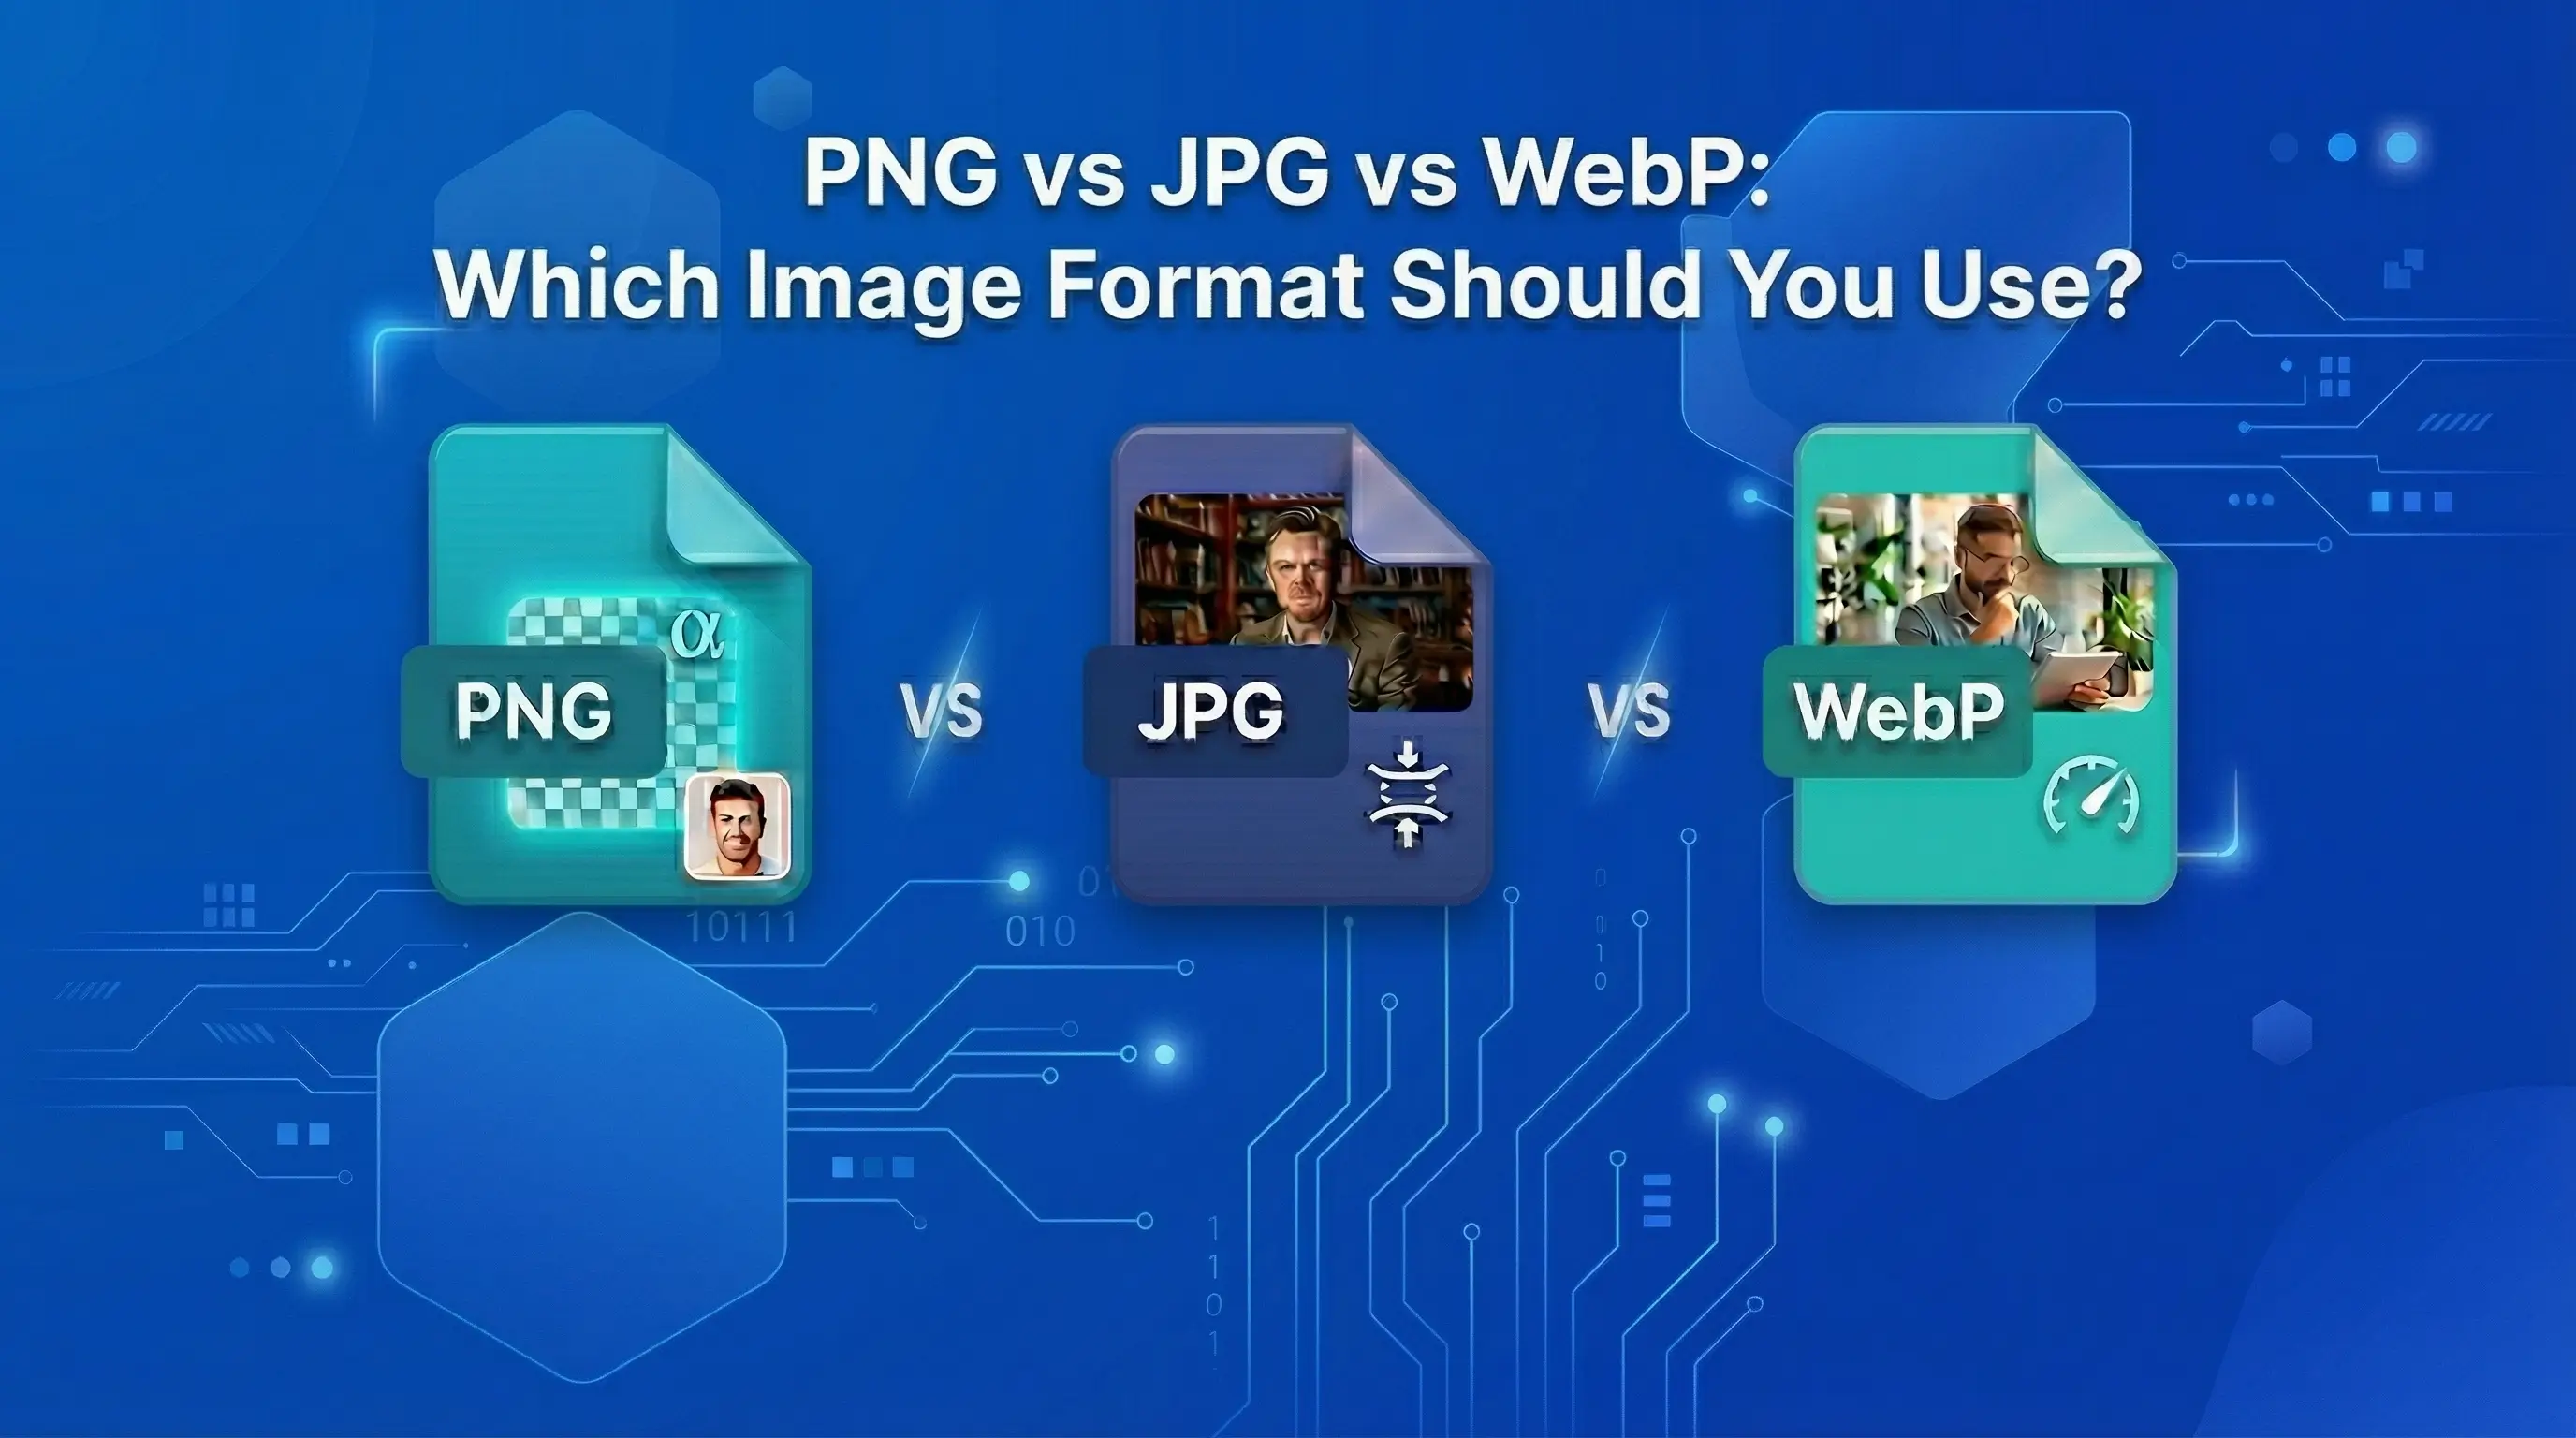
Choose the right file format. The file format also affects image quality and file size. JPEG suits photographs and many everyday images, but repeatedly saving a JPEG with lossy compression can reduce quality. PNG is useful for screenshots, graphics, and images that need transparency, though PNG files can be larger than JPEG files for photographic content. WebP supports efficient compression and can be a good option for websites when the intended platform supports it.
Changing dimensions and changing formats are separate operations. If you convert an image to another format, check the output quality and file size rather than assuming the conversion will always make the file smaller.
How to Resize an Image to a Specific File Size in KB
Sometimes the requirement is not a particular width or height. Instead, a website, form, or email service may ask for an image under 100 KB, 200 KB, or another file-size limit. Resizing and compression are different processes. Resizing changes the image's pixel dimensions, and compression changes how the image data is stored and can reduce the amount of disk space it uses. Reducing dimensions often reduces file size, but the result depends on the image content and format, so a smaller image is not guaranteed to meet a particular KB limit.
Reduce the dimensions if appropriate: If your image is much larger than necessary, reduce its dimensions in Paint or another image resizer. A large photograph intended for a small online form may not need thousands of pixels in width.
Check the new file size: On Windows, right-click the saved image in File Explorer and select Properties to check the file's size. If the file is still too large, you may need to compress it.
Compress the image: Use the TrimIMG Image Compressor to reduce the file size further. For JPEG and WebP images, adjusting compression quality can often reduce file size substantially. If you need to stay below a strict limit, leave a little room below the maximum, because different systems may display or interpret file sizes differently.
Check the final image: Confirm both the dimensions and file size before uploading the image. For example, a form may require an image that is no larger than 200 KB and has a maximum width of 1000 pixels, and meeting only one requirement is not enough.
Resizing vs. Cropping vs. Compressing an Image
These operations solve different problems, so choosing the right one saves time.
| Operation | What it changes | When to use it |
|---|---|---|
| Resizing | Pixel dimensions | When an image needs to be smaller or larger |
| Cropping | The visible area of the image | When you need a different shape or want to remove unwanted areas |
| Compression | File size and, depending on the format, image quality | When an image must fit a KB or MB limit |
| Upscaling | Pixel dimensions, using interpolation or other enhancement methods | When you need a larger version of a small image |
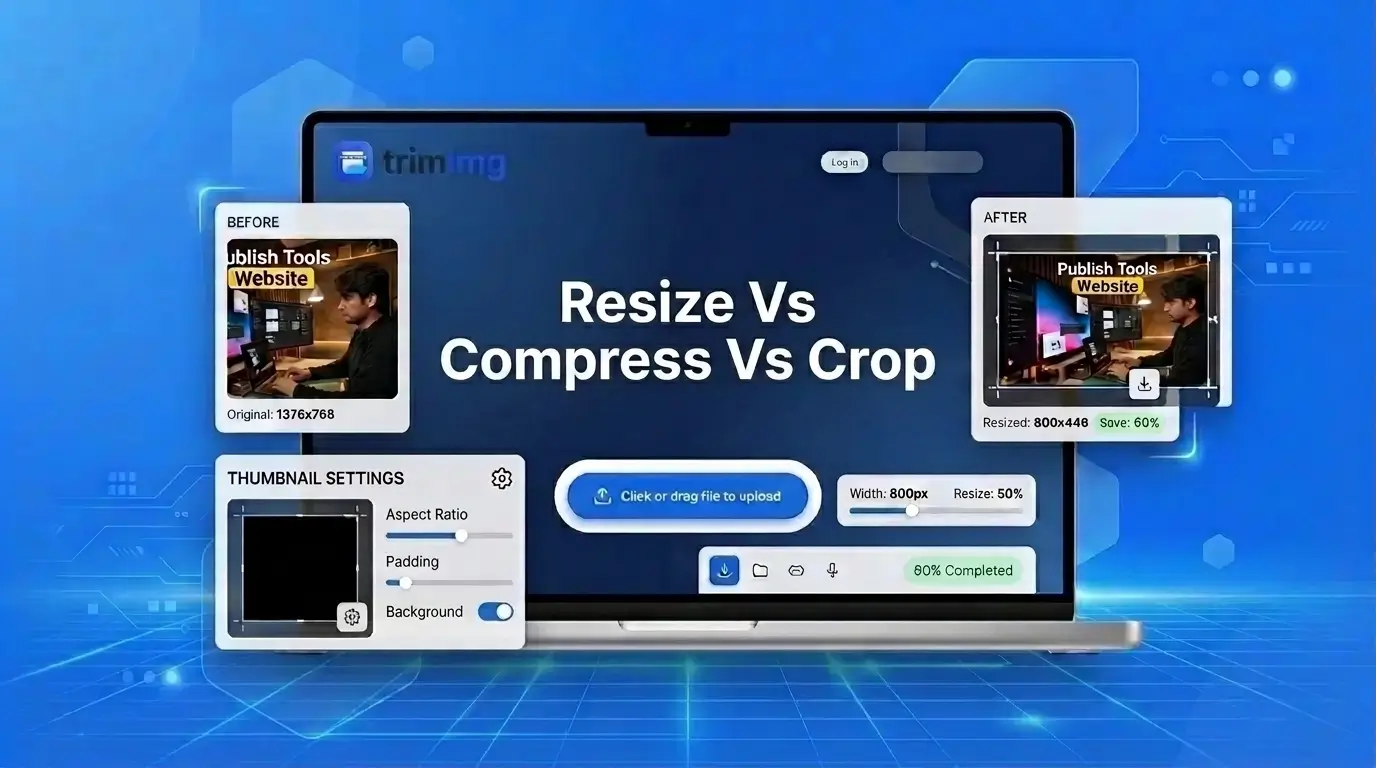
For example, if a photograph is too large for an email attachment, resizing may help. If it must fit a strict attachment limit, compression may also be necessary. If the image has the wrong shape for a profile picture, cropping may be more appropriate than resizing alone.
Common Problems When Resizing Images on Windows
- The resized image looks stretched. Check whether the aspect ratio was locked before changing the dimensions. If the width and height were changed independently, resize the original again using proportional dimensions.
- Paint does not show the expected dimensions. Open the Resize window and check whether you selected Pixels or Percentage. Also confirm that you are editing the correct image.
- The resized file is still too large. Reducing pixel dimensions does not always bring a file below a required size. Try image compression or use a more suitable format if the destination supports it.
- Photos does not show a resize option. The available features depend on the installed Photos version. Use Paint when you need direct control over pixel dimensions, or use another suitable resizer.
- PowerToys does not appear in the right-click menu. Confirm that PowerToys is installed and that Image Resizer is enabled in its settings. On Windows 11, check Show more options in the context menu.
- The image becomes blurry after enlarging. The original may not contain enough detail for the new dimensions. Try a smaller enlargement or use an image upscaler if you need a larger version.
Frequently Asked Questions
How do I resize an image on Windows 10?
Open the image in Paint, select Resize, choose Pixels or Percentage, enter the new dimensions, and save the result. Keep the aspect ratio selected to avoid distortion.
How do I resize an image on Windows 11?
You can use Paint, the Photos app when its version supports resizing, or PowerToys Image Resizer. Paint works well for individual pictures, while PowerToys is useful for batch resizing.
How do I resize an image in Paint without stretching it?
Open Resize and select Maintain aspect ratio. Enter the desired width or height, and let Paint calculate the other dimension automatically.
Can I resize an image to exact pixel dimensions?
Yes. Paint allows you to enter pixel dimensions directly. If you need a specific width and height that do not match the original aspect ratio, crop or add padding instead of stretching the image.
Can I resize multiple images at once in Windows?
Yes. Microsoft PowerToys includes Image Resizer, which can process multiple selected images from File Explorer. You need to install PowerToys and enable the utility first.
Can I resize an image in Windows without installing software?
Yes. Paint is included with Windows and can resize individual images. You can also use an online image resizer in your browser if you prefer not to install additional software.
Does resizing an image reduce its file size?
Often, yes. Reducing pixel dimensions usually lowers file size, but the amount varies by image and format. If the file must meet a strict KB limit, you may also need compression.
How do I make a picture smaller without losing quality?
Start with the original image, preserve its aspect ratio, and reduce the dimensions only as much as necessary. Avoid repeatedly resizing compressed files, and check the final result before using it.
What is the difference between resizing and compressing a photo?
Resizing changes the image's pixel dimensions. Compression reduces the amount of data used to store the image. You may need both if you want smaller dimensions and a specific file-size limit.
Can I resize a JPG image on Windows 10 or 11?
Yes. Open the JPG in Paint, change the dimensions using Resize, and save the result. You can also use PowerToys for multiple JPG files or an online resizer for browser-based editing.
How do I resize a photo for printing on Windows?
First, check the required print dimensions and resolution. Resize the image if necessary, but keep in mind that print quality depends on the number of pixels available for the physical print size. Enlarging a low-resolution image may make it look blurry.
The best way to resize an image on Windows 10 or 11 depends on the job. Use Paint when you need precise pixel dimensions for one picture. Choose the Photos app if your version provides the resize controls you need. Use PowerToys when you want to resize multiple images together, or choose an online resizer when you prefer not to install desktop software.
Before saving the result, check the dimensions, preserve the aspect ratio, and confirm the final file size if you have an upload limit. These simple checks help you get an image that fits your needs without unnecessary distortion or quality loss.
Resize your image in seconds
No installs, no sign-up. Use TrimIMG's free online resizer to change your image's dimensions without stretching it.
Found this helpful? Share it with your team:
Hello, it's Mujahid Hussain Creative and Professional Senior Software Engineer with 6+ years of experience building rich and interactive websites. I have a comprehensive understanding of WordPress themes, plugins, databases, and its functions.