How to Resize an Image to 100KB Online
 Mujahid H.
- November 9, 2026
- 10 min read
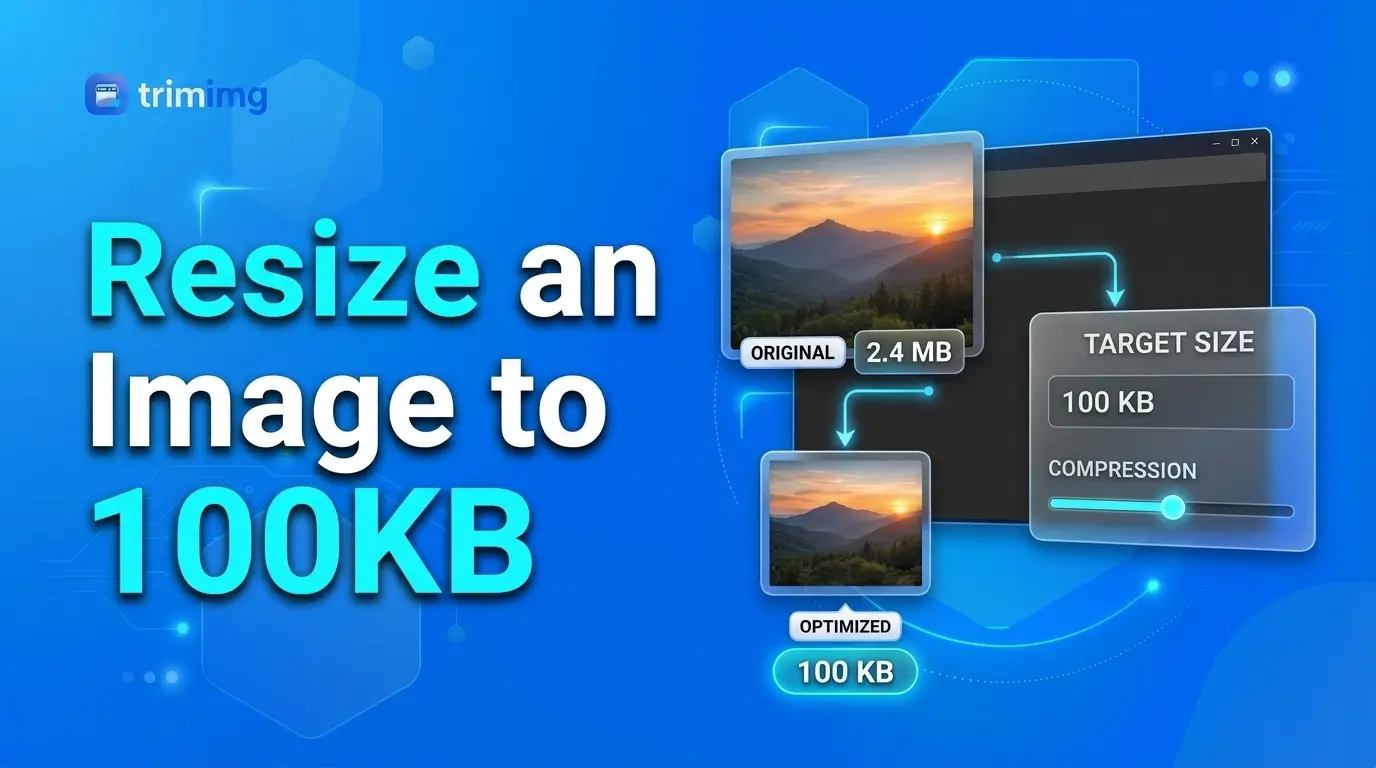
An online image resizer is a convenient option when you need to reduce a photograph for a website, application form, email or other upload.
Follow these steps:
- Open the online image resizer.
- Upload the original image from your device.
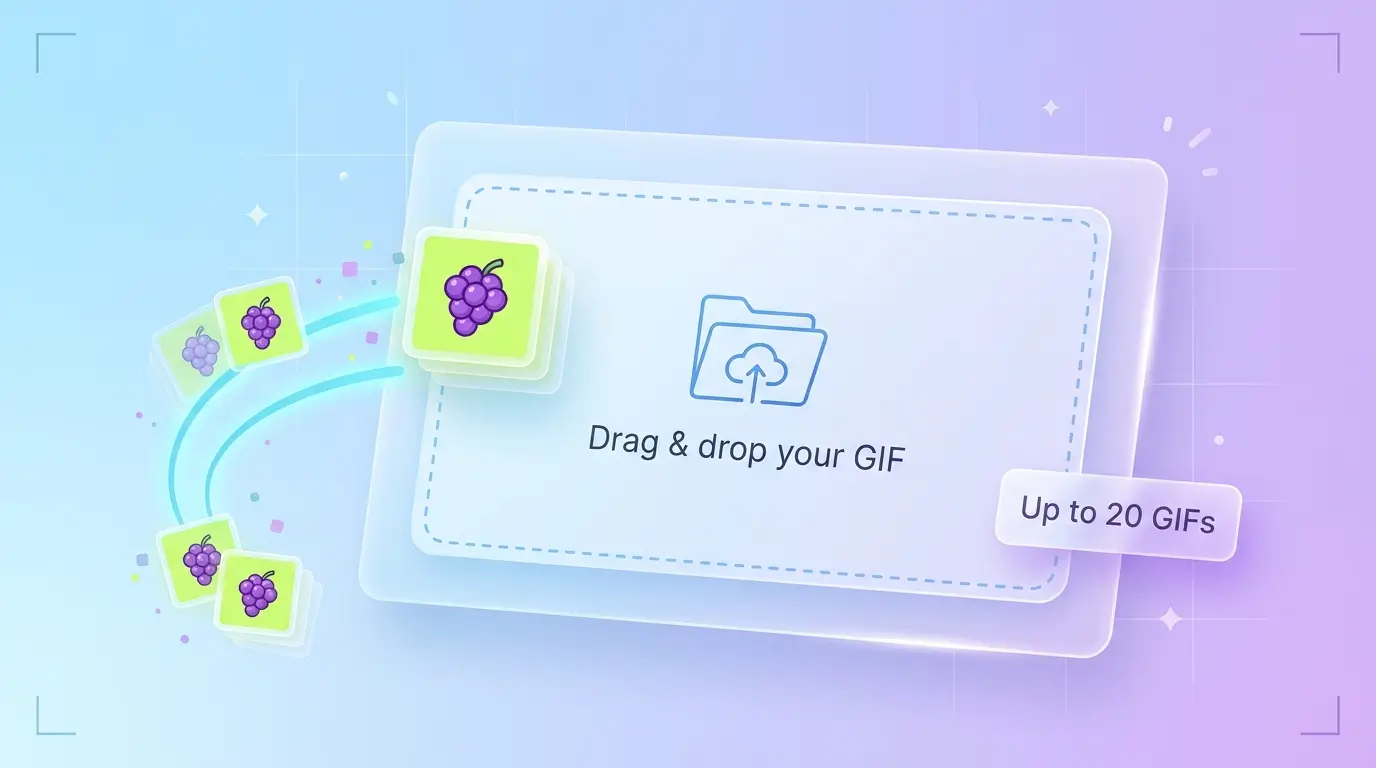
- Check its current file size and pixel dimensions.
- Reduce the dimensions if the image is larger than necessary.
- Choose a suitable output format and compression setting where available.
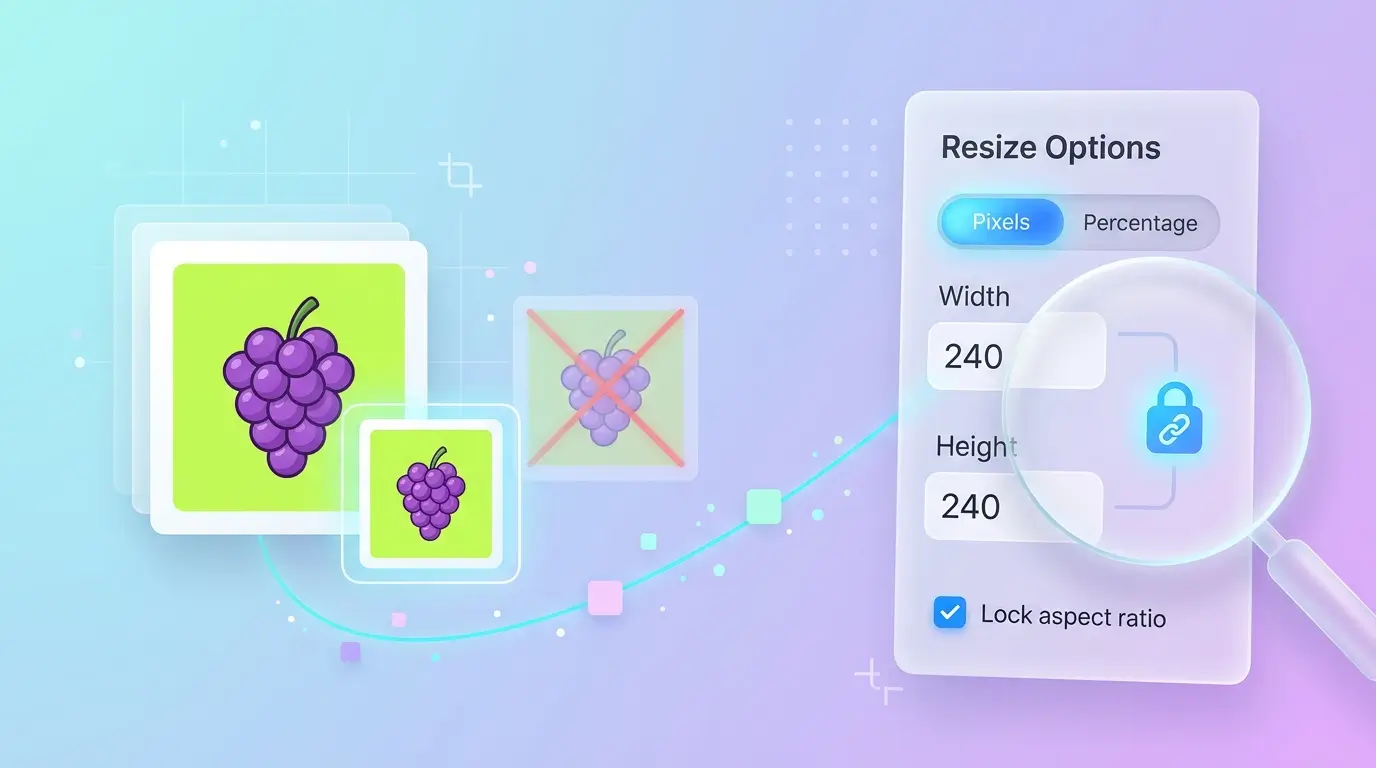
- Download the processed image.
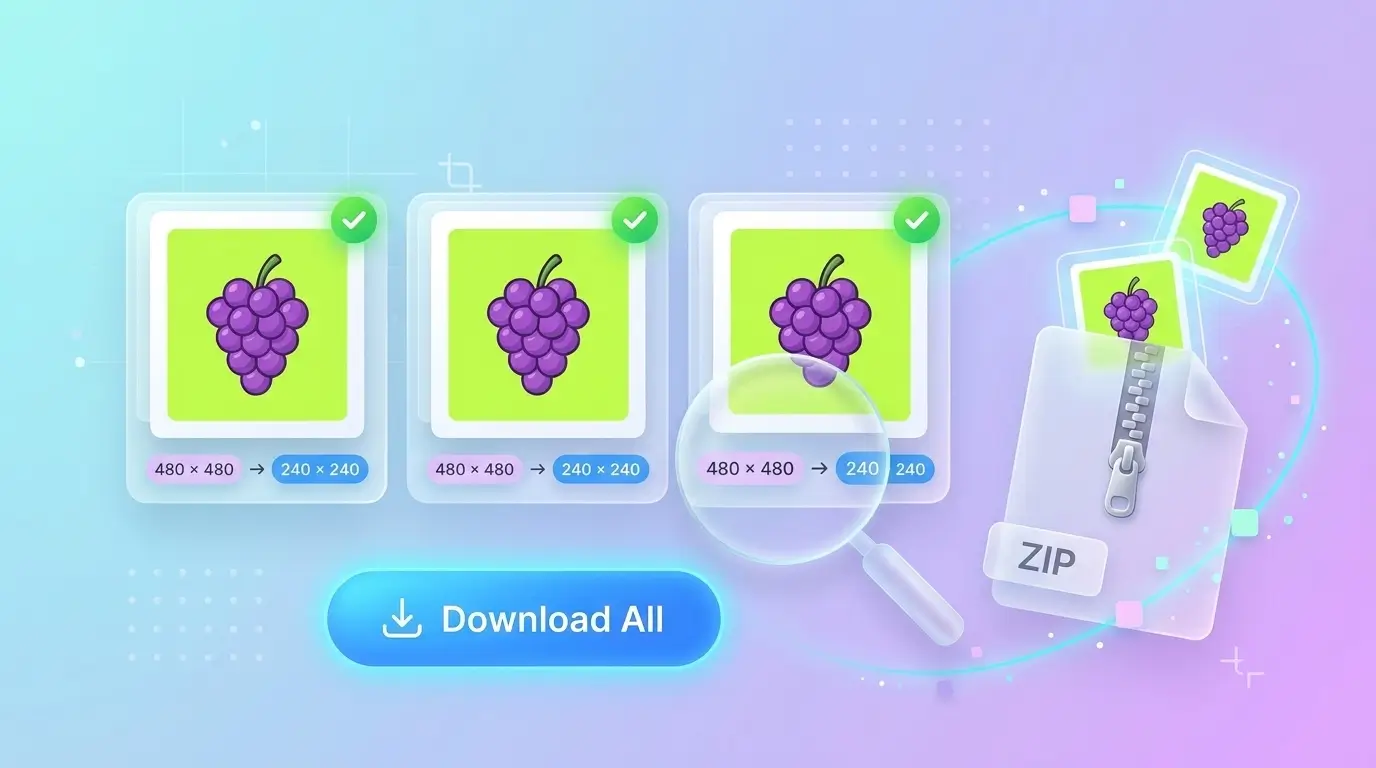
- Check its file size and visual quality.
- If it is still larger than 100KB, adjust the dimensions or compression gradually.
Important: Setting an image's dimensions does not guarantee that its file size will be exactly 100KB. The final size also depends on the image's content, format, compression quality and metadata.
For the clearest result, start with the original image and make small adjustments instead of immediately applying strong compression.
Why Does an Image Become Blurry When Reduced to 100KB?
An image can lose visible detail when too much information is removed during resizing or compression.
Two processes commonly affect image quality:
Resizing: Reducing pixel dimensions removes pixels from the image. If the output dimensions become too small, fine details may disappear.
Compression: Lossy compression reduces file size by discarding some image information. Strong compression can create visible artifacts, blocky areas, blurry edges and color changes.
For example, a photograph originally measuring 4000 × 3000 pixels may contain much more detail than a website needs. Reducing it to more suitable dimensions can lower its file size without requiring extremely aggressive compression.
However, if you try to force the same photograph into 100KB using compression alone, the result may look noticeably worse.
The best approach is to balance dimensions and compression rather than relying on only one method.
How to Reduce a JPG to 100KB Without Losing Visible Detail
JPG is a common format for photographs because it supports lossy compression and can produce relatively small files.
Use this workflow to reduce a JPG photograph to 100KB:
- Start with the original JPG file.
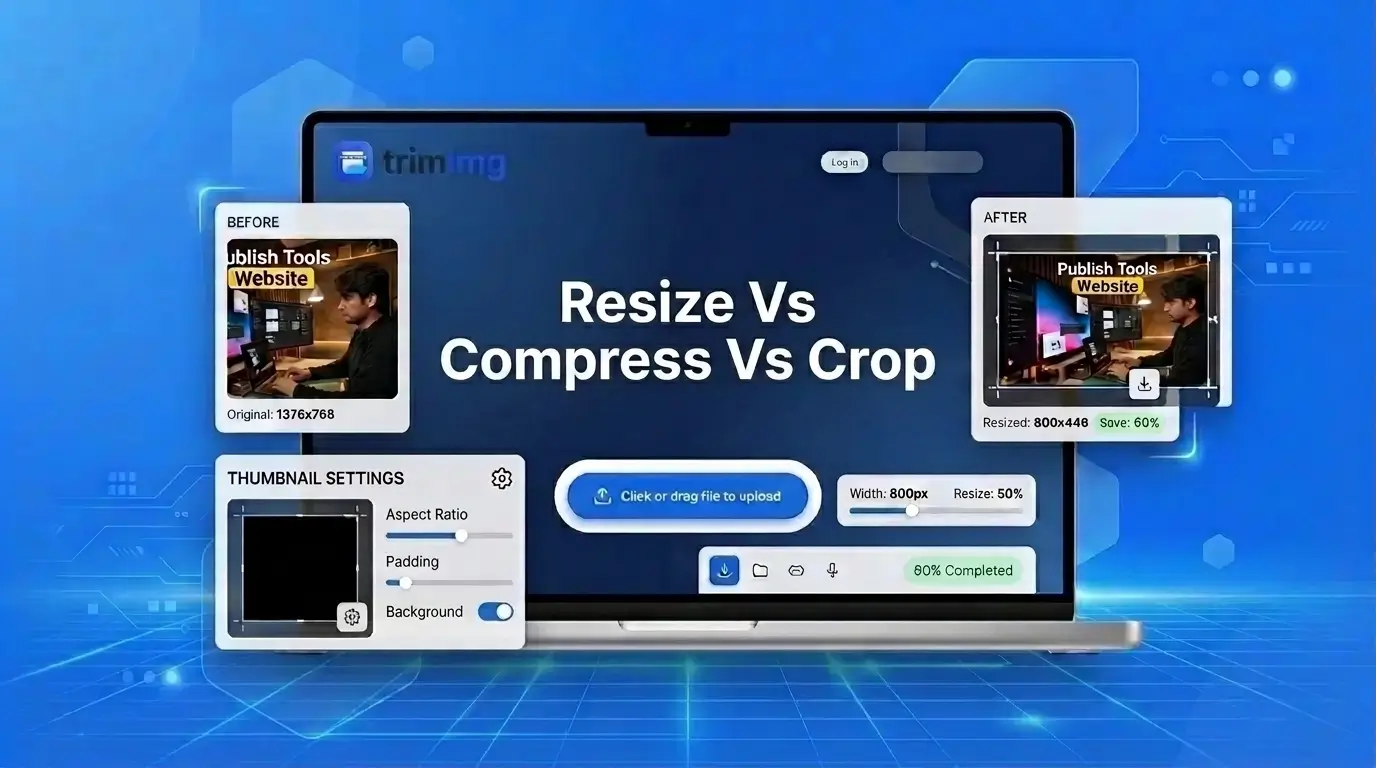
- Crop unnecessary background areas if appropriate.
- Reduce the pixel dimensions to match the intended display size.
- Save the image using moderate JPEG compression.
- Check the resulting file size.
- If it is above 100KB, make a small additional adjustment.
- Open the final image and inspect important details.
Example: Reducing a large photograph
Imagine you have a photograph with these properties:
| Property | Original image |
|---|---|
| Dimensions | 4000 × 3000 pixels |
| Format | JPG |
| File size | 2.8 MB |
| Target file size | Under 100KB |
The original image is much larger than the required upload size. Reducing its dimensions can remove unnecessary pixel data, while JPEG compression can further reduce the file size.
The exact output dimensions and quality setting will depend on the photograph. A simple portrait against a plain background may compress more efficiently than a detailed outdoor photograph.
Do not assume that one JPEG quality percentage will produce the same file size for every image. Adjust the settings and check the output instead.
Which Image Dimensions Should You Use for a 100KB File?
The right dimensions depend on where the image will be displayed.
A photograph used as a small profile picture does not need the same pixel dimensions as a large website banner. Keeping unnecessarily large dimensions can make it harder to meet a 100KB limit.
Use these as general starting points, not guaranteed settings:
| Intended use | Possible starting dimensions |
|---|---|
| Small thumbnail | 300–500 px wide |
| Profile image | 400–800 px on the longer side |
| Small website image | 600–900 px wide |
| Blog content image | 800–1200 px wide |
Always check the website's requirements first. If it specifies exact dimensions, use those rather than the suggested starting points.
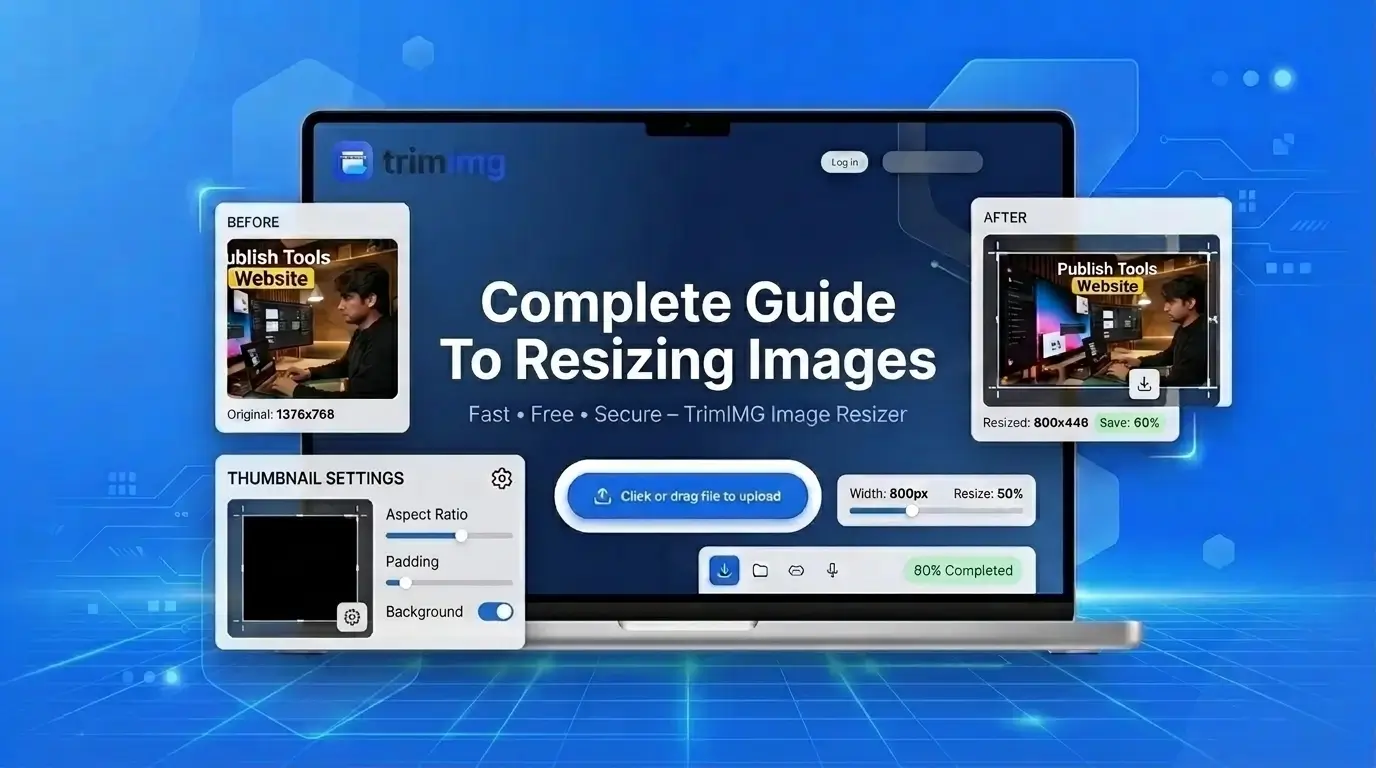
If you want to understand how pixel dimensions affect file size, read the complete guide to resizing images.
How to Choose the Right Image Format for a 100KB Limit
The image format can make a noticeable difference to file size and visual quality.
| Format | Best suited for | What to consider |
|---|---|---|
| JPG/JPEG | Photographs | Good compression, but excessive compression can create artifacts |
| PNG | Screenshots, graphics and transparency | Can produce larger files, especially for photographs |
| WebP | Website photographs and graphics | Often provides efficient compression, but may not be accepted by every upload form |
For most photographs, JPG is a practical starting point when the destination accepts it. WebP may provide a smaller file at similar visual quality, but you should check format compatibility before converting.
PNG is usually more appropriate when transparency or sharp graphic edges matter. Converting a photograph to PNG does not necessarily make it smaller.
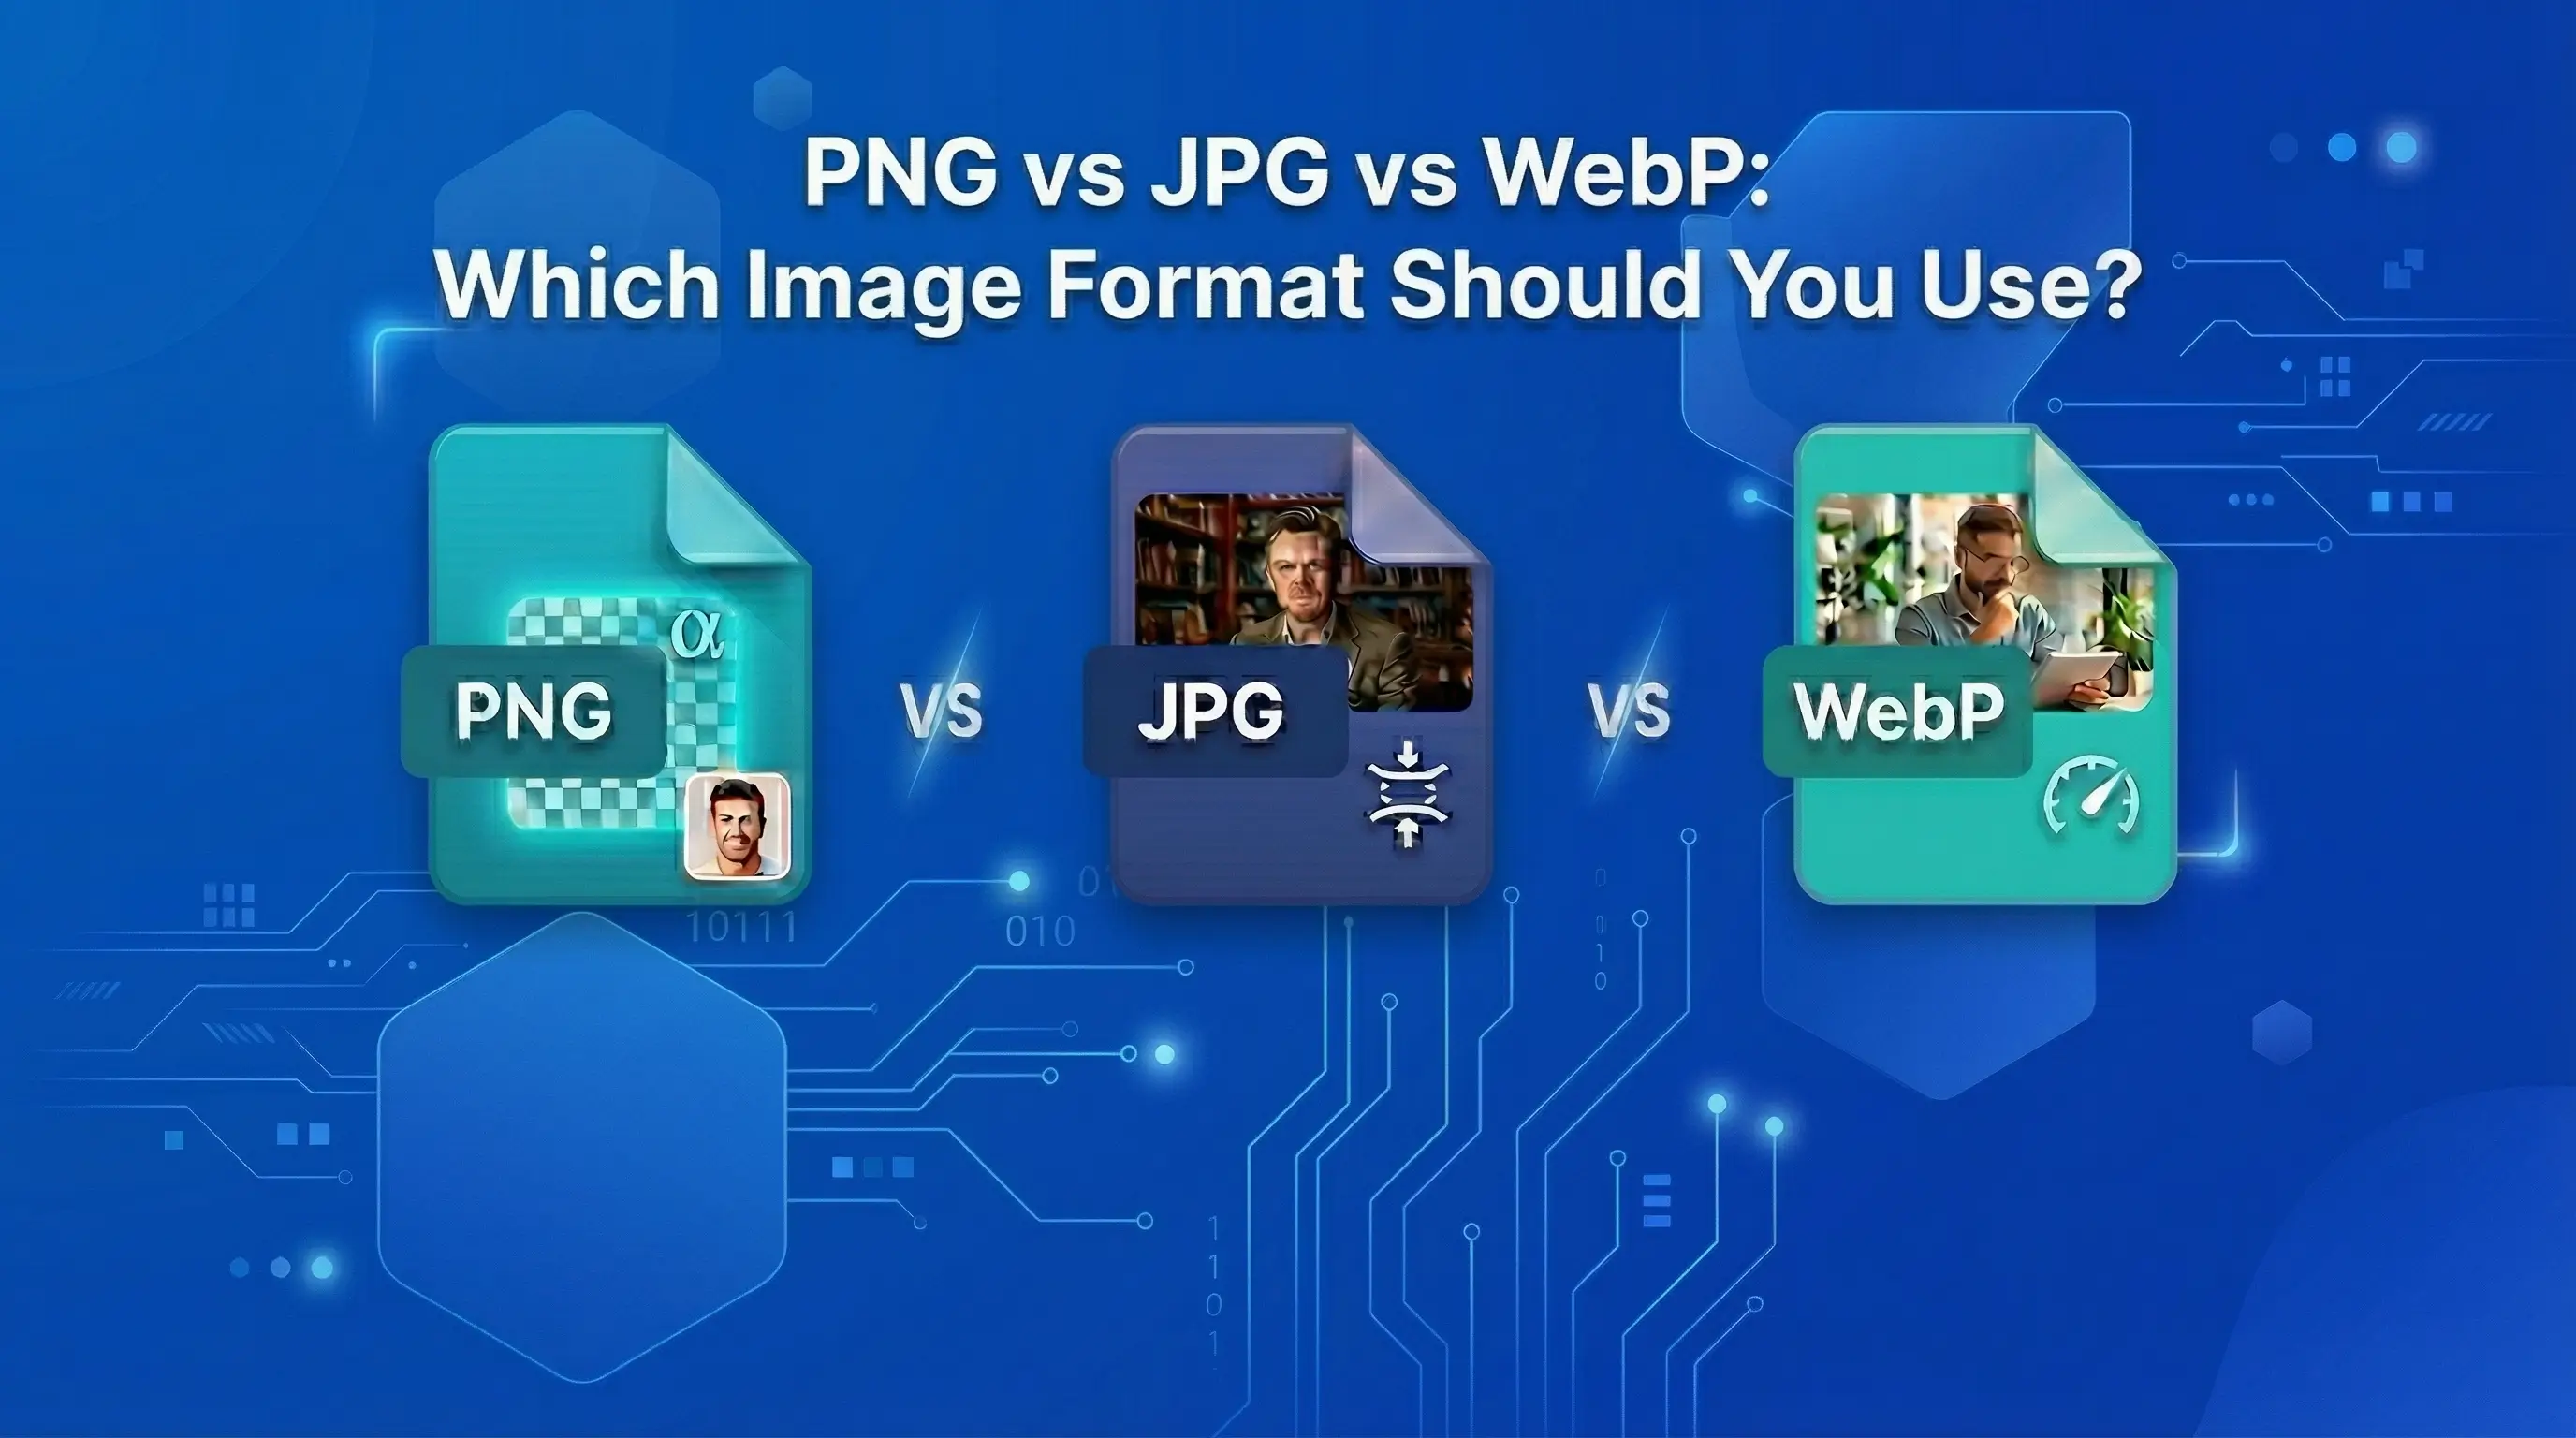
For a more detailed comparison, see PNG vs. JPG vs. WebP.
How to Compress a Photo to 100KB for a Website
Websites often benefit from smaller images because they require less data to download. However, reducing every image to exactly 100KB is not always necessary.
The ideal file size depends on the image dimensions, display area and visual importance.
For a website photograph:
- Find the actual display dimensions of the image.
- Resize the original to a suitable width and height.
- Choose JPG or WebP if supported by your website.
- Apply moderate compression.
- Compare the final image with the original.
- Check the file size and make further adjustments if needed.
A small thumbnail may be perfectly clear at 100KB or less, while a large hero image may need more data to preserve its details.
Avoid reducing an image below the dimensions at which it will be displayed. Otherwise, it may appear soft or pixelated on larger screens.
How to Get an Image Under 100KB Without Blur
If your image is slightly above 100KB, you may only need a small adjustment. If it is several megabytes, you will probably need to combine resizing and compression.
Use these techniques to preserve visible detail:
1. Start with the original image
Do not use a file that has already been compressed several times. Repeated lossy saves can gradually reduce image quality.
2. Crop unnecessary areas
If the image contains empty space that is not important, cropping can reduce the amount of data that needs to be stored. Keep the subject and required composition intact.
3. Resize before applying strong compression
If the original dimensions are much larger than necessary, reduce them first. This can make it easier to reach the target without relying on excessive compression.
4. Use moderate compression
Avoid choosing the lowest quality setting immediately. Make gradual adjustments and inspect the result.
5. Compare important details
Check faces, text, edges, hair and textured backgrounds. These areas can reveal compression artifacts more clearly than plain backgrounds.
6. Keep the original file
Save a separate copy of the reduced image. This allows you to try different settings without repeatedly degrading the same file.
How to Check Whether Your Image Is Below 100KB
After resizing or compressing an image, check the downloaded file rather than relying on the settings you selected.
On Windows:
- Open File Explorer.
- Find the processed image.
- Right-click the file.
- Select Properties.
- Check the file size under the General tab.
On Mac:
- Find the image in Finder.
- Right-click it.
- Select Get Info.
- Check the size shown in the information window.
On a phone, you can usually find the file size in the Photos, Files or Gallery app, depending on your device.
If the file is still above 100KB, make another small adjustment. Also check the image dimensions and format to ensure they meet the destination's requirements.
For more detailed instructions, see how to check an image's dimensions and file size.
Why Is My Image Still Larger Than 100KB?
If your image remains above the target after resizing, consider these common causes.
The dimensions are still too large
A photograph with thousands of pixels may remain relatively large even after a small reduction. Reduce the dimensions further if the intended use allows it.
The image contains complex details
Photographs with trees, hair, textured clothing, buildings and detailed backgrounds can require more data than simple images.
The compression is not strong enough
A high-quality setting may preserve more detail but leave the file above 100KB. Adjust compression gradually and check the result.
The file format is not suitable
A PNG photograph may be larger than a comparable JPG or WebP image. If transparency is not required, try a supported alternative.
The original image has already been edited or compressed
Repeated editing and saving can affect the final quality. Start again from the original whenever possible.
Common Mistakes That Make Reduced Images Look Worse
Avoid these mistakes when trying to reduce an image to 100KB:
- Reducing dimensions too aggressively: This removes more pixels than the intended display requires.
- Using maximum compression immediately: Strong compression can produce blocky textures and blurry details.
- Ignoring the display size: An image may look clear as a small thumbnail but poor when enlarged.
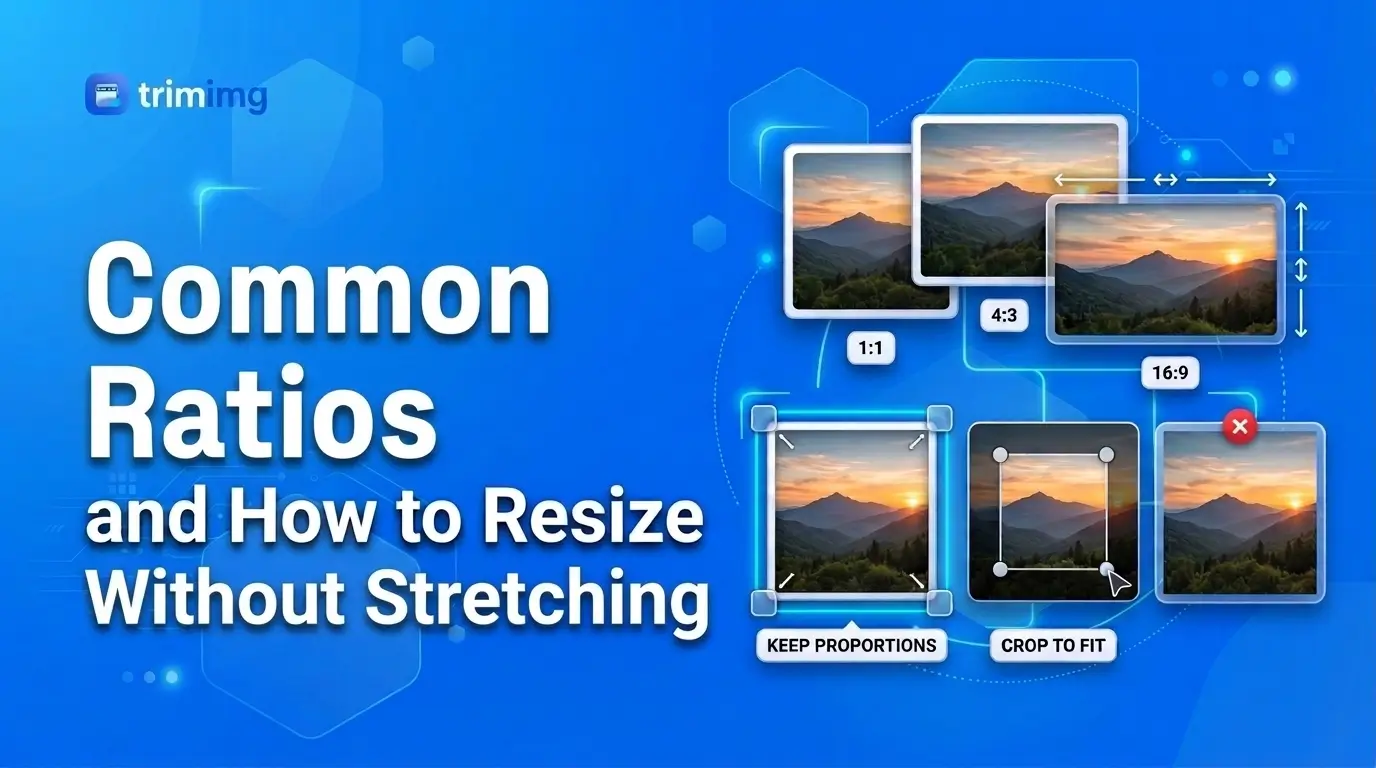
- Changing the aspect ratio: Stretching an image can distort the subject.
- Repeatedly saving a JPG: Each lossy save can introduce further quality loss.
- Checking only the file size: A file can meet the 100KB requirement but still look unsuitable.
A good result meets the file-size requirement while retaining enough detail for its intended use.
Frequently Asked Questions
How do I resize an image to 100KB online?
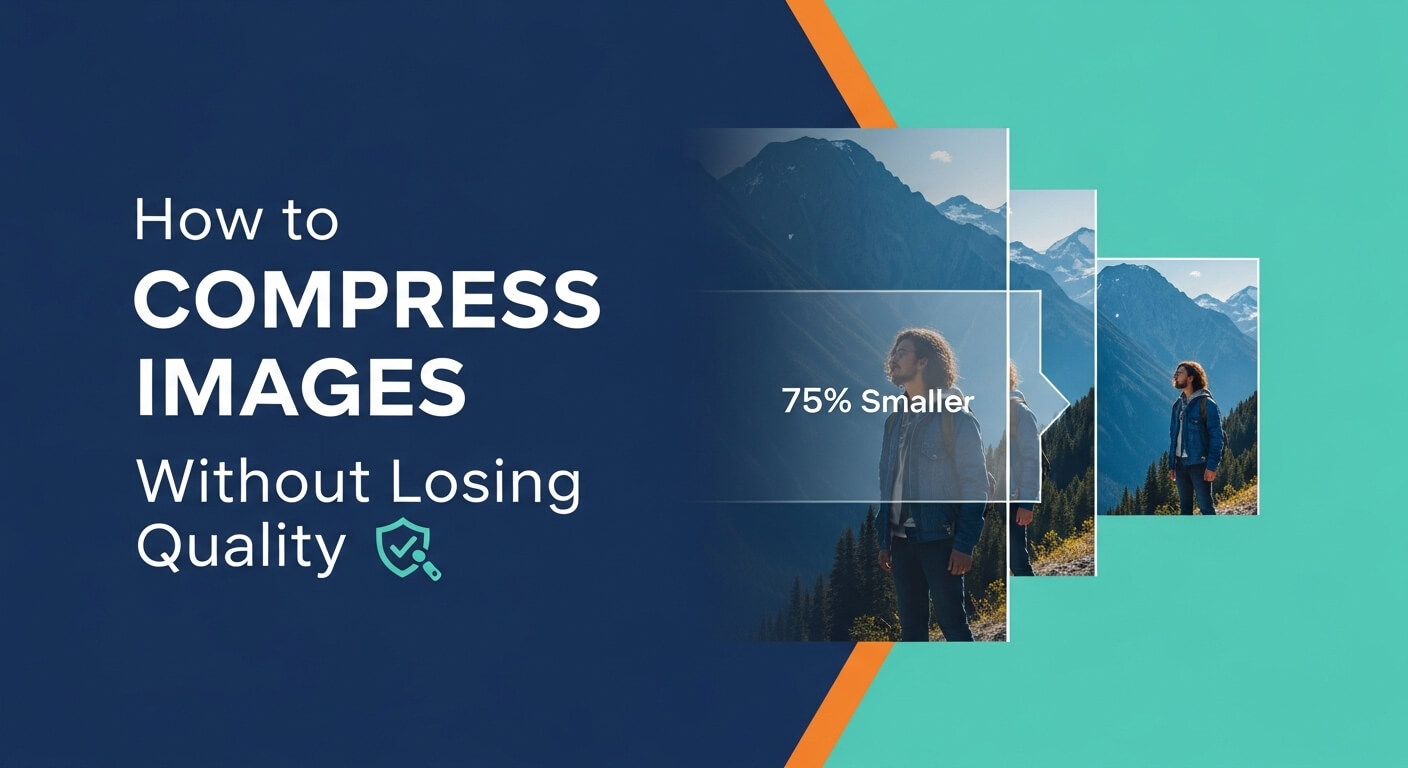
Upload your original image to an online image tool, reduce its dimensions if necessary and adjust compression using a suitable format. Download the result and check the file size. If it remains above 100KB, make further adjustments gradually.
How do I reduce a JPG to 100KB?
Crop unnecessary areas, resize the image to suitable dimensions and apply JPEG compression. Check the resulting file size after each adjustment to avoid unnecessary quality loss.
Can I reduce an image to 100KB without losing quality?
It depends on the original image and how much reduction is required. Resizing and compression can reduce file size while preserving much of the visible detail, but lossy compression may discard some image information.
Why does my image become blurry after compression?
The compression may be too strong, or the image dimensions may be too small for its intended display. Start again with the original, use larger dimensions where possible and apply less aggressive compression.
Is JPG or PNG better for a 100KB image?
JPG is often more suitable for photographs because it supports efficient lossy compression. PNG is useful for graphics, screenshots and transparency. Choose the format that suits the image and is accepted by the destination.
Is 100KB enough for a website image?
It can be enough for small images, thumbnails and some website photographs. Larger images may need more data to retain detail. Choose file size based on display dimensions and visual quality rather than applying the same limit to every image.
Does reducing image dimensions always reduce file size?
Usually, reducing pixel dimensions can lower file size because fewer pixels need to be stored. However, the final size also depends on the image content, format, compression and metadata.
Final Thoughts
Reducing an image to 100KB without visible blur is mainly about balancing pixel dimensions and compression quality. Start with the original image, remove unnecessary areas, resize it to suitable dimensions and use moderate compression.
If the image is still too large, make small adjustments rather than immediately choosing the strongest compression setting. Always compare the final result with the original and check that the file meets the upload requirements.
You can use the TrimIMG image resizer to prepare supported images for websites, forms and other uploads. Check the downloaded file's size and appearance before using it.
Resize your photo to 100KB without the blur
No installs, no sign-up. Upload your image, adjust dimensions and compression, and download a file ready for your upload.
Found this helpful? Share it with your team:
Hello, it's Mujahid Hussain Creative and Professional Senior Software Engineer with 6+ years of experience building rich and interactive websites. I have a comprehensive understanding of WordPress themes, plugins, databases, and its functions.