How to Resize an Image in Canva (and Free Alternatives)
 Mujahid H.
- October 29, 2026
- 10 min read
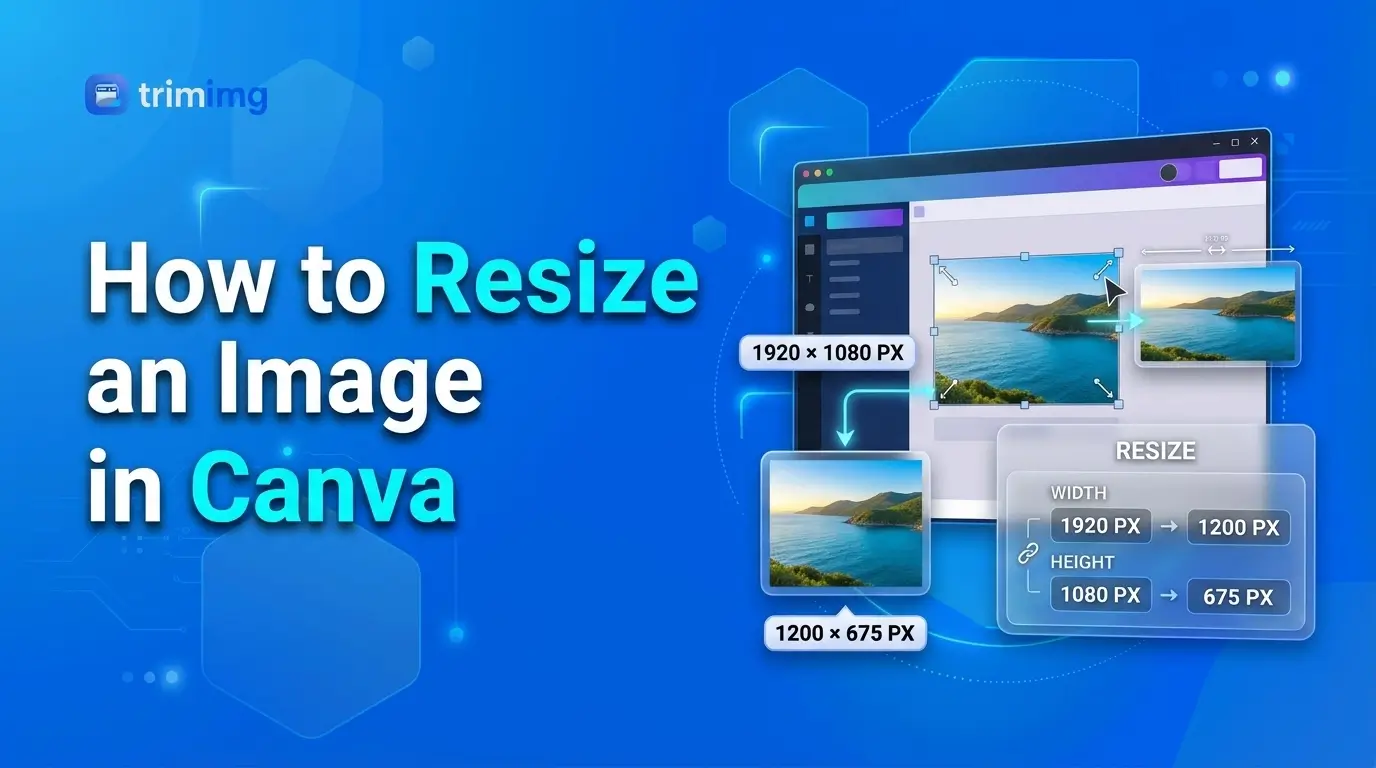
Canva makes it easy to create social media graphics, presentations, thumbnails, and marketing materials. But if you need to resize an existing design, change an image to exact pixel dimensions, or prepare a photo for an online upload, the right method depends on what you're trying to resize.
You can resize an image inside a Canva design by adjusting its size or crop. Changing the dimensions of the entire design is a different process, and Canva's dedicated Resize and Magic Resize features are generally part of its paid plans.
The good news is that you don't always need Canva Pro to get the dimensions you want. In this guide, you'll learn how to resize an image in Canva, what Canva Free lets you do, how to work around the paid resize feature, and when a free online image resizer is the simpler option.
Quick answer: How to resize an image in Canva
The correct method depends on your goal:
- Resize a photo inside a design: Select the image and drag a corner handle, or use the available size controls.
- Change the entire design's dimensions: Use Canva's Resize or Magic Resize feature if your plan supports it.
- Resize without Canva Pro: Create a new design at the required dimensions if Custom size is available to your account, then copy and adjust your existing elements.
- Resize a standalone photo to exact pixels: Use a dedicated online image resizer such as TrimIMG.
Canva's official documentation explains the difference between resizing an element and resizing the full design. Its dedicated design-resizing feature is available on eligible paid, education, nonprofit, and team plans, subject to plan-specific access.
What does resizing an image in Canva mean?
The phrase "resize an image in Canva" can refer to three different tasks.
1. Resizing a photo inside a design
This changes the size at which a photo appears on the canvas. For example, you might make a product photo smaller so it fits beside a headline.
The overall design dimensions remain the same.
2. Resizing the entire Canva design
This changes the canvas dimensions, such as turning a square social media post into a landscape banner. The text, images, shapes, and other elements may need repositioning to fit the new layout.
Canva's Resize or Magic Resize feature helps with this task on eligible plans.
3. Changing a standalone image's pixel dimensions
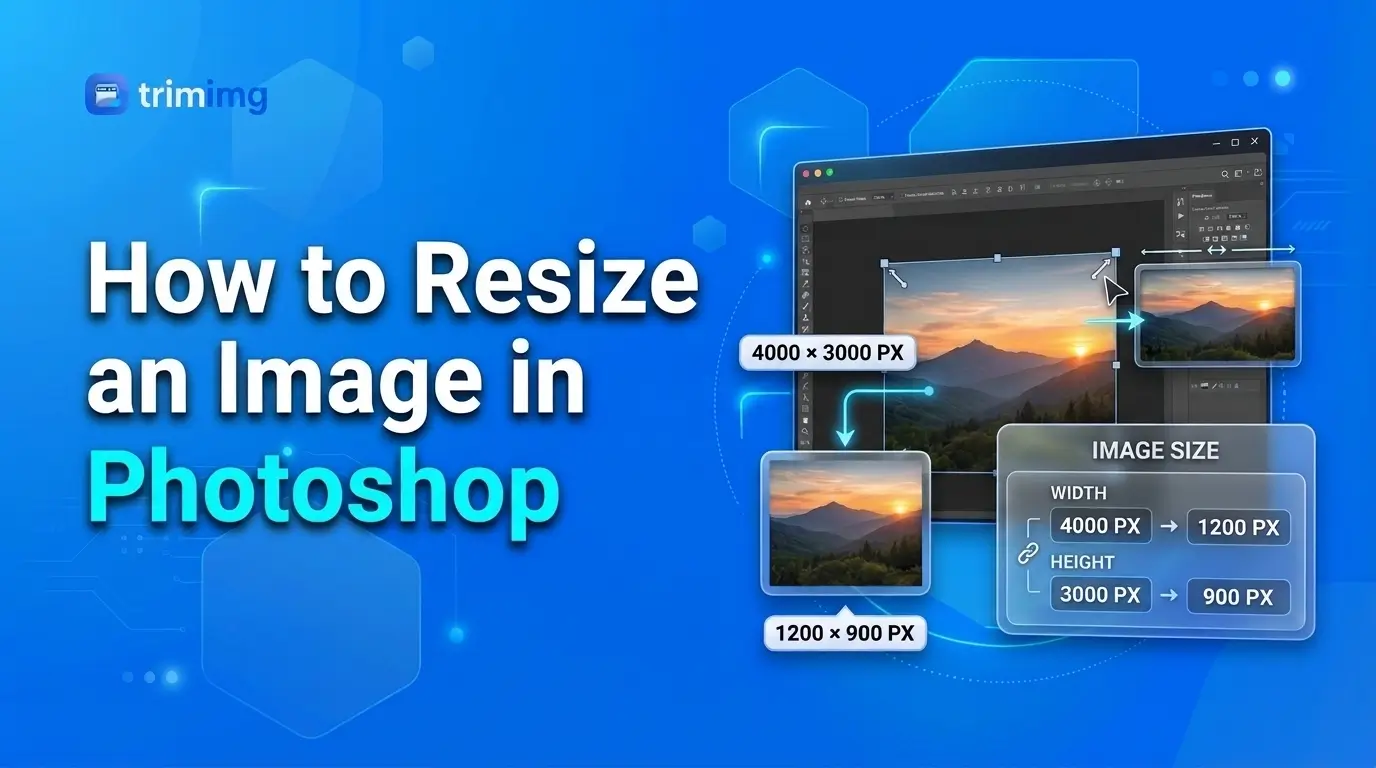
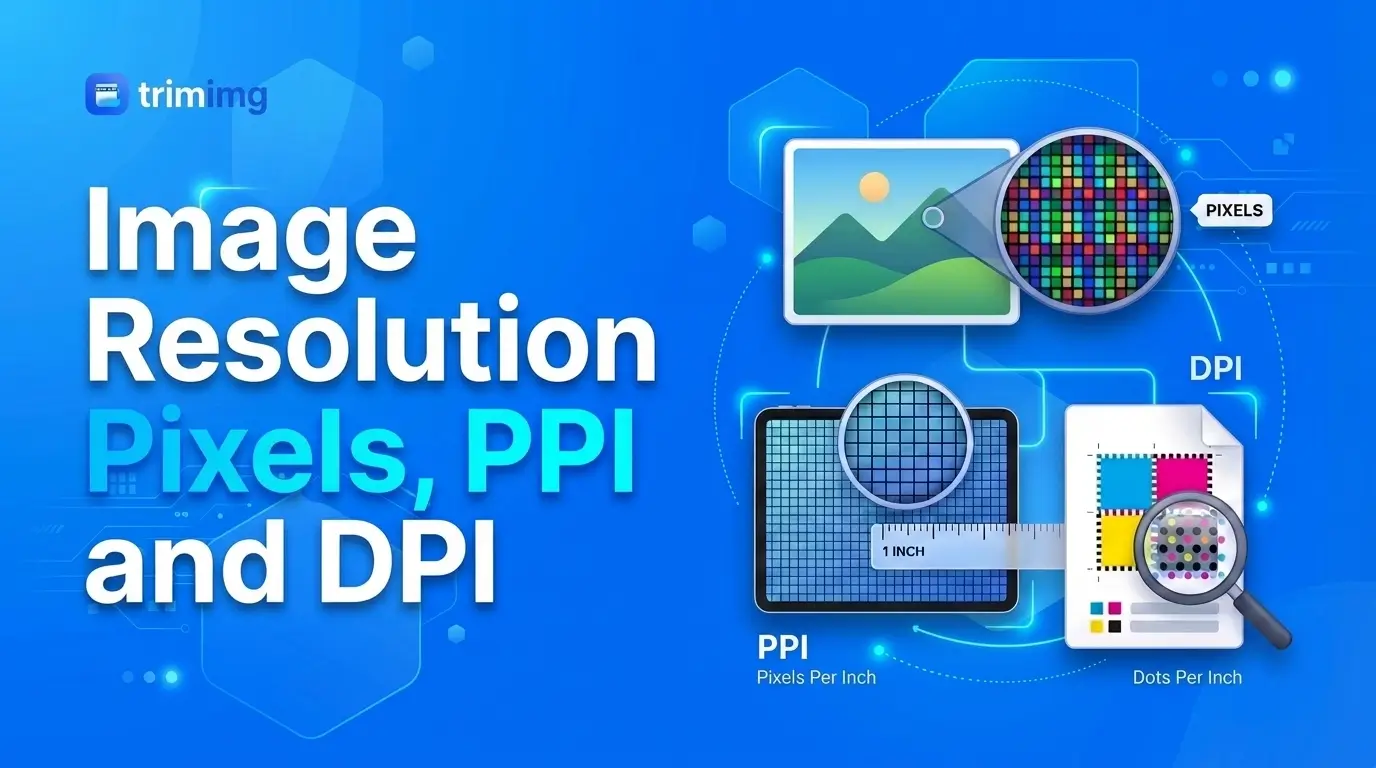
This means changing the actual width and height of an image file, such as converting a 4000 × 3000-pixel photo to 1200 × 900 pixels.
If this is all you need, a dedicated online image resizer is usually more direct than creating a Canva design around the photo.
Understanding this distinction will help you choose the fastest workflow.
How to resize an image inside a Canva design
If your photo is already part of a Canva design, you can change its displayed size without resizing the entire canvas.
- Open your design in Canva.
- Click or tap the photo you want to resize.
- Drag one of its corner handles inward to make it smaller or outward to make it larger.
- Check that the photo still fits the layout.
- If necessary, use the Crop controls to adjust which part of the image is visible.
- Download the finished design when you're satisfied.
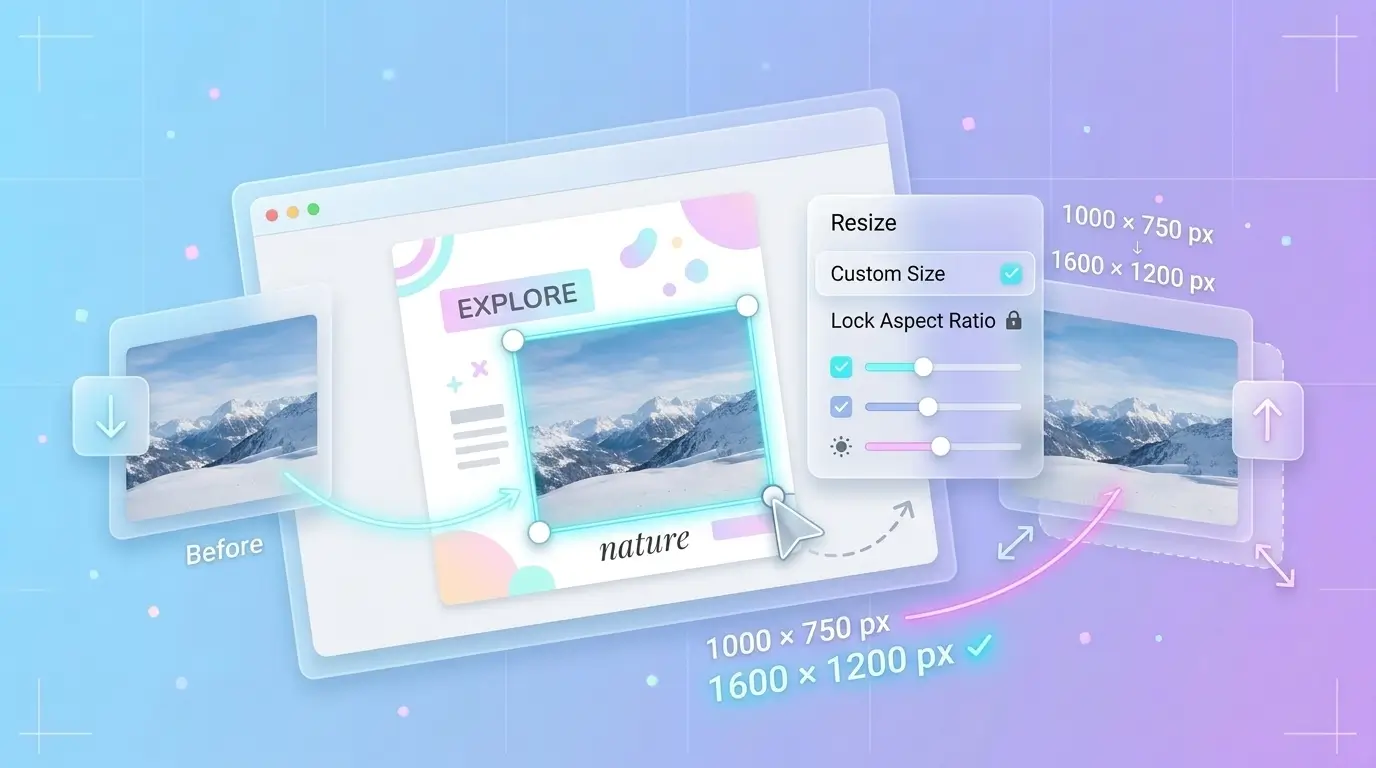
Canva also provides more precise element-sizing controls through the toolbar's Position and Advanced options in supported editor views. You can enter width and height values and use the ratio control to preserve proportions.
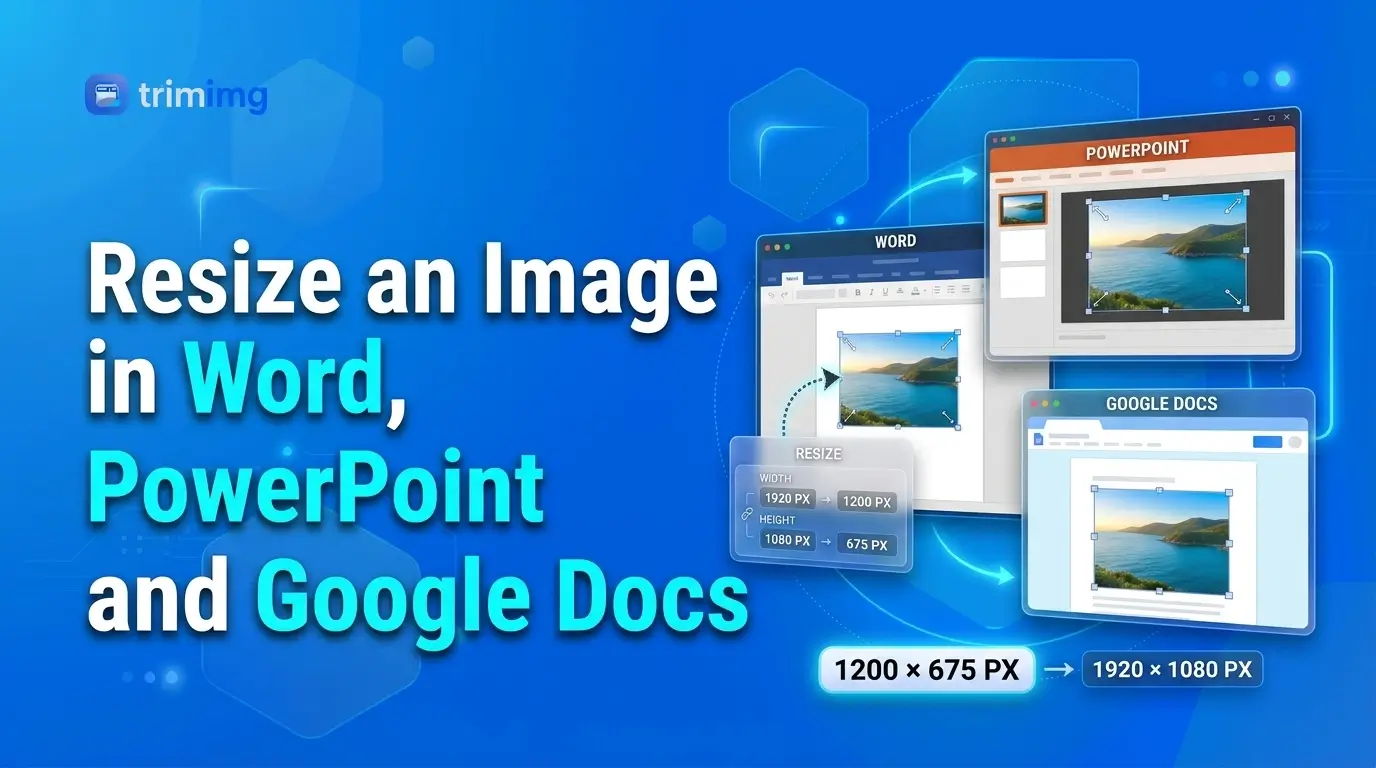
Important: Changing an image element's displayed size doesn't necessarily change the dimensions of the exported file. If your canvas is 1080 × 1080 pixels, making a photo smaller inside that canvas won't automatically produce a smaller output file.
How to resize the entire design using Canva Magic Resize
Canva's dedicated design-resizing feature is useful when you want to reuse a design across different platforms.
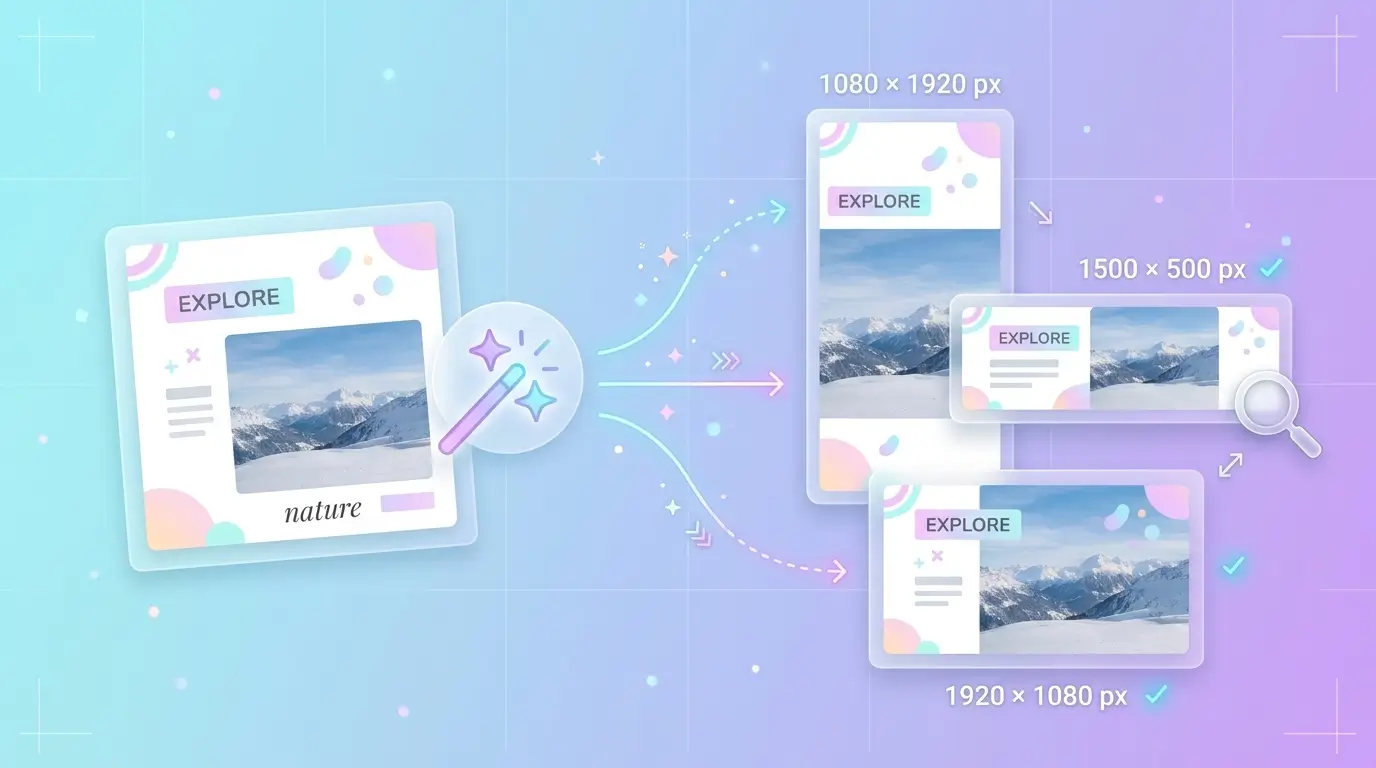
For example, you might have a square promotional graphic and want to adapt it into a vertical Story or a landscape banner. Rather than rebuilding everything from scratch, you can create versions with different dimensions.
Canva's interface and feature labels can vary, but its official help documentation describes the Resize workflow and the option to create a resized copy.
Steps to resize a Canva design
- Open the existing design.
- Find Resize or the corresponding design-resizing option in the editor.
- Choose a suggested format or select Custom size.
- Enter the target width and height, choosing the appropriate unit.
- Select the pages you want to resize if the design contains multiple pages.
- Choose Copy & resize to preserve the original, or use the available option to resize the current design.
- Review the new version and adjust the layout where necessary.
Does Canva Magic Resize work on the free plan?
Canva's dedicated Magic Resize/design-resizing feature is not generally included in the standard Free plan. Canva lists Magic Resize among its Pro features, while the Help Center identifies the plans eligible for the Resize workflow.
This is an important distinction because you may be able to create and edit a design for free without having access to the one-click feature that converts it into multiple sizes.
If you only need to resize one photo, paying for a design feature you won't use again may be unnecessary. The next section explains a practical workaround.
How to resize an image in Canva for free without Pro
If your Canva account allows you to create a new design with custom dimensions, you can manually recreate the resized version without using the paid one-click Resize feature.
This approach works best for simple graphics. It may require more adjustment for complicated designs with many text boxes, frames, and overlapping elements.
Step 1: Create a new design with custom dimensions
Open Canva and choose the option to create a new design. Look for Custom size, enter your target width and height, and select pixels if you're preparing a digital graphic.
For example, if you want to create a 1200 × 630-pixel blog graphic, enter those dimensions.
If Custom size isn't available to your account or editor, use a suitable available design format or resize the exported image with a dedicated tool instead.
Step 2: Copy elements from your original design
Open your original design in another tab. Select the elements you want to reuse, copy them, and paste them into the new design if the editor permits it.
For a simple design, you may be able to copy the background, photo, headline, and logo together. For a complex design, copy individual groups or elements so you can control their placement.
Step 3: Adjust the layout
The new canvas may have a different aspect ratio, so don't assume the elements will fit automatically.
- Reposition the main photo.
- Adjust the headline and body text.
- Resize logos and decorative elements.
- Crop images when necessary.
- Check margins and spacing.
A square design converted to a wide banner will usually need more than a simple reduction in size. Some elements may need to move or be redesigned.
Step 4: Download the new design
When the layout looks right, choose Share → Download and select an available format such as PNG or JPG.
Check the exported image's dimensions before uploading it to a website or platform.
This workaround avoids relying on Magic Resize, but it is manual rather than automatic. If you need to produce several different formats regularly, the time saved by Canva's paid feature may be worthwhile.
What Canva features are free, and what requires payment?
Canva's plan features can change, so check the current plan details before purchasing a subscription. The following table summarizes the important distinctions for this tutorial.
| Task or feature | Canva Free | Paid access |
|---|---|---|
| Create and edit basic designs | Available | Available |
| Resize a photo element with corner handles | Available | Available |
| Crop a photo inside a design | Available | Available |
| Dedicated Magic Resize / design resizing | Generally not included | Available on eligible plans |
| Create a new custom-sized design | Available where the account/editor offers it | Available |
| Download standard PNG or JPG files | Available, subject to design and asset restrictions | Available |
| Adjust advanced download quality and size controls | More limited | Additional controls |
| Download a PNG with a transparent background | Generally paid-only | Available on eligible plans |
| Background Remover | Paid feature | Available on eligible plans |
Canva's current pricing and Help Center pages identify Magic Resize, advanced export controls, transparent-background downloads, and Background Remover as paid-plan features.
One additional detail: a design containing premium assets may have download restrictions on a free account. If Canva asks you to pay before downloading, check whether the design contains premium elements.
How to download a resized image from Canva
Once your design is ready, exporting it in the right format helps ensure it looks suitable for its intended use.
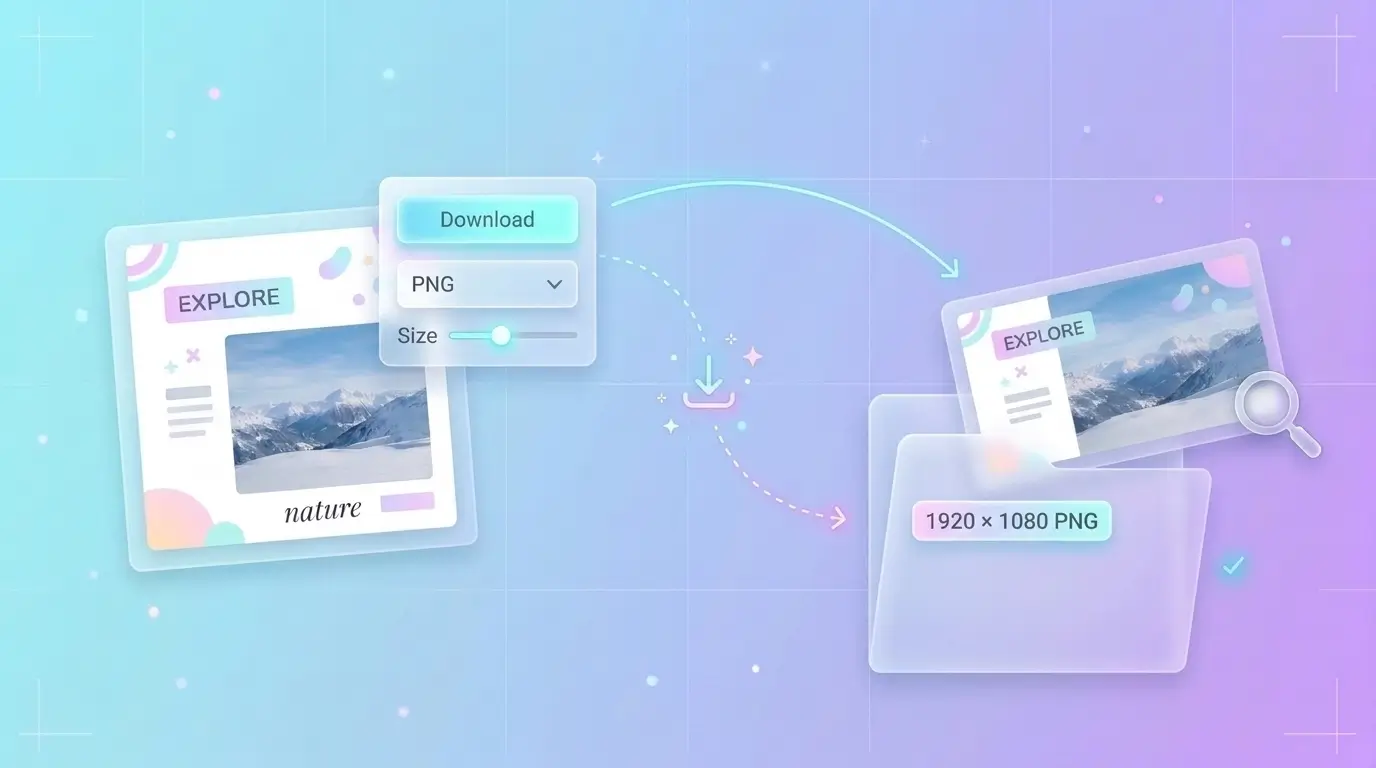
- Open your finished design.
- Select Share → Download.
- Choose PNG or JPG.
- Select the relevant pages if the design contains multiple pages.
- Adjust any available size or quality options.
- Download the file and check its dimensions.
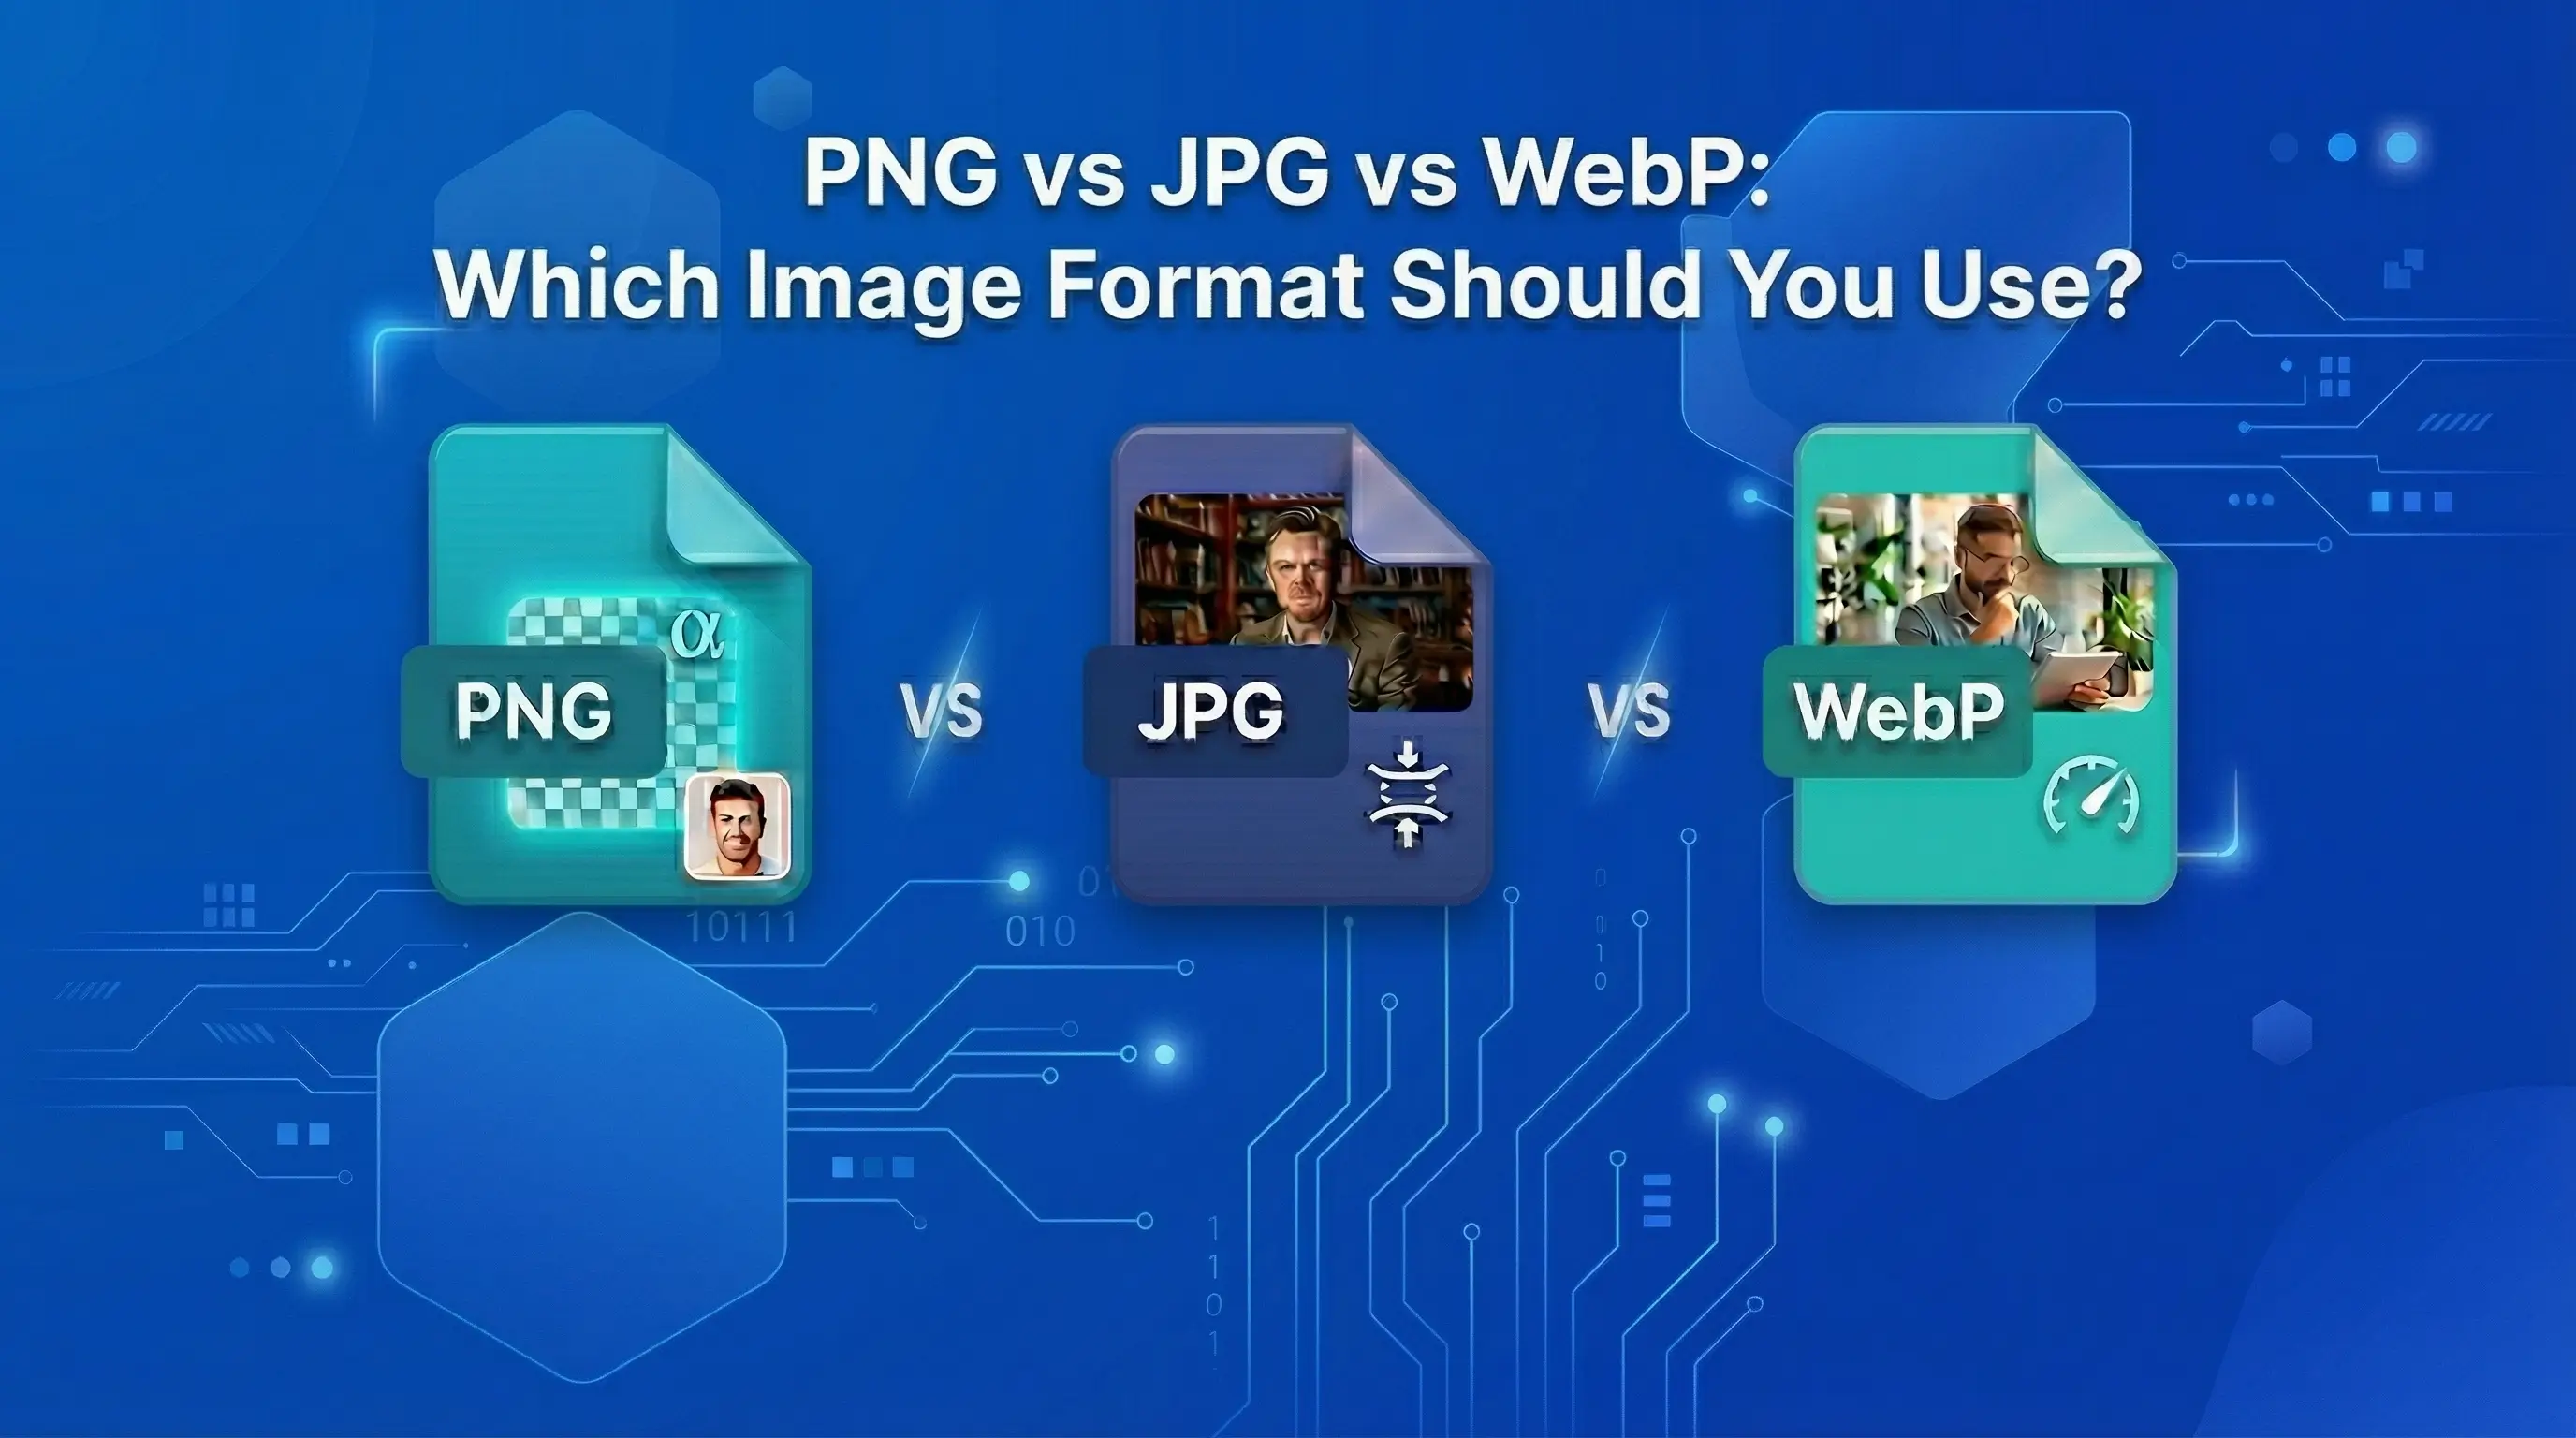
Should you download PNG or JPG?
Choose the format based on the content rather than assuming one is always better.
| Format | Best for | Why |
|---|---|---|
| JPG | Photographs and realistic images | Often produces smaller files |
| PNG | Text-heavy graphics, icons, and sharp-edged designs | Preserves crisp edges and supports transparency when available |
| SVG | Suitable vector graphics | Scales without the same pixelation as raster images; availability depends on the design and plan |
Canva provides format-specific download guidance, including the available quality controls and limitations.
Canva Help Center
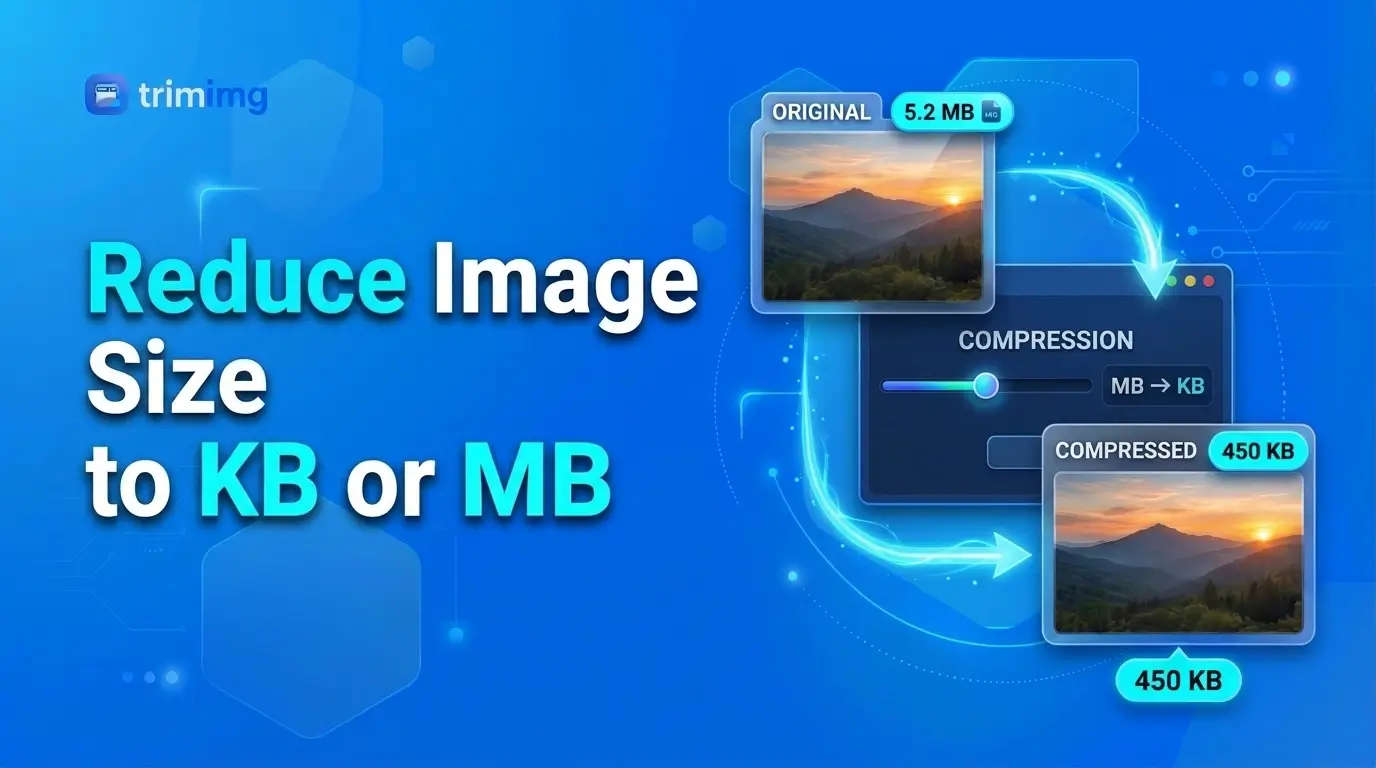
If your image will be used on a website, check both its dimensions and its file size. A graphic can have the correct dimensions but still be larger than necessary.
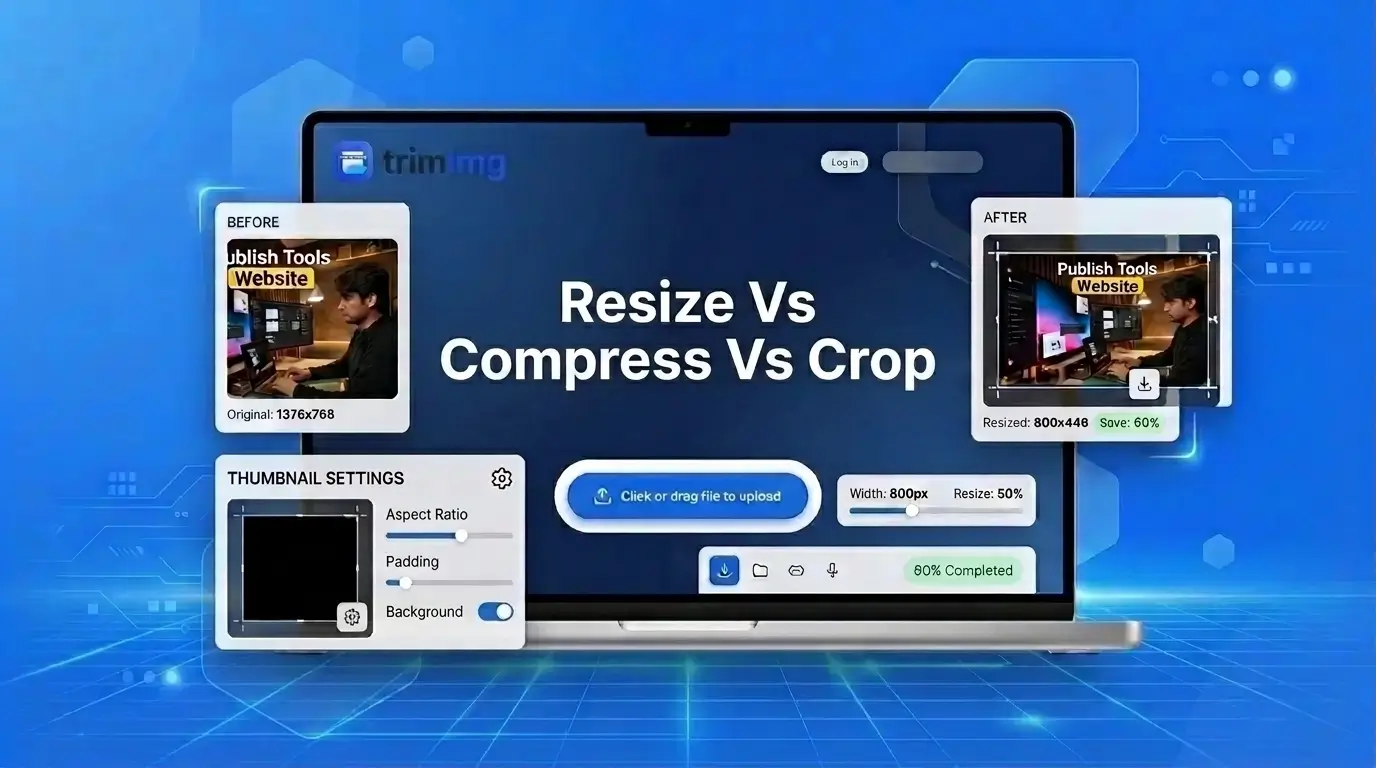
For a more detailed explanation of the difference between changing dimensions and reducing file size, see our guide to resizing, compressing, and cropping images.
Canva vs. a free online image resizer
Canva is a design tool first. It is useful when resizing is part of a larger creative task, but it can be unnecessarily complicated when you only want to change the dimensions of a photo.
A dedicated image resizer is designed for that narrower job.
| Requirement | Canva | TrimIMG Image Resizer |
|---|---|---|
| Resize a photo inside a graphic | Suitable | Not its primary purpose |
| Change a design's canvas dimensions | Dedicated feature on eligible plans; manual workaround possible | Not a design-canvas editor |
| Set image pixel dimensions | Possible through design dimensions and export workflows | Directly supported by the resizing workflow |
| Keep text and graphic elements editable | Yes | No; it resizes image files |
| Create a social media design from scratch | Suitable | Not its primary purpose |
| Resize a standalone photo quickly | Can require extra steps | More direct |
| Install desktop software | No | No |
| Need a paid plan for the basic dedicated resize workflow? | Some design-resizing features are paid | The online resizer is available as a free tool, subject to its current limits |
When should you use Canva?
Choose Canva when you need to change the overall layout, reposition text, add branding, create social media graphics, or prepare several visual assets for a campaign.
Its design editor offers more control over the creative composition than a basic image resizer.
When is Canva overkill?
Canva may be unnecessary when you have a finished photo and only need to:
- Change its width and height in pixels.
- Prepare a photo for an online form.
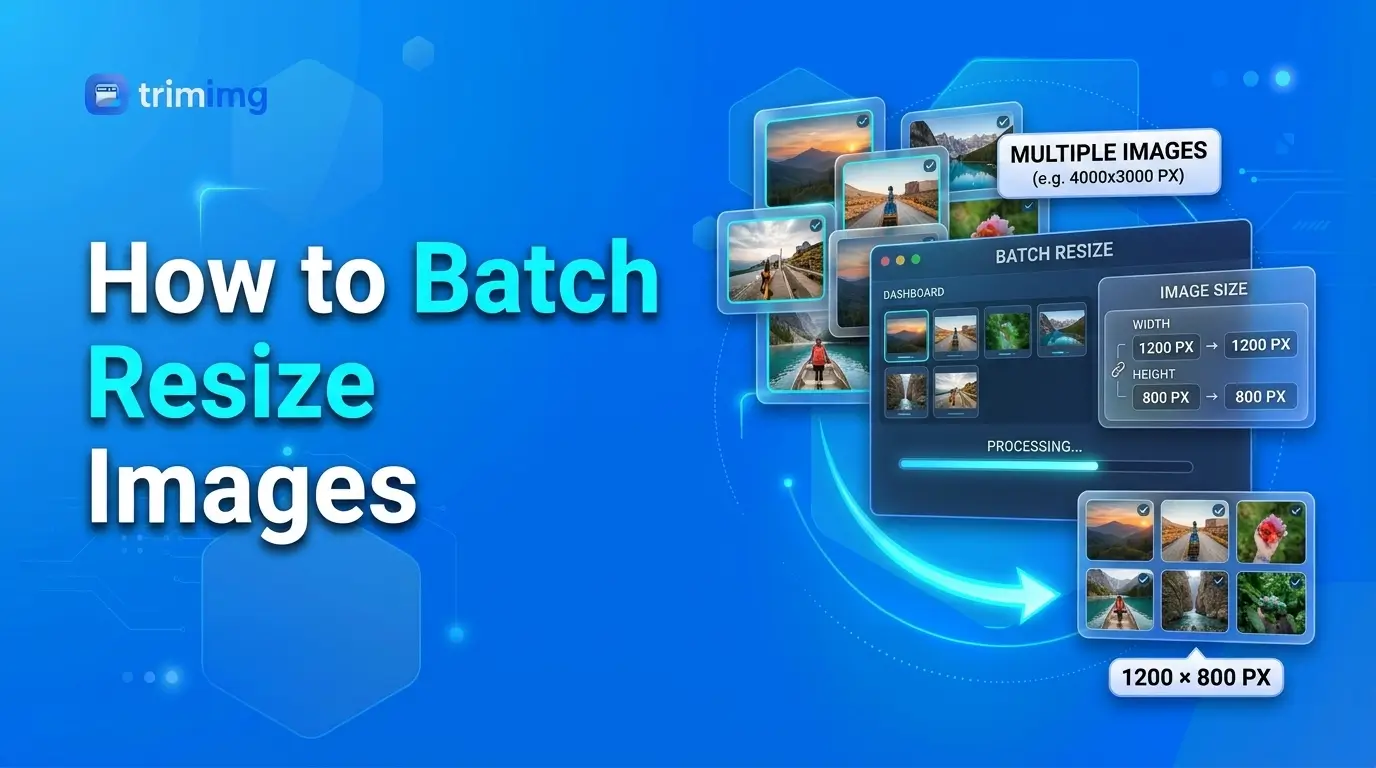
- Resize several images without redesigning them.
- Create a smaller version of a photograph for a website.
- Avoid rebuilding a design simply to change the dimensions of the exported photo.
For these tasks, use the TrimIMG Image Resizer to set the required dimensions and download the resized file.
How to resize an image online for free with TrimIMG
If you don't need Canva's design tools, you can resize a standalone image directly in your browser.
Step 1: Open the online image resizer
Go to the TrimIMG Image Resizer.
Step 2: Upload your image
Select your file or drag and drop it into the upload area.
Step 3: Enter your target dimensions
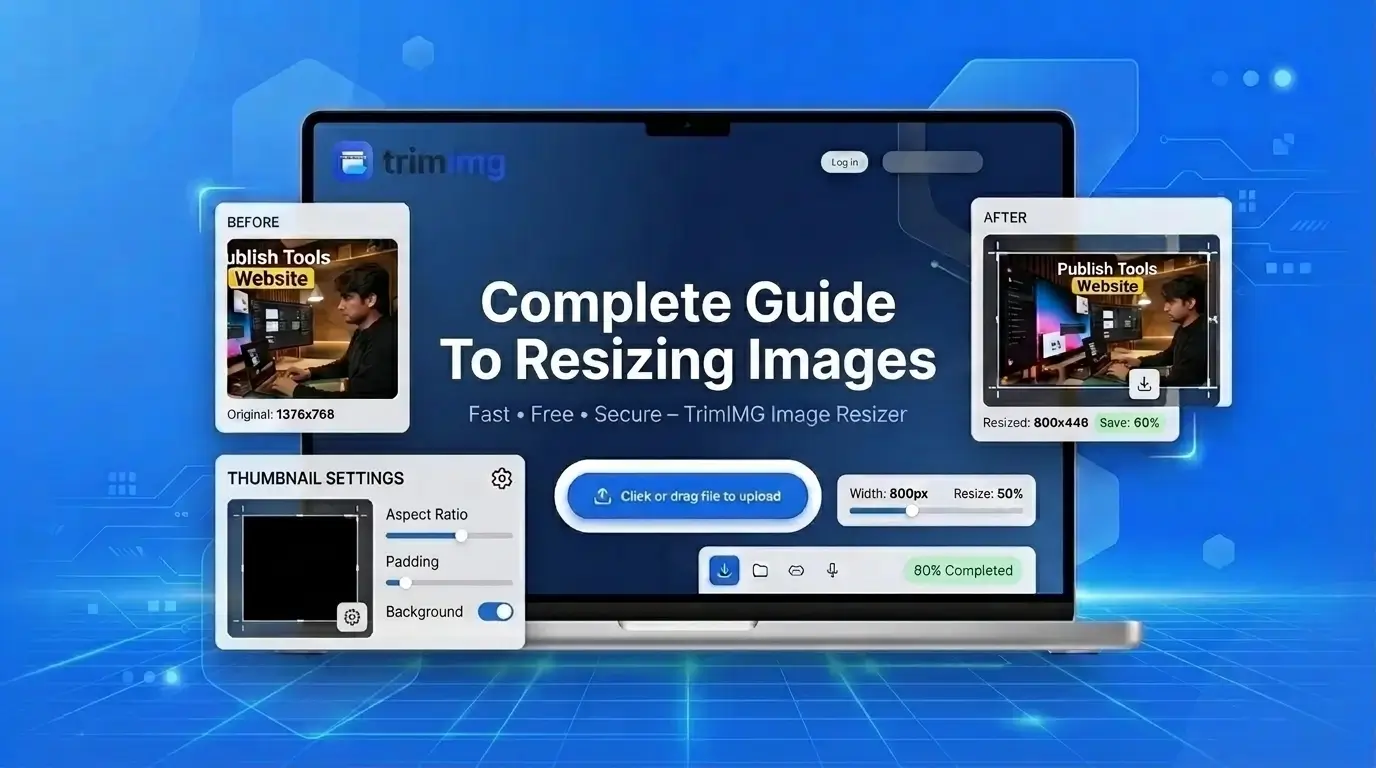
Choose the pixel-based resizing option and enter the required width and height. Preserve the original proportions if you don't want the image to look stretched.
For example, a 2400 × 1600-pixel photograph can be reduced proportionally to 1200 × 800 pixels.
Step 4: Apply the resize and download
Process the image and download the result. Check the output dimensions before using it.
If the dimensions are correct but the file is still too large, use the TrimIMG Image Compressor as a separate step. Resizing changes the pixel dimensions, while compression targets file size.
You can also explore format-specific tools, such as the JPG image resizer or PNG image resizer, when you're working with those formats.
The main advantage is simplicity: you don't need to create a canvas, copy design elements, adjust a layout, or pay for a design-resizing feature just to change a photo's dimensions.
Common Canva resizing problems and how to fix them
My image looks stretched after resizing
This usually happens when the width and height proportions aren't maintained, or when you force a photo into a different shape.
Keep the ratio linked when resizing the image itself. If the design needs a different shape, crop the photo or reposition it inside a frame rather than stretching it.
My design looks wrong after using Magic Resize
Changing a canvas's dimensions doesn't guarantee that every element will be positioned perfectly. Text may wrap differently, images may be cropped, and spacing may change.
Review each page after resizing. Adjust the layout manually before downloading.
My Canva download looks blurry
Check the original image quality, the design dimensions, and the selected export format. A small design or a low-resolution uploaded photo may look blurry when enlarged. Canva also notes that some social platforms compress uploaded images.
Canva Help Center
For text-heavy graphics, try PNG. For photographs, compare JPG and PNG based on the balance of visual quality and file size you need.
I can't find the Resize option
Your account plan, editor view, or design type may not support the dedicated feature. Canva's Help Center notes that design resizing isn't supported in every editor, including Canva Docs.
If you only need different pixel dimensions, use the manual custom-size workflow if available or resize the exported image with an online tool.
Canva asks me to upgrade before downloading
Check whether your design uses premium content or a paid export feature. A free account can create and download many designs, but premium assets and certain download controls can introduce restrictions.
Frequently asked questions
Can I resize an image in Canva for free?
Yes, you can resize a photo element inside a design for free and create a new design with custom dimensions where that option is available. However, Canva's dedicated Magic Resize feature for resizing an existing design is generally a paid feature.
Is Canva Magic Resize free?
Canva lists Magic Resize among its paid-plan features. If you use Canva Free, you can create a new design at your target dimensions where supported and manually copy or reposition your elements.
How do I change image size in Canva without cropping?
Select the photo and resize it using the corner handles while maintaining its proportions. If you mean changing the full design's dimensions, use the dedicated Resize feature on an eligible plan or create a new custom-sized design and adjust its contents manually.
Does resizing an image in Canva reduce quality?
It depends on the original image, the resizing amount, and the export settings. Reducing dimensions removes pixel information, while enlarging an image may make it look softer because new pixel values must be calculated. Export format and compression can also affect the final result.
Can I resize an image in Canva to exact pixels?
Canva supports custom dimensions in its design workflow and provides precise sizing controls for supported elements. However, if you simply need to resize a standalone photo to exact pixel dimensions, a dedicated image resizer is often more direct.
Can Canva remove an image background for free?
Canva's Background Remover is a paid feature according to its Help Center. If you need background removal, check the current plan options and available tools before starting your project.
What is the best free alternative to Canva for resizing images?
For changing the pixel dimensions of an existing image, TrimIMG Image Resizer is a straightforward browser-based alternative. Canva remains more appropriate when you need to redesign the image, add text, or arrange graphic elements.
Final thoughts
Canva is a strong choice when resizing is part of a larger design project. It lets you edit photos, add text, adjust layouts, and prepare graphics for different platforms.
However, the dedicated Magic Resize feature is generally paid, and the free workaround requires manual adjustments. If your only goal is to change an image's pixel dimensions, a dedicated online image resizer can save time and avoid unnecessary design steps.
Choose Canva for creative layouts and complete designs. Choose TrimIMG's free online image resizer when you need to resize a standalone image quickly.
Resize your image without opening Canva
No installs, no sign-up. Upload your image and resize it to the exact pixel dimensions you need in seconds.
Found this helpful? Share it with your team:
Hello, it's Mujahid Hussain Creative and Professional Senior Software Engineer with 6+ years of experience building rich and interactive websites. I have a comprehensive understanding of WordPress themes, plugins, databases, and its functions.