How to Resize a Photo on iPhone: Photos, Shortcuts, Preview, and Online Tools
 Mujahid H.
- October 24, 2026
- 12 min read
Need to resize a photo on your iPhone for an online form, email attachment, profile picture, or website? You can change an image's dimensions, crop it to a different shape, or reduce its file size without installing a separate photo-editing app.
Short answer: the best method depends on what you need to achieve. The Photos app is convenient for cropping, Shortcuts can resize images to specific pixel dimensions, Preview offers image-size controls on supported versions of iOS, and an online image resizer lets you work directly in Safari.
This guide explains how to resize a photo on an iPhone step by step, how to resize multiple images, how to reduce a photo to a particular file-size limit, and how to avoid stretching or cropping important details.
What Does Resizing a Photo on iPhone Mean?
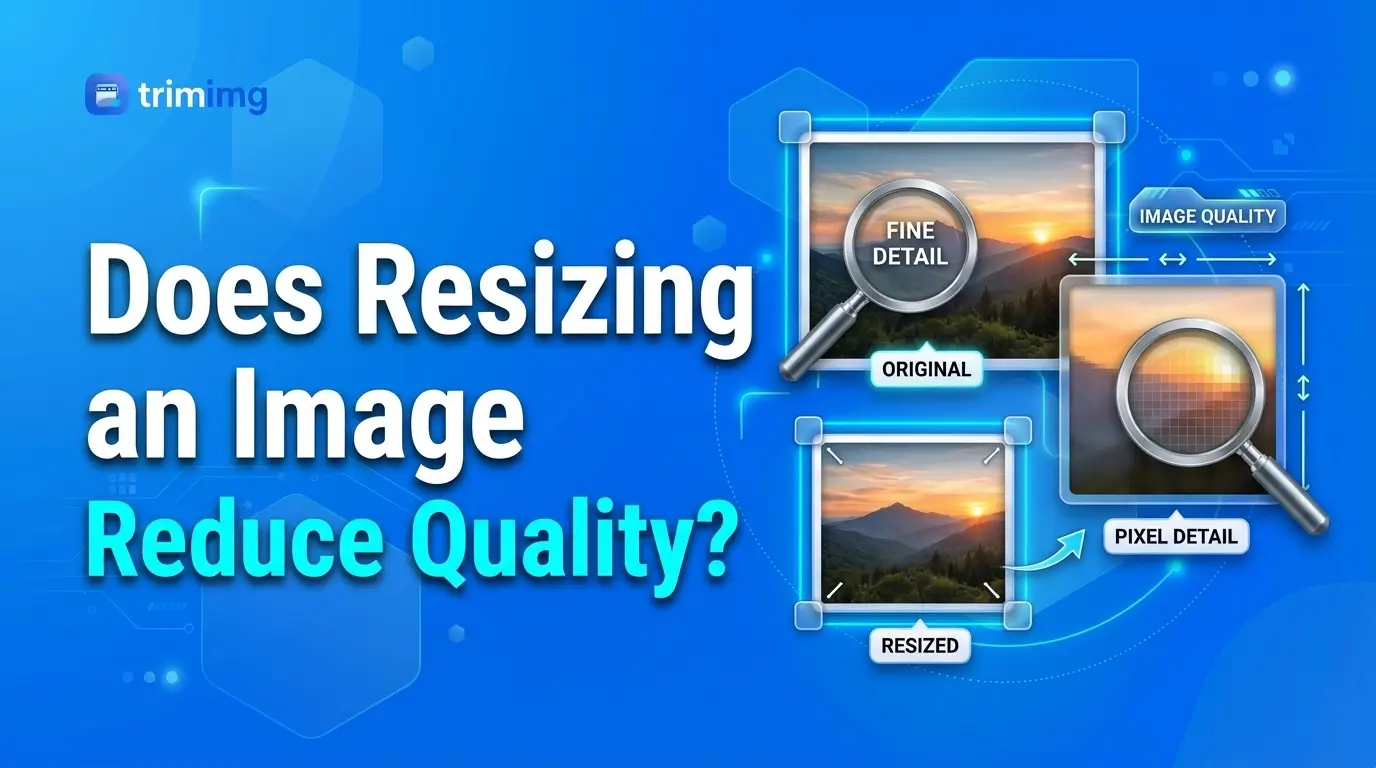
Resizing a photo can mean changing its pixel dimensions or reducing the amount of storage space it occupies. Although these tasks are related, they are not the same.
- Changing image dimensions: means reducing or increasing the width and height in pixels. For example, you might change a photo from 4032 × 3024 pixels to 1200 × 900 pixels.
- Cropping: removes unwanted parts of an image to change its framing or aspect ratio. It can make a photograph square or turn a landscape image into a portrait composition, but some of the original picture may be lost from the edited version.
- Image compression: reduces the amount of data needed to store a picture. Depending on the format and settings, compression can reduce file size without changing pixel dimensions.
- Proportional resizing: changes the width and height while maintaining the original shape. This keeps the entire picture visible without stretching it, although the resulting image contains fewer pixels when you resize it down.
For example, if a website requires an image that is 1200 pixels wide and smaller than 1 MB, you may need to resize the dimensions and compress the file. Cropping alone may not meet both requirements.
Method 1: Resize a Photo Using the iPhone Photos App
The Photos app is useful when you want to crop a picture, change its framing, or fit it into a standard aspect ratio. However, it does not provide the same direct pixel-width and pixel-height controls as a dedicated image resizer.
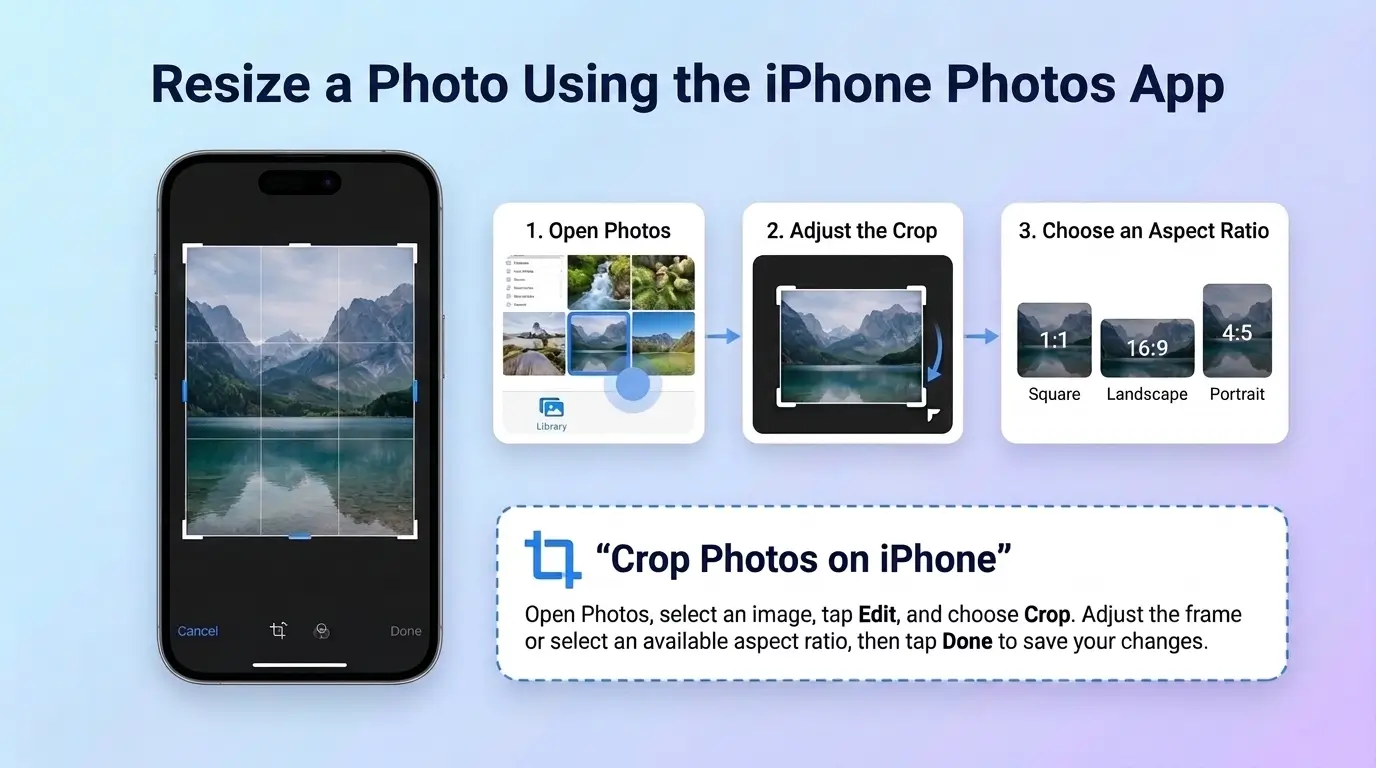
How to Crop a Photo in Photos
- Open the Photos app on your iPhone.
- Select the photo you want to edit.
- Tap Edit.
- Open the Crop tool.
- Drag the corners or edges to adjust the area you want to keep.
- Select an available aspect ratio, such as Square or 16:9, if you need a particular shape.
- Adjust the composition and tap Done to save your edit.
The exact labels and controls may vary slightly depending on your iOS version.
When Should You Use Photos?
Use the Photos app when you want to remove unwanted edges, change a landscape photo into a square, or adjust a picture for social media. Cropping a landscape photograph to a square can help you prepare it for a profile picture or product listing, and selecting a portrait ratio can also make a photo better suited to a vertical layout.
Keep in mind that cropping removes part of the image from the edited composition. Photos supports reverting edits, so you can restore the original when needed.
Limitation of the Photos App
Cropping to a square does not guarantee that the final image will be exactly 1080 × 1080 pixels. The crop controls focus on framing and proportions rather than direct pixel dimensions.
If a website or application requires exact dimensions, use Shortcuts, Preview on a supported iOS version, or an online image resizer.
Method 2: Resize an Image on iPhone Using Shortcuts
Apple's Shortcuts app is a useful option when you need to resize an image to a particular width or height. You can create a reusable workflow and use it whenever you need to prepare photos for uploading, sharing, or storing.
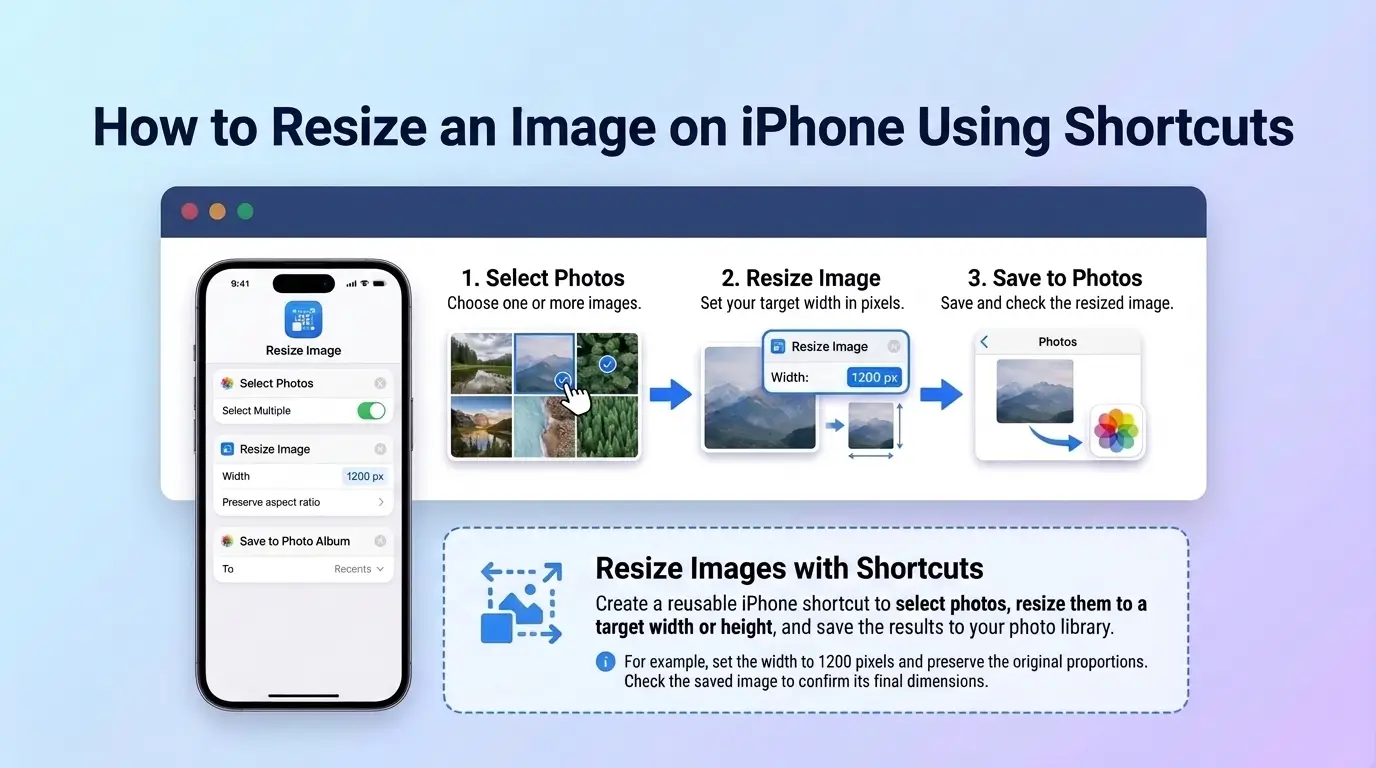
How to Create a Photo-Resizing Shortcut
- Create a new shortcut. Open the Shortcuts app and tap the plus button to create a new shortcut. Give it a descriptive name, such as Resize Photo.
- Add the Select Photos action. Search for Select Photos and add the action to your shortcut. If you want to resize several images in one run, enable Select Multiple in the action settings.
- Add the Resize Image action. Search for Resize Image and add it after Select Photos. Enter your desired width or height in pixels. For example, enter 1200 as the width if you want the resulting image to be 1200 pixels wide. When the shortcut allows the other dimension to adjust automatically, use that option to preserve the original proportions.
- Add a saving action. Add the Save to Photo Album action after Resize Image and select the destination album. This allows the shortcut to save the resized result in Photos rather than leaving you with only an intermediate output.
- Run the shortcut. Run your shortcut, select the photo, and approve any requested Photos access. Open the saved image and check that its dimensions and appearance meet your requirements.
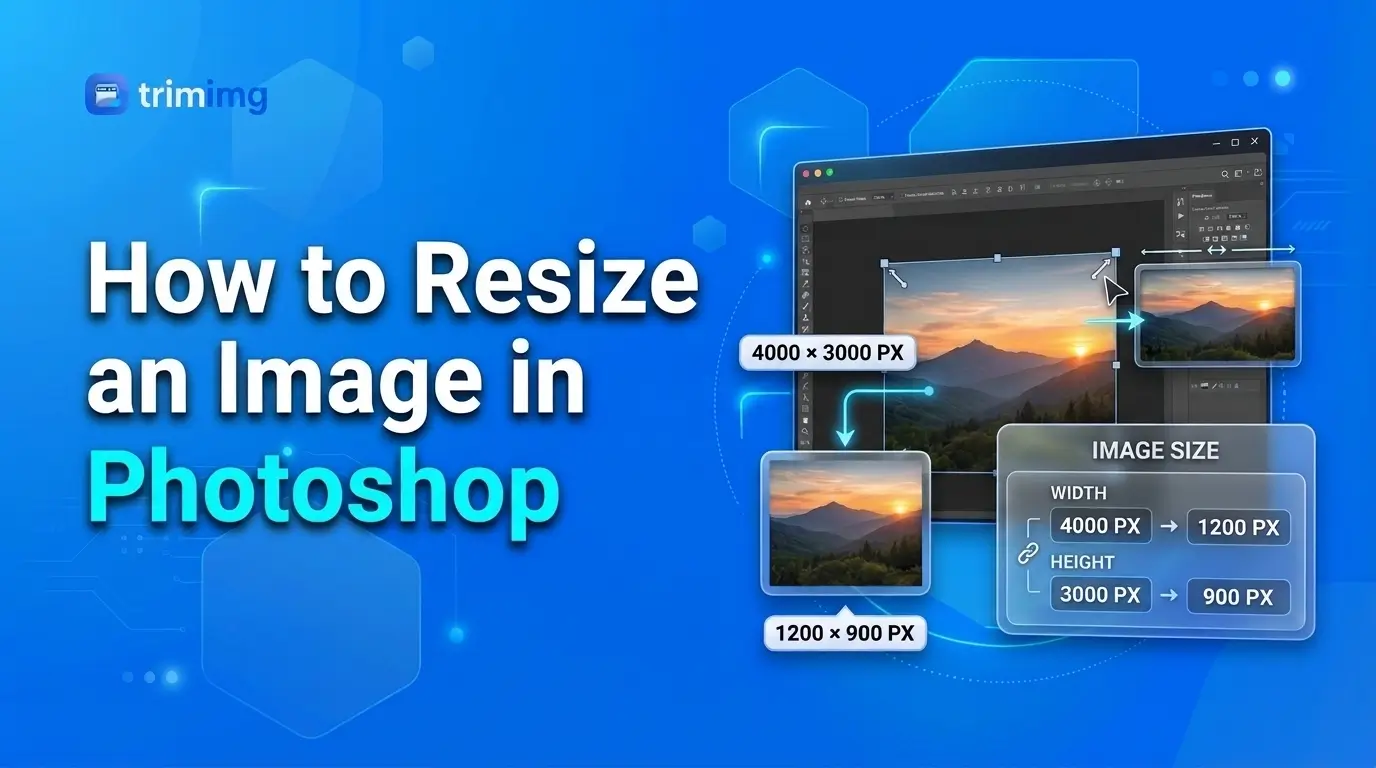
A 4032 × 3024-pixel image has a 4:3 aspect ratio. Resizing it to 1200 pixels wide while letting the height adjust automatically produces an image that is 1200 × 900 pixels. If you force both dimensions to values that do not match the original proportions, the image may become stretched or compressed. When you need a different shape, consider cropping or adding space around the image rather than distorting it.
Action names and settings can vary slightly across iOS versions. If an action behaves differently on your device, check its available options before running the shortcut on a large group of photos.
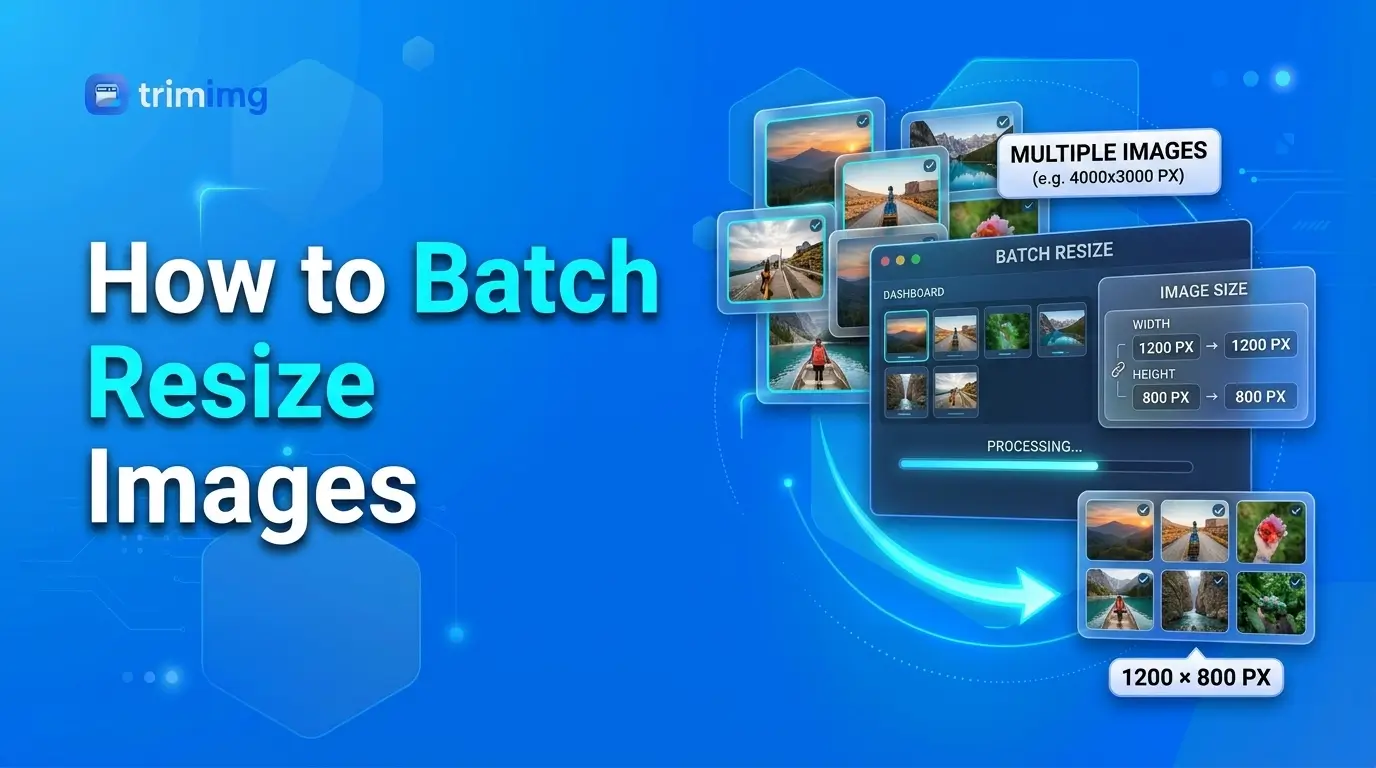
How to Resize Multiple Photos on iPhone
Once your shortcut is ready, you can use it to process several images with the same settings.
- Open your resizing shortcut.
- Check that Select Multiple is enabled in the Select Photos action.
- Confirm the desired width or height in Resize Image.
- Run the shortcut and select the photos you want to resize.
- Allow the shortcut to process the images and save the results.
- Open the destination album and check a few of the resized photos.
The same resizing settings are applied to the selected images. If the original photos have different aspect ratios and you preserve their proportions, their resulting heights may differ.
When Should You Use Shortcuts?
Shortcuts is a good choice when you need exact pixel dimensions, regularly resize photos, or process multiple images without installing another app. It requires some initial setup, but you can reuse the workflow whenever you need to resize a picture on your iPhone.
Method 3: Resize a Photo on iPhone Online Using Safari
An online image resizer is a practical option when you want to change image dimensions in Safari without creating a shortcut or installing separate software. This approach is especially useful when you need a specific pixel size, want to resize several images, or need to prepare a photo for an online application.
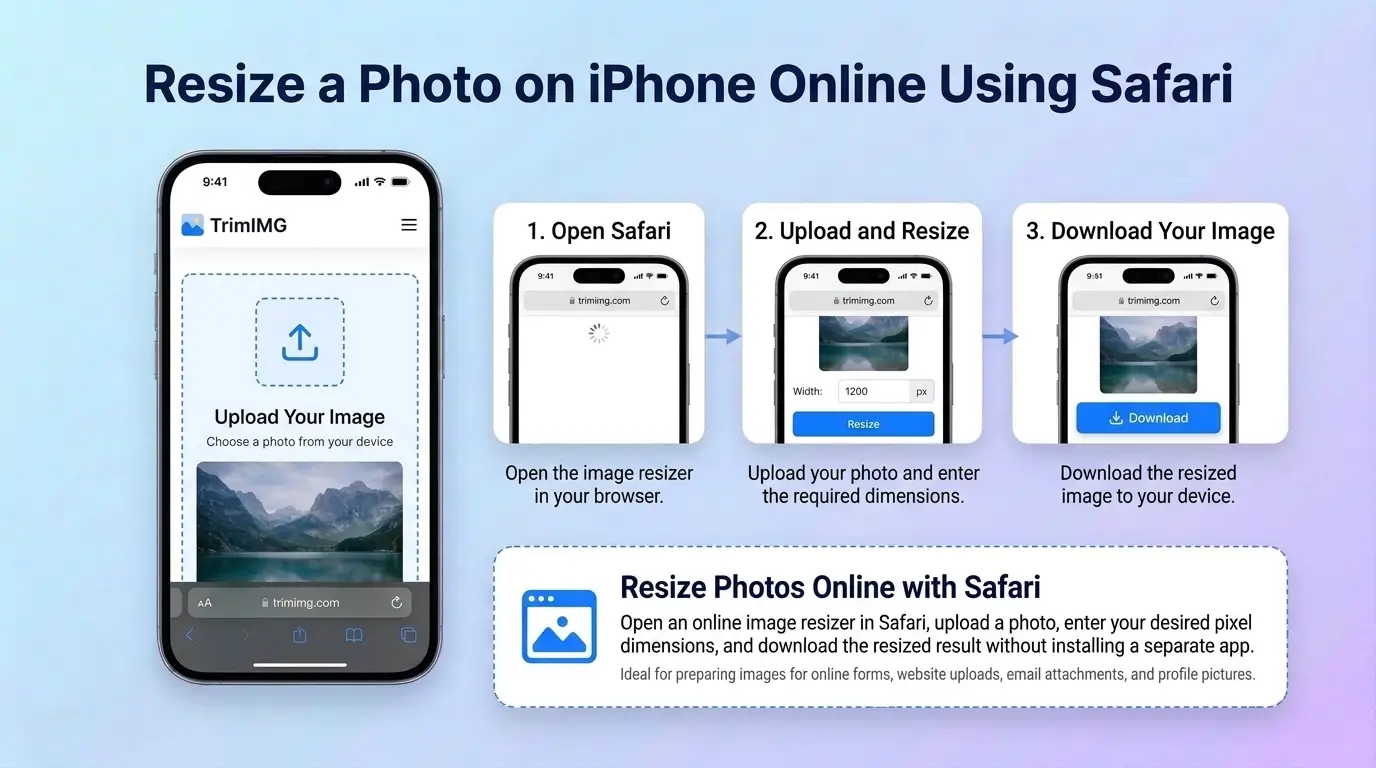
How to Resize a Photo Online With TrimIMG
- Launch Safari on your iPhone and open the TrimIMG Image Resizer.
- Tap the upload area and choose the image you want to resize from your device. Depending on where the photo is stored, you may be able to select it from Photos or Files.
- Choose the pixel-based resizing option and enter the desired width and height, or resize by percentage. Enable the aspect-ratio option if you want to preserve the original shape and let the other dimension adjust proportionally.
- Confirm that the resulting dimensions meet your requirements, apply the settings, and wait for the resized image to be processed.
- Download the resized file to your iPhone. Depending on the browser and download settings, it may be saved in Files or another selected location.
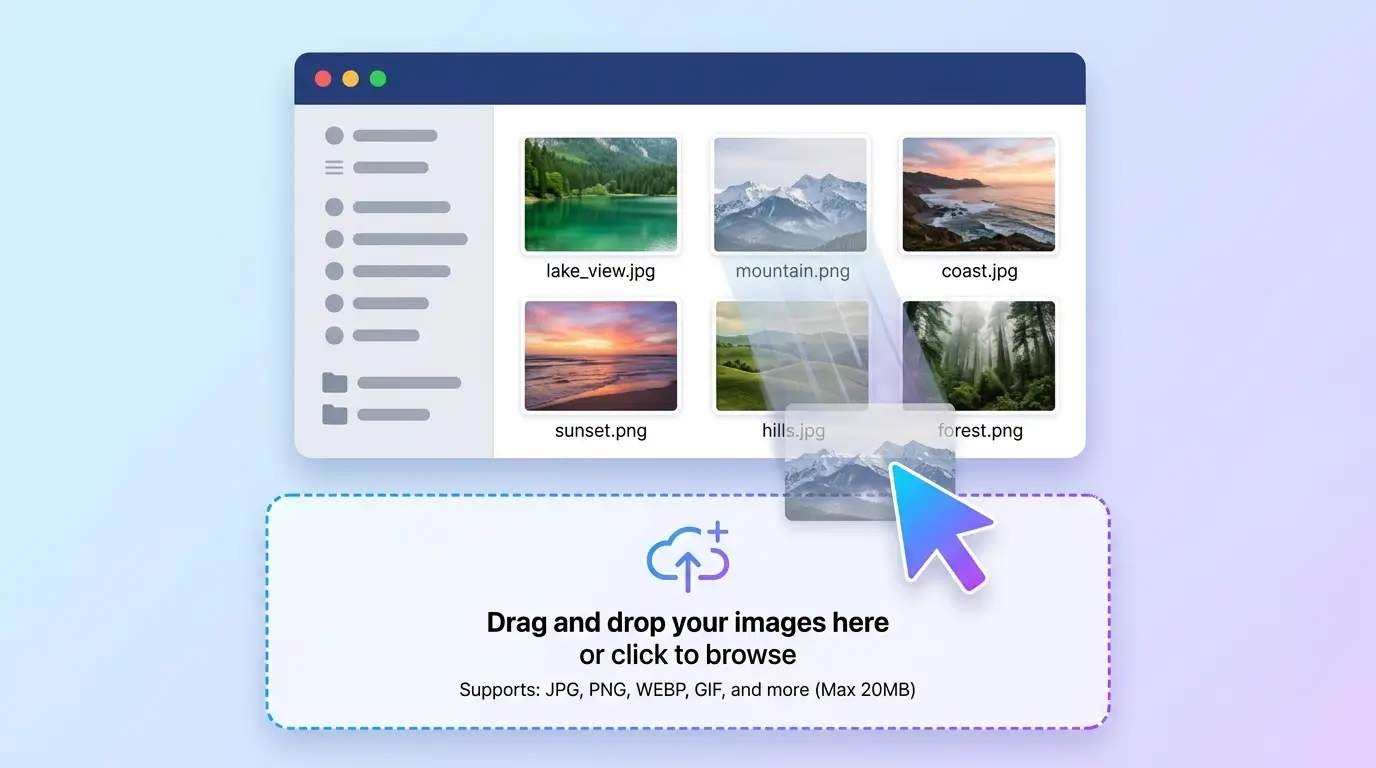
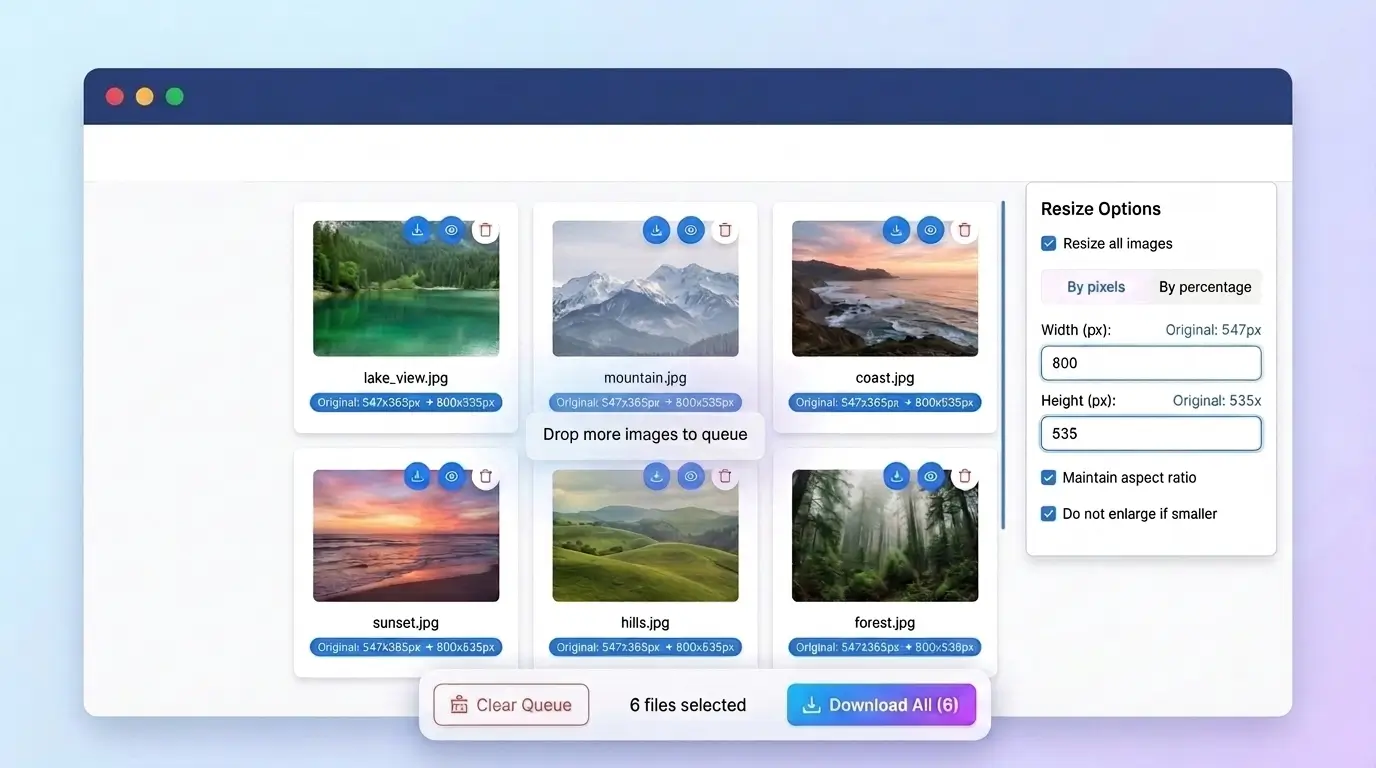
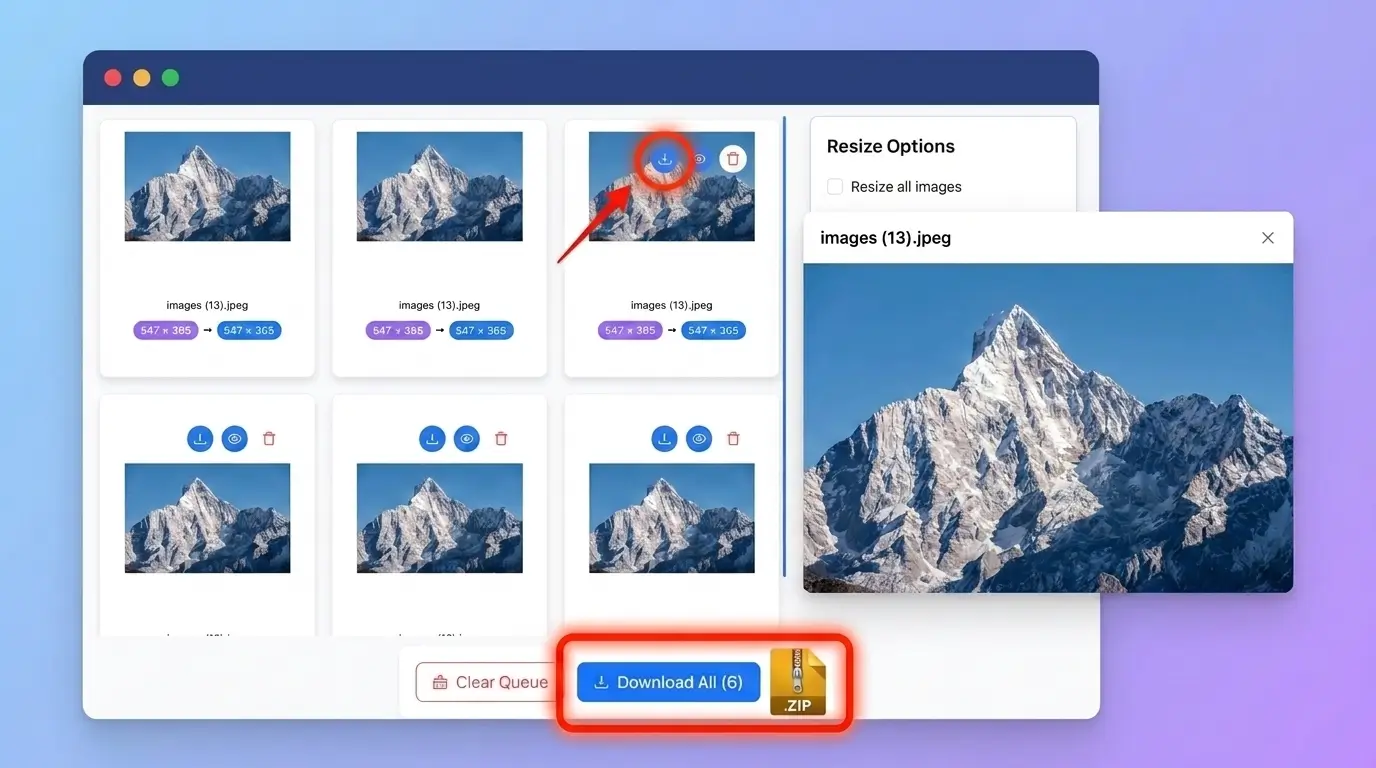
Before uploading the result to another website, confirm that the image has the correct dimensions, format, and file size. For example, if you need a square profile picture measuring 1080 × 1080 pixels, make sure the output actually has those dimensions. Simply entering a square size does not mean every resizing method will preserve the full original picture without cropping or distortion.
Why Use an Online Image Resizer?
An online resizer lets you work in your browser without building a shortcut. TrimIMG supports resizing by pixel dimensions or percentage, includes an option to preserve the aspect ratio, and supports processing multiple images.
It is particularly useful when you need to prepare a picture for a form, profile, website, or document with specific image requirements.
Can You Resize a Photo on iPhone Without Downloading an App?
Yes. You can crop photos using Photos, resize them using Shortcuts, or use a browser-based image resizer in Safari. Preview is another option on supported versions of iOS.
If a photo contains sensitive information, review the privacy practices of any online service before uploading it. You can also choose an on-device method when you prefer to keep the image on your phone.
Method 4: Resize a Photo Using Preview on iPhone
On supported iPhones running iOS 26 or later, Preview provides image tools that can help you change dimensions and export images in different formats. Availability and the exact controls may depend on your iOS version and device configuration.
How to Change Image Dimensions in Preview
- Open the image in Preview. Depending on your device and available options, you may be able to share the photo from Photos to Preview or open an image saved in Files.
- Tap the More button, usually represented by three dots.
- Look for Adjust Size.
- Enter the required width or height.
- Keep the proportions locked if you want to prevent stretching.
- Tap Done to apply the changes.
If you also need to reduce file size, open the export options and choose a suitable format and quality setting where available. Save the resulting file and check its dimensions and file size.
The exact steps and menu names may differ depending on the version of Preview and iOS. If you cannot find the Adjust Size option, use Shortcuts or an online image resizer instead.
Reducing File Size With Preview
Changing the pixel dimensions and reducing the file size are different tasks. Preview's export options may let you choose a format such as JPEG or HEIC and adjust the output quality or size. Lowering the quality setting can reduce file size, but aggressive compression may introduce visible artifacts.
After exporting the image, check the saved file rather than assuming that a particular setting will produce a specific size in KB or MB.
How to Reduce Photo Size on iPhone
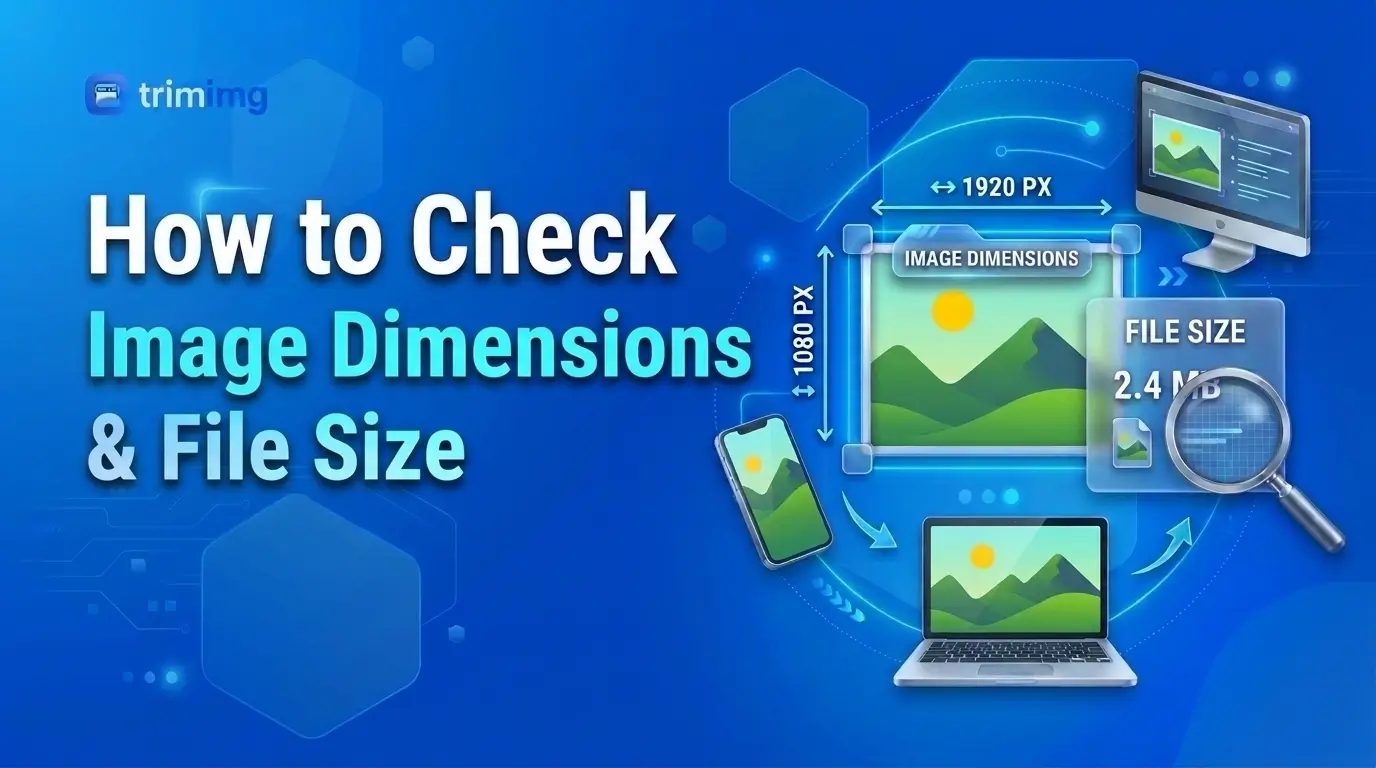
If your main goal is to make a photo smaller in KB or MB, changing its pixel dimensions is only one option. Compression and format conversion can also help.
1. Reduce the Image Dimensions
A photo with fewer pixels generally requires less data to store, although the actual file size depends on the image content and format.
For example, reducing a 4032 × 3024-pixel photo to 1600 × 1200 pixels can substantially reduce the amount of image data. The result will contain fewer pixels, so keep the original if you may need the full resolution later.
Use Shortcuts, Preview on a supported version of iOS, or an online resizer to create a smaller version.
2. Compress the Image
Compression reduces the amount of data stored in an image. Depending on the format and settings, it can reduce file size without changing pixel dimensions.
JPEG commonly uses lossy compression, which discards some image information to reduce file size. Moderate compression may be difficult to notice in everyday photos, while aggressive compression can make details look blurry or blocky.
For a detailed explanation of the process, read TrimIMG's guide to image compression: Compress image without losing quality.
3. Convert the Image Format
The image format can affect file size and compatibility.
HEIC can produce smaller files than comparable JPEG images in many situations, although results depend on the image and encoding settings. JPEG is widely supported by websites, applications, and online forms.
Converting HEIC to JPEG can help when a website does not accept HEIC. However, conversion does not guarantee a smaller file, and converting a compressed image may affect its quality.
If the website accepts HEIC and your image meets its size limit, conversion may not be necessary.
How to Resize a Photo on iPhone to 1 MB
If a website requires a photo smaller than 1 MB, follow these steps.
- Check the website's maximum file size and accepted formats.
- Resize the image if its pixel dimensions are larger than necessary.
- Compress the image or export it with a suitable quality setting.
- Save the resulting file.
- Check its actual size in Files or the relevant file information view.
- If the image is still too large, reduce the dimensions or adjust the compression settings and try again.
There is no single pixel size that guarantees a photo will be smaller than 1 MB. A detailed photograph can have a larger file size than a simple image with the same dimensions. Also, check whether the website requires a maximum size of 1 MB or a file strictly smaller than 1 MB, and follow the exact requirement shown on the upload form.
How to Resize an iPhone Photo Without Cropping
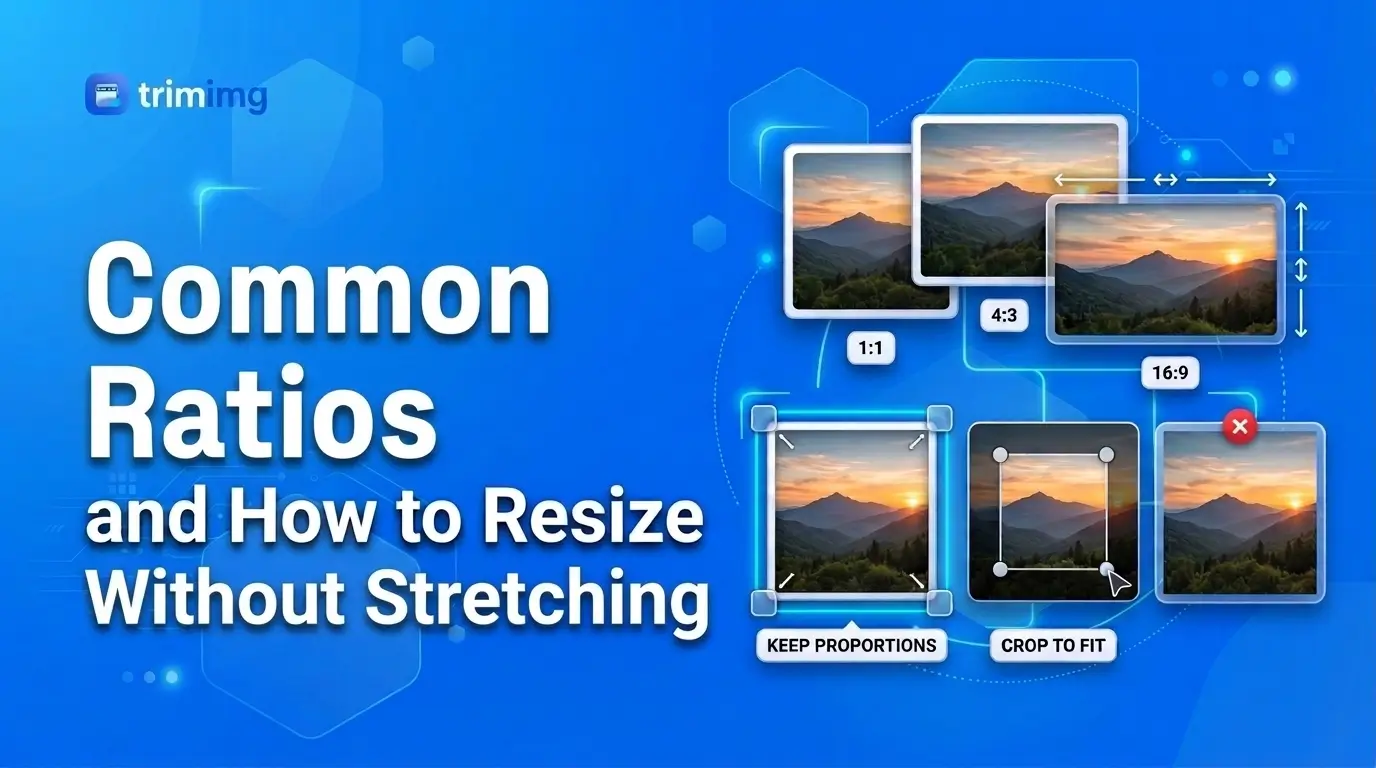
If you want to make a picture smaller without losing any of its edges, preserve its original aspect ratio while changing its dimensions. For example, a 4000 × 3000-pixel image has a 4:3 aspect ratio. Resizing it proportionally to 1200 pixels wide produces a height of 900 pixels. The resulting dimensions are 1200 × 900 pixels, and the complete picture remains visible, although the smaller version contains fewer pixels.
If you need the photo to fit into a square, there are two main options.
- Crop to a square: this removes parts of the original image to create a square composition.
- Fit inside a square canvas: this keeps the entire picture visible but may leave blank space above and below or along the sides.
Choose cropping when the composition matters more than retaining every edge. Choose a fitted canvas when the entire image must remain visible. To avoid stretching, preserve the aspect ratio when resizing. Increasing the dimensions of a small photo also cannot restore all the detail that was absent from the original.
HEIC vs. JPEG: Which Format Should You Use?
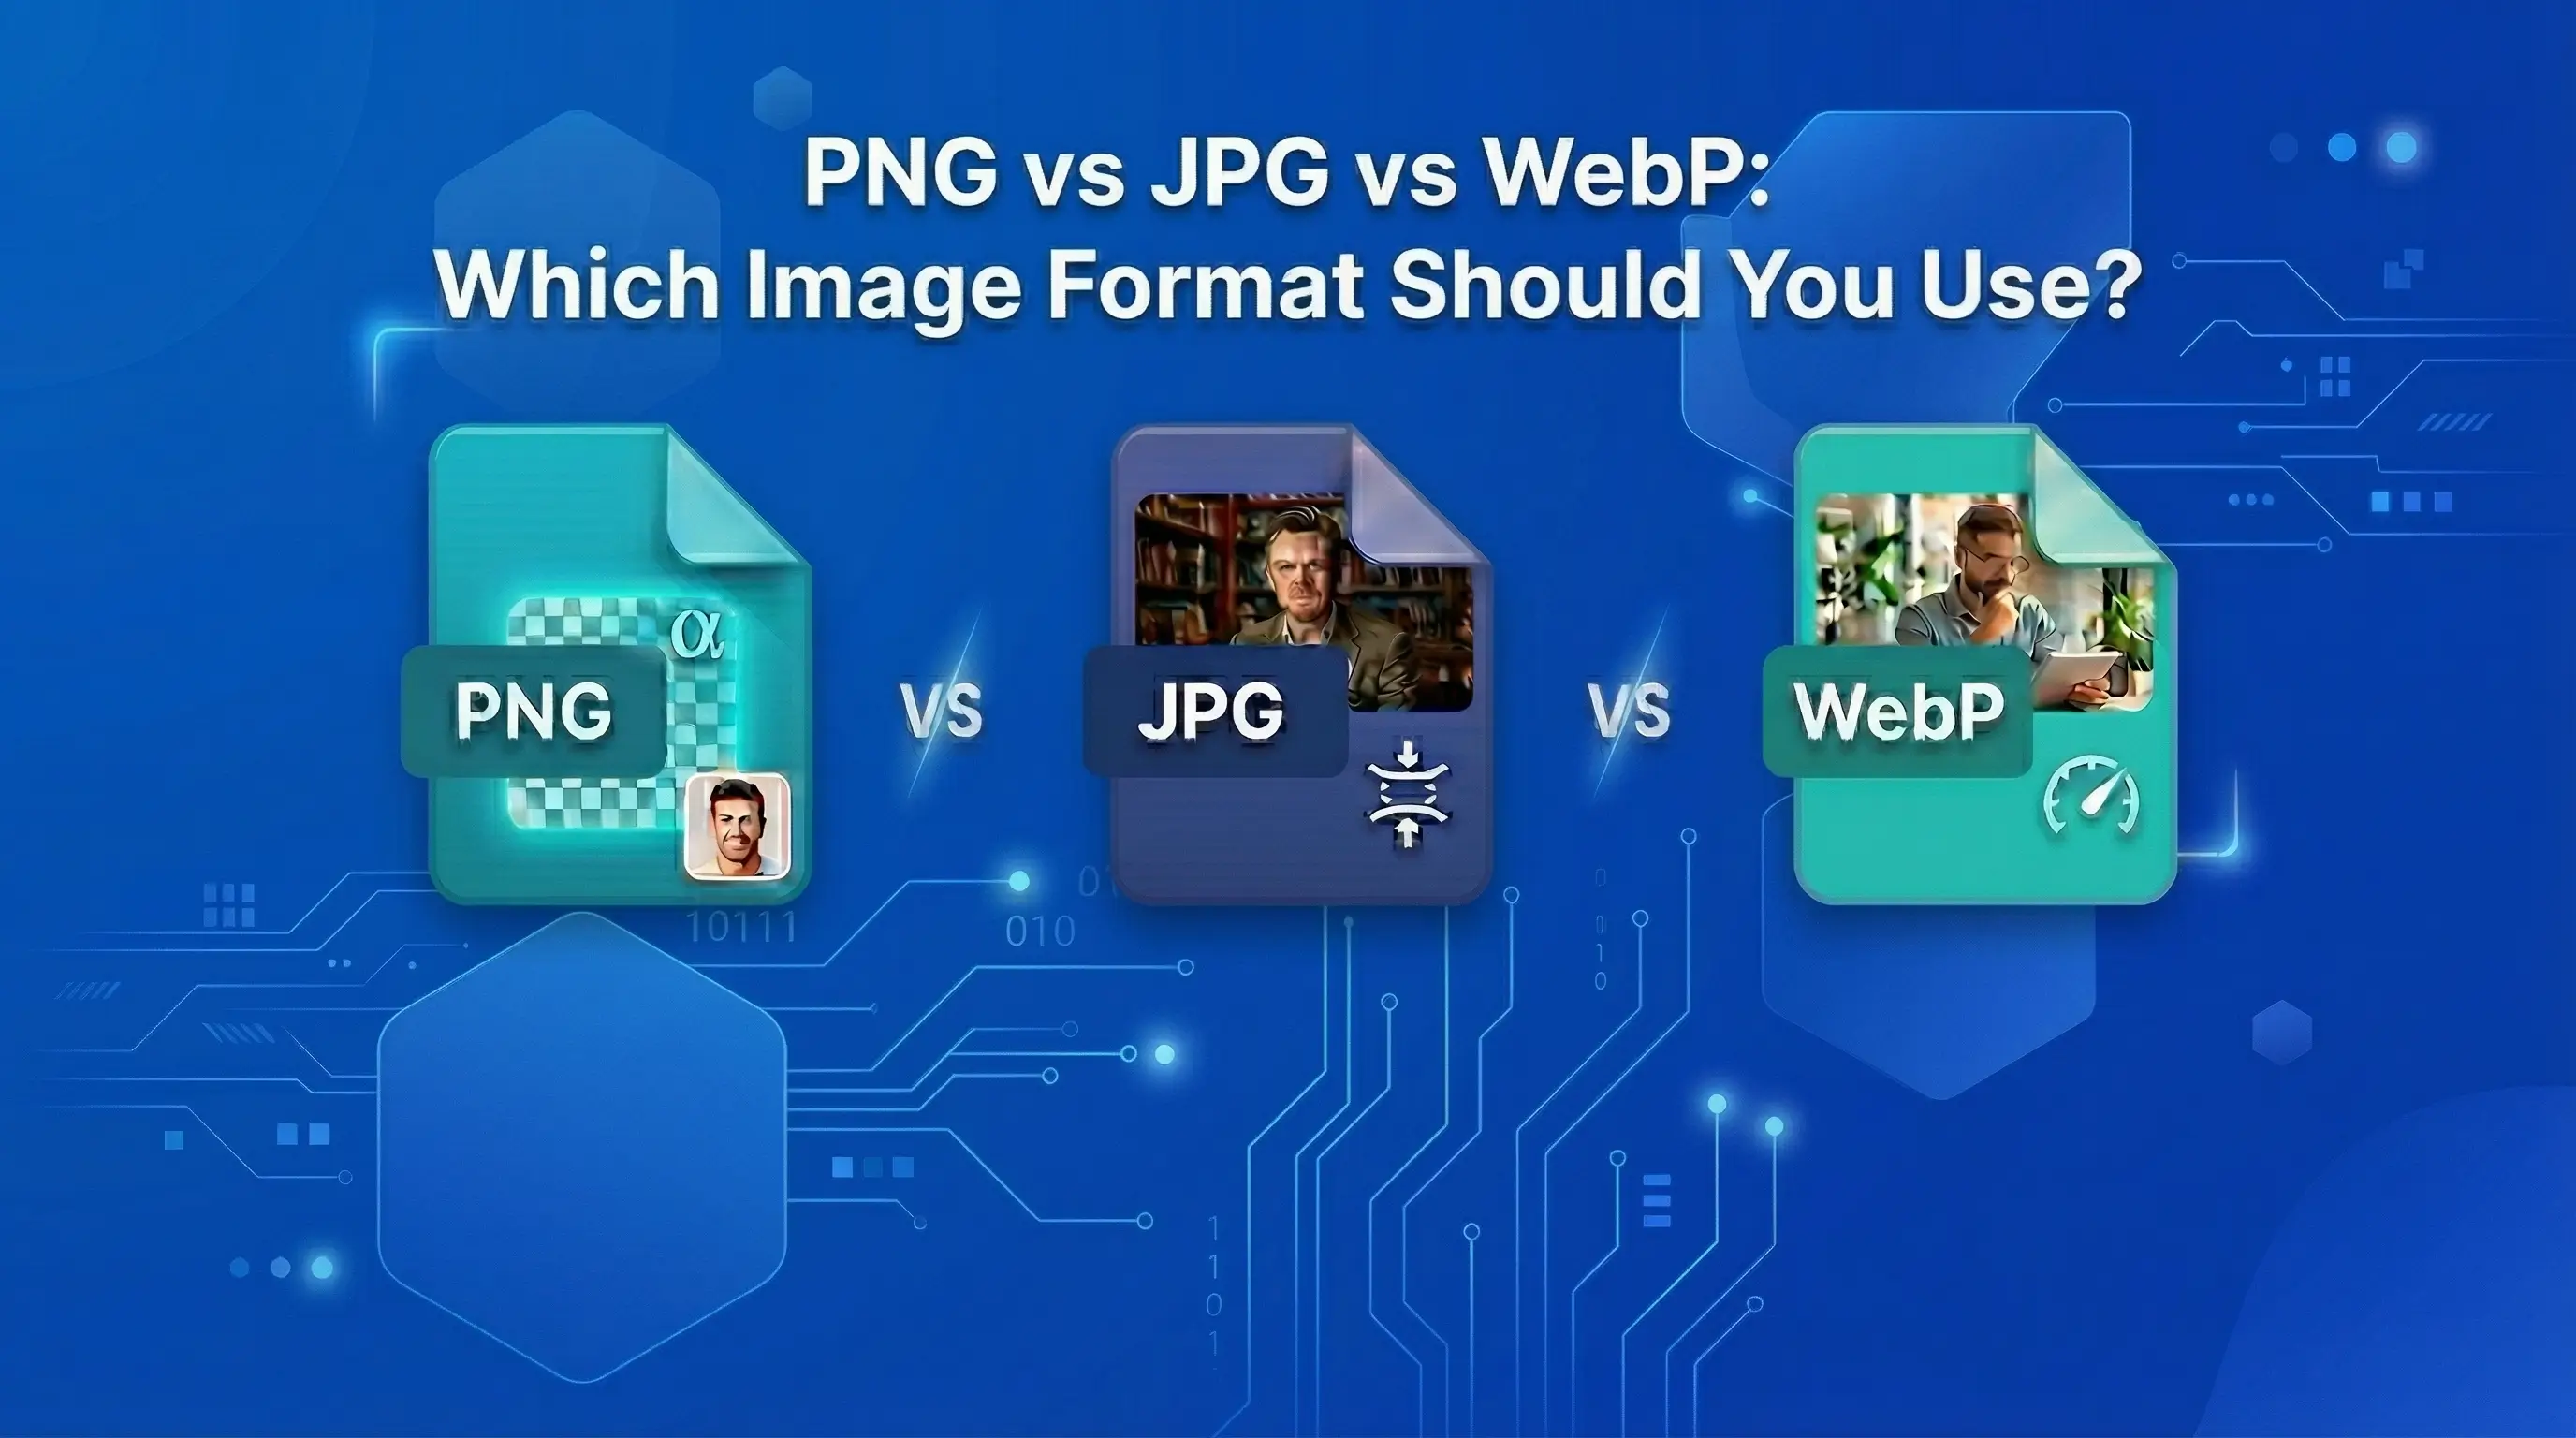
iPhones commonly capture photos in HEIF format, usually stored with a HEIC extension. JPEG is more widely supported by older software and some upload systems.
HEIC
Best for: Saving storage space while retaining good image quality.
Main consideration: Some websites and older applications may not accept it.
JPEG
Best for: Sharing photos and uploading them to systems that require broad compatibility.
Main consideration: Repeated lossy saves can gradually reduce image quality.
PNG
Best for: Graphics, screenshots, and images that require lossless storage or transparency.
Main consideration: Photographic images may have larger file sizes than comparable JPEG files.
| Format | Best for | Main consideration |
|---|---|---|
| HEIC | Saving storage space while retaining good image quality | Some websites and older applications may not accept it |
| JPEG | Sharing photos and uploading them to systems that require broad compatibility | Repeated lossy saves can gradually reduce image quality |
| PNG | Graphics, screenshots, and images that require lossless storage or transparency | Photographic images may have larger file sizes than comparable JPEG files |
Choose the format based on the destination's requirements. If a website rejects a HEIC photo, convert it to an accepted format and check the final dimensions and file size after conversion.
What Does Most Compatible Mean on iPhone?
To make future camera photos more broadly compatible, open Settings, go to Camera, select Formats, and choose Most Compatible if that option is available on your device. This setting generally makes new photos use JPEG instead of HEIF and videos use H.264 instead of HEVC.
It does not automatically convert existing HEIC photos in your library. If you need to upload an existing photo in a different format, export or convert that file separately.
Which iPhone Photo Resizing Method Should You Choose?
- If you want to crop a photo or change its framing, use the Photos app.
- If you need specific pixel dimensions or want to resize multiple photos with repeatable settings, use Shortcuts.
- If your iPhone supports the required image controls in Preview, you can use it for direct resizing and exporting.
- If you want to resize an image in Safari without setting up a shortcut, use an online image resizer.
- If your main goal is reducing file size in KB or MB, use an export quality setting or an image compression tool, then check the resulting file size.
- If you need to convert HEIC to JPEG, use a compatible export or image-conversion method.
- If you want to keep the entire picture without cropping, resize proportionally or fit the image inside a larger canvas.
The best method depends on the result you need. Choose the workflow that meets the destination's pixel dimensions, file-size limit, format requirements, and composition needs.
| Method | Best for | Main limitation |
|---|---|---|
| Photos app | Cropping and changing the framing or aspect ratio | No direct control for exact pixel dimensions |
| Shortcuts | Resizing to exact pixel dimensions, including multiple photos at once | Requires a short one-time setup |
| Preview | Changing dimensions and exporting on supported iOS versions | Availability depends on your iOS version and device |
| Online image resizer | Resizing in Safari without installing anything | Requires a browser and an internet connection |
If you only need a quick resize, a free online image resizer such as the TrimIMG Image Resizer handles it without installing anything.
Frequently Asked Questions
How do I resize a photo on my iPhone without cropping it?
Use Shortcuts, Preview on a supported version of iOS, or an online image resizer. Preserve the original aspect ratio to keep the full picture visible without cutting off its edges.
Can I resize a photo on iPhone without downloading an app?
Yes. You can use Photos for cropping, Shortcuts for changing pixel dimensions, or a browser-based image resizer in Safari. Preview is another option on supported iOS versions.
Does iPhone have a built-in photo resizer?
Shortcuts includes a Resize Image action, and Preview on supported versions of iOS provides image-size controls. The Photos app is primarily useful for cropping and adjusting composition rather than entering exact pixel dimensions.
How do I change the pixel size of a photo on iPhone?
Use the Resize Image action in Shortcuts, Adjust Size in Preview on a supported device, or an online image resizer. Enter the required dimensions and preserve the aspect ratio unless the destination specifically requires a different shape.
How do I make a photo smaller in MB on iPhone?
Reduce the image dimensions, compress the image, or export it in a suitable format. Check the resulting file size after saving because changing dimensions alone does not guarantee a particular file size.
How do I reduce a photo to 100 KB on iPhone?
Resize the image to suitable dimensions, then export it as JPEG with an appropriate quality setting or use an image compression tool. Check the actual file size after saving and repeat with different settings if needed.
Can I resize multiple photos on iPhone at once?
Yes. Create a shortcut using Select Photos with Select Multiple enabled, followed by Resize Image and a saving action. You can then select several photos and apply the same resizing settings to them.
Does resizing a photo reduce its quality?
Reducing dimensions removes pixels from the smaller version, so some detail is lost. Compression can also reduce quality, especially at aggressive settings. Keep the original if you may need the full-resolution image later.
Is HEIC better than JPEG for iPhone photos?
HEIC can provide smaller files at comparable visual quality, while JPEG is more widely compatible with websites and older software. Choose the format based on the destination's requirements.
How do I resize a photo to 1 MB on iPhone?
Reduce the dimensions if necessary, compress the image or adjust its export quality, and check the saved file size. Repeat with different settings until the image meets the website's limit.
Why can't I enter exact dimensions in the Photos app?
The Photos app's crop controls focus on framing and aspect ratios rather than direct pixel-width and pixel-height entry. Use Shortcuts, Preview on a supported iOS version, or an online image resizer when you need precise dimensions.
Conclusion
Resizing a photo on an iPhone is straightforward once you know whether you need to crop the picture, change its pixel dimensions, or reduce its file size. Use Photos for quick cropping, Shortcuts for precise or repeatable resizing, Preview if your device supports its image-size controls, or an online resizer when you prefer to work in Safari.
Before uploading a resized photo, check its dimensions, format, and file size to make sure it meets the destination's requirements. Preserve the aspect ratio when you want to avoid stretching, and crop only when removing part of the image is acceptable.
With the right method, you can prepare iPhone photos for online forms, email attachments, social media, websites, and other uses without unnecessary editing steps.
Resize your photo in seconds
No installs, no sign-up. Use TrimIMG's free online resizer in Safari to change your photo's dimensions without stretching it.
Found this helpful? Share it with your team:
Hello, it's Mujahid Hussain Creative and Professional Senior Software Engineer with 6+ years of experience building rich and interactive websites. I have a comprehensive understanding of WordPress themes, plugins, databases, and its functions.