How to Reduce Image Size to a Specific KB or MB
 Mujahid H.
- November 4, 2026
- 10 min read
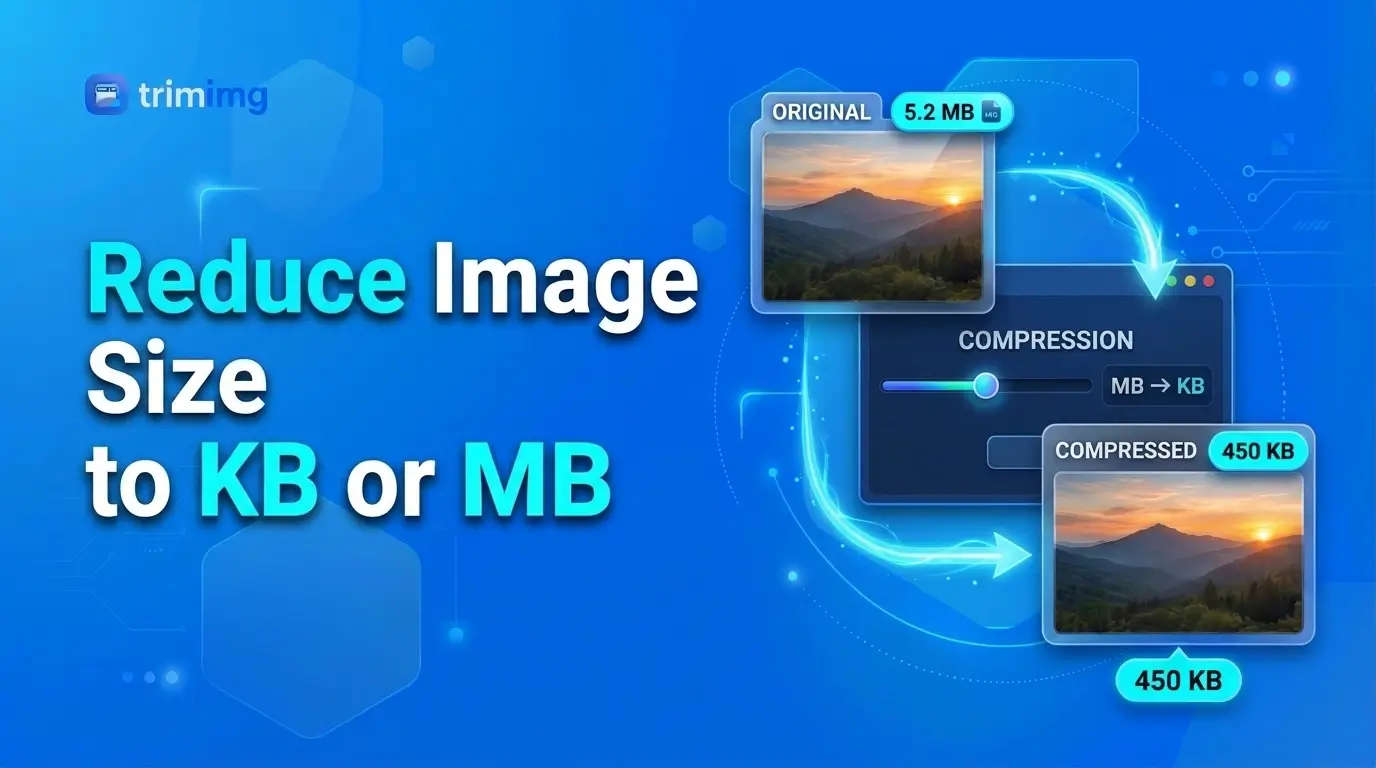
The quickest approach is to use an image tool that supports file-size reduction, then check the output before uploading it.
- Check the upload limit. Find out whether the website requires an image under 100 KB, 200 KB, 500 KB, or 1 MB.
- Check the original file. Note its current file size, pixel dimensions, and format.
- Reduce the file size. Use compression, resize the image, or change its format when appropriate.
- Check the result. Make sure the final file meets the limit and remains clear enough.
- Adjust if necessary. If the image is still too large, reduce its dimensions or compression quality a little more.
You can use the TrimIMG image resizer to adjust image dimensions and reduce image size for supported files.
What Is the Difference Between Image Dimensions and File Size?
Image dimensions and file size are related, but they measure different things.
- Image dimensions describe the number of pixels in an image, such as 3000 × 2000 pixels.
- File size describes how much storage the image takes up, such as 850 KB or 2.4 MB.
- Image resolution is often used to describe pixel dimensions, although resolution can also refer to pixel density for printing.
- Compression reduces the amount of data needed to store an image.
For example, a 4000 × 3000-pixel photo may take up several megabytes. Reducing its dimensions to 1600 × 1200 pixels can lower its file size, but the final size also depends on image content, format, and compression settings.
If you need to understand these measurements before editing, read the guide to checking image dimensions and file size.
Method 1: Use an Online Image Resizer
An online image tool is convenient when you need to reduce a photo for a website, application form, email, or other upload.
- Open the online image resizing tool.
- Upload your image.
- Choose the available resizing settings that suit your requirement.
- If the file is still too large, reduce the pixel dimensions or use a suitable compression option if available.
- Download the result and check its file size.
- Repeat with slightly lower dimensions or stronger compression if it exceeds the upload limit.
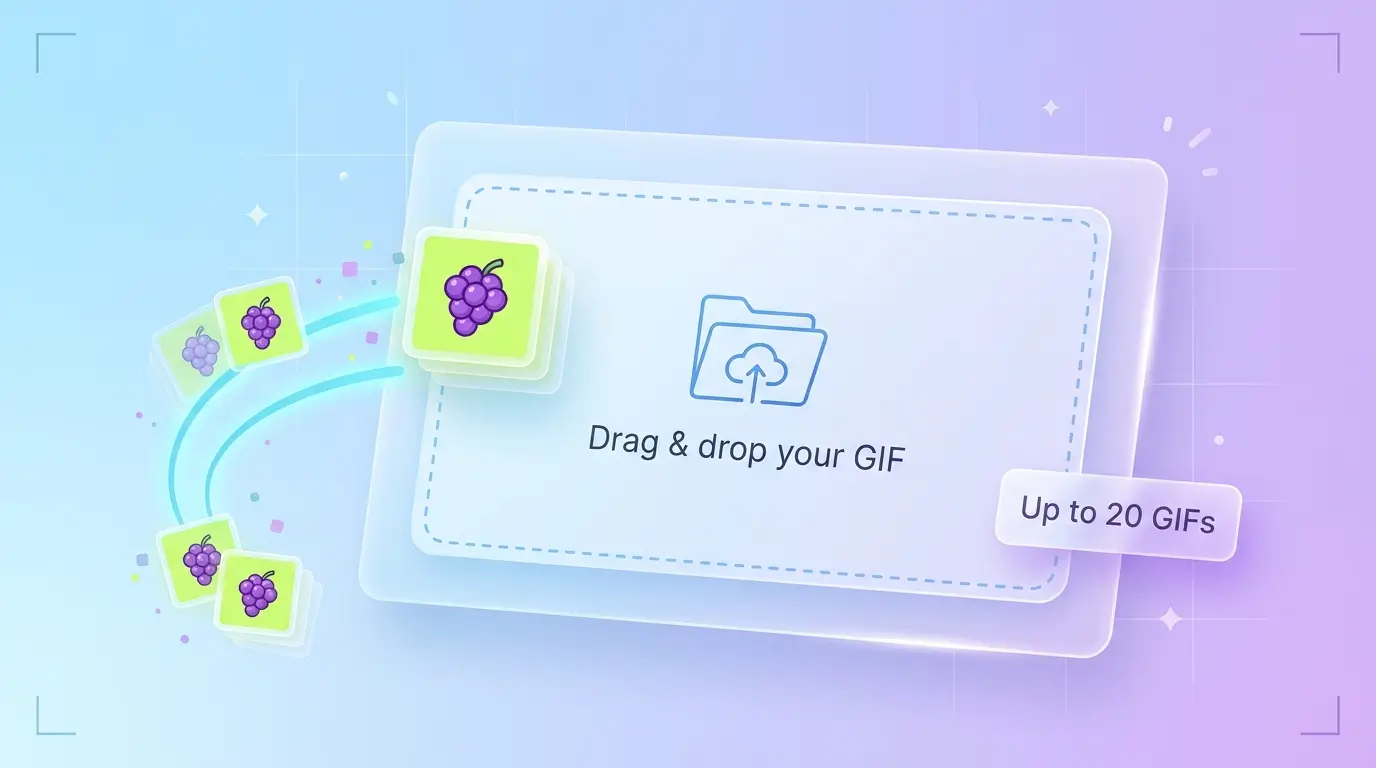
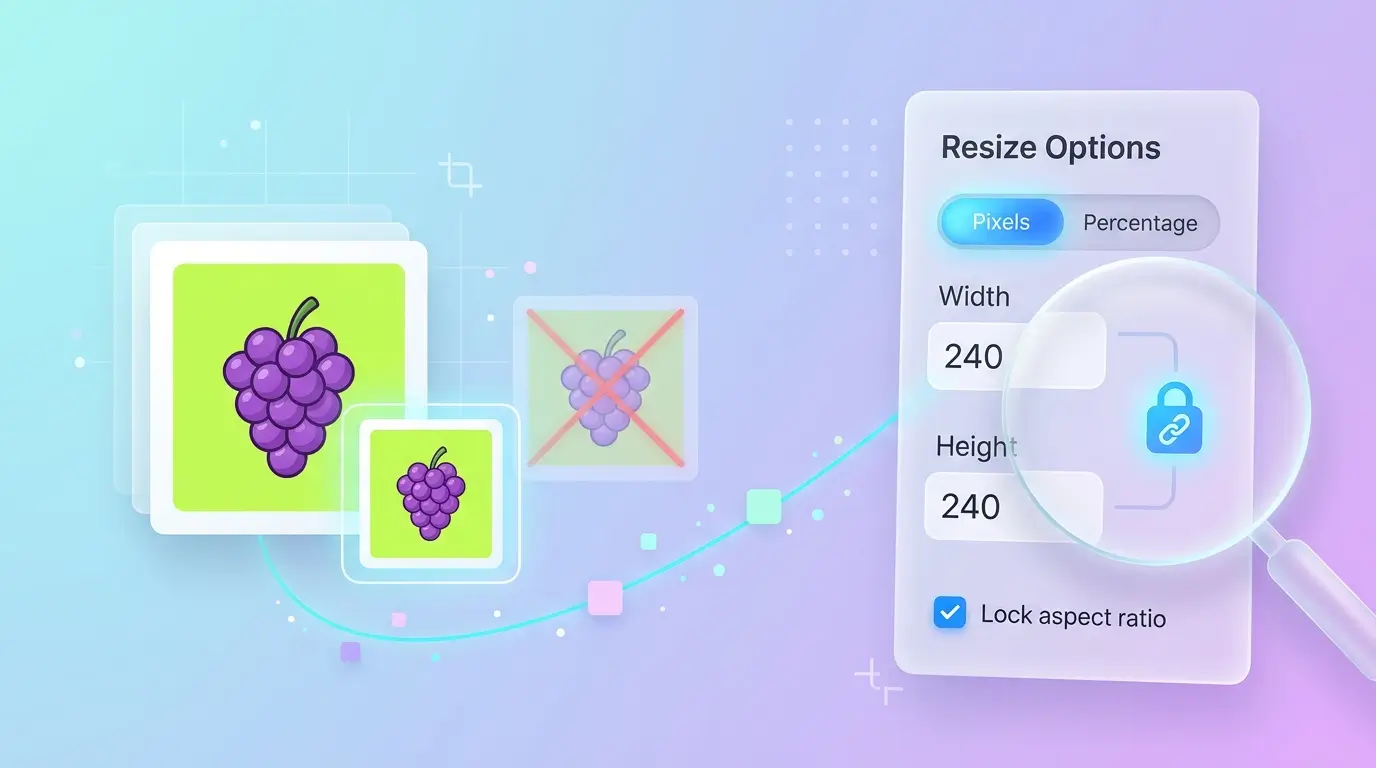

The right settings depend on the original file and the target size. A large photograph may need a combination of resizing and compression, while a small image may need only a modest adjustment.
Do not assume that setting a particular width will always produce a particular KB size. Two images with identical dimensions can have very different file sizes because their content and compression characteristics differ.
Method 2: Resize the Image's Pixel Dimensions
Reducing an image's width and height can lower its file size because fewer pixels need to be stored. This is especially useful when the original image is much larger than the display or upload requires.
For example, a 4000 × 3000-pixel photograph contains 12 million pixels. Resizing it to 2000 × 1500 reduces the pixel count to 3 million, or one-quarter of the original.
This does not mean the file size will always fall by exactly 75%. The final result depends on the image format, compression, detail, and other data stored in the file.
Suggested starting dimensions
| Intended use | Possible starting dimensions |
|---|---|
| Small website thumbnail | 300–600 px wide |
| Online form or profile image | 500–1200 px on the longer side |
| Blog image | 1200–1600 px wide |
| Large web image | 1600–2000 px wide |
These are starting points, not universal requirements. Always follow the website's stated dimensions and file-size limits.
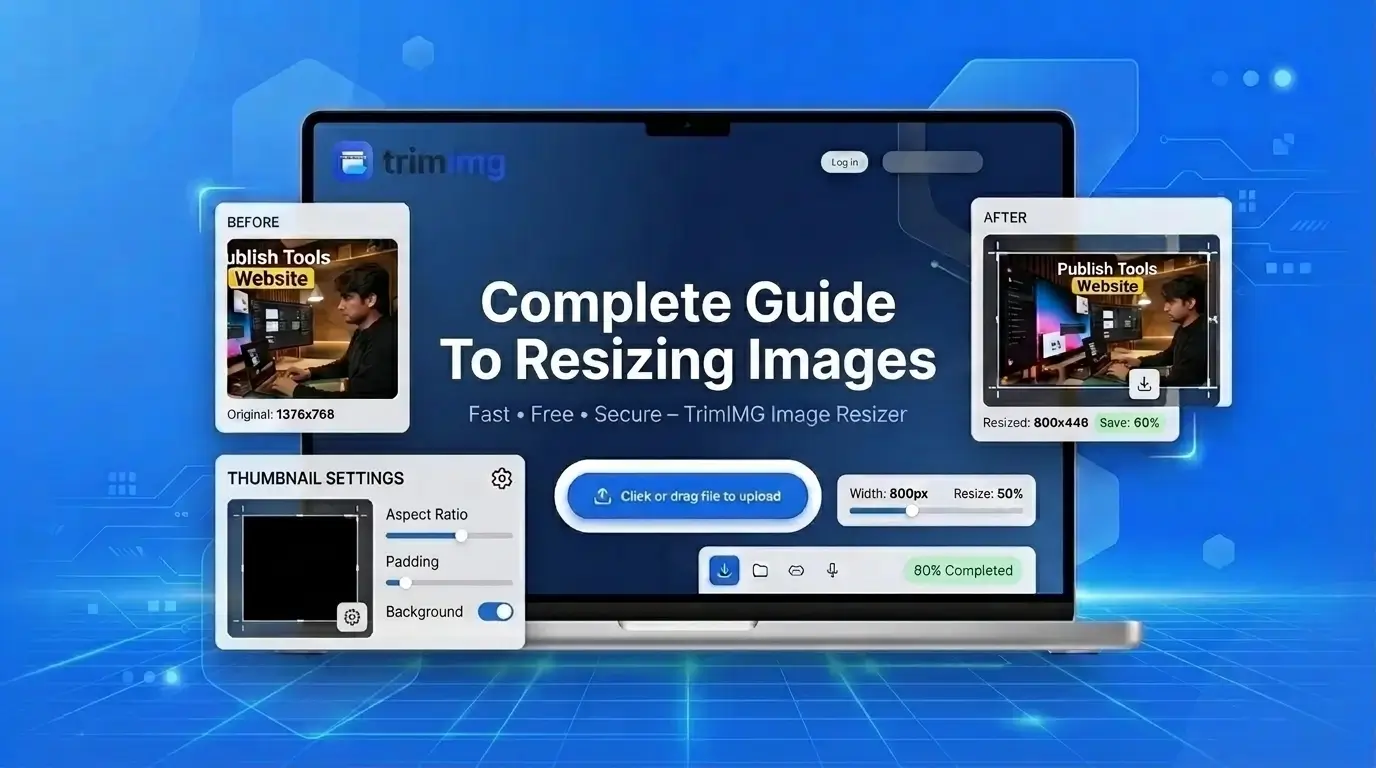
For more guidance on choosing suitable dimensions, see the complete guide to resizing images.
Method 3: Compress the Image to Reduce KB or MB
Image compression reduces the amount of data stored in a file. It can be more effective than resizing alone when you need to preserve the image's dimensions.
There are two common types of compression:
- Lossy compression reduces file size by discarding some image information. Stronger compression can create visible artifacts, blurring, or loss of fine detail.
- Lossless compression reduces file size without discarding the original pixel information, although the amount of reduction may be limited.
JPEG and WebP commonly use lossy compression for photographs. PNG is often useful for graphics, screenshots, transparency, and images with sharp edges, although its file size can be larger for photographs.
To reduce file size effectively, start with moderate compression. Check the result, then increase compression gradually if the file remains over the limit.
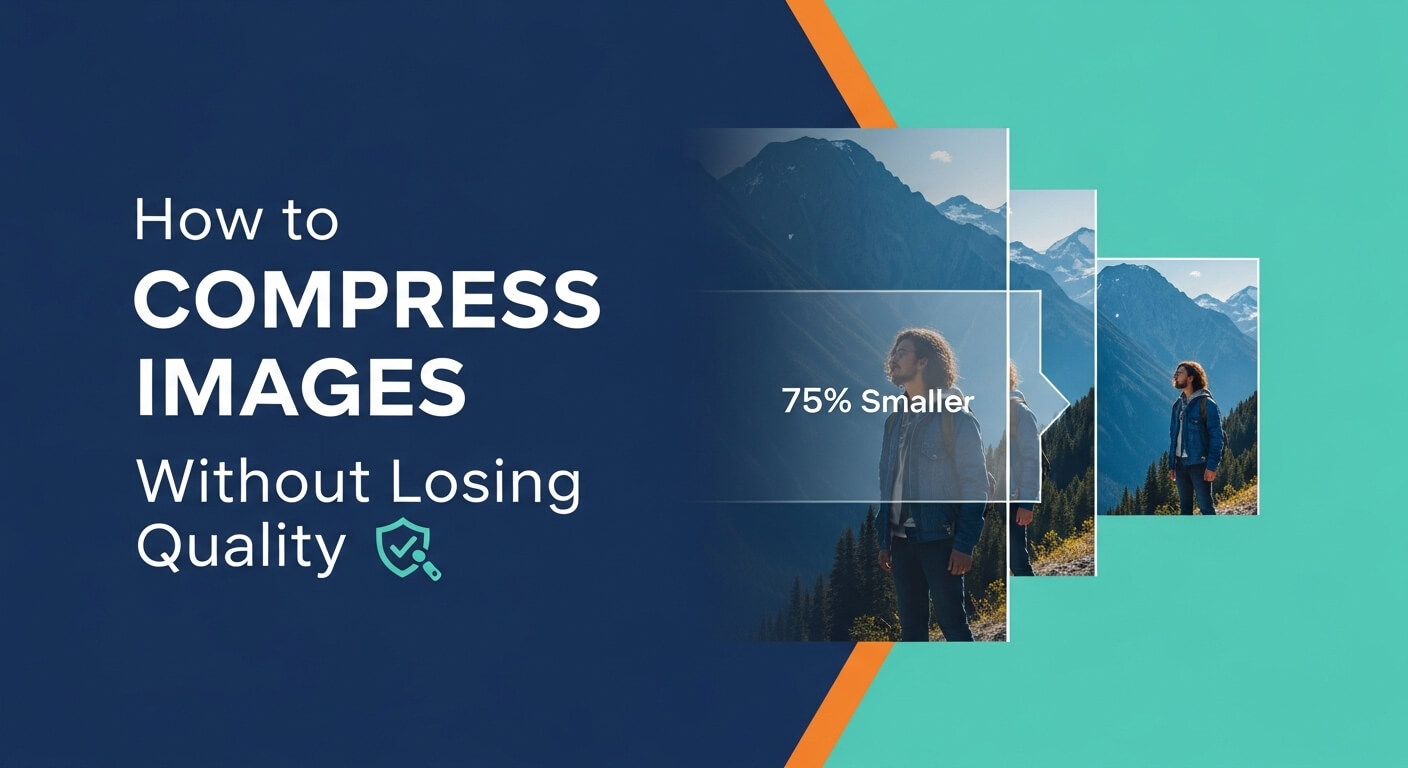
For more detail, read the guide on compressing images without losing quality.
Method 4: Choose the Right Image Format
The file format can make a noticeable difference to the final file size. The best choice depends on whether the image is a photograph, a graphic, a screenshot, or an image that needs transparency.
| Format | Often suitable for | What to consider |
|---|---|---|
| JPEG/JPG | Photographs | Usually offers good compression; repeated lossy saves can reduce quality |
| WebP | Web images and photographs | Often provides a good balance of file size and quality |
| PNG | Screenshots, graphics, and transparency | Can be larger than JPEG for photographs |
| HEIC | Photos from supported devices | Some upload forms do not accept it |
If a form accepts only JPG or PNG, use one of its supported formats. Converting an image does not automatically make it smaller: the output settings and image content matter.
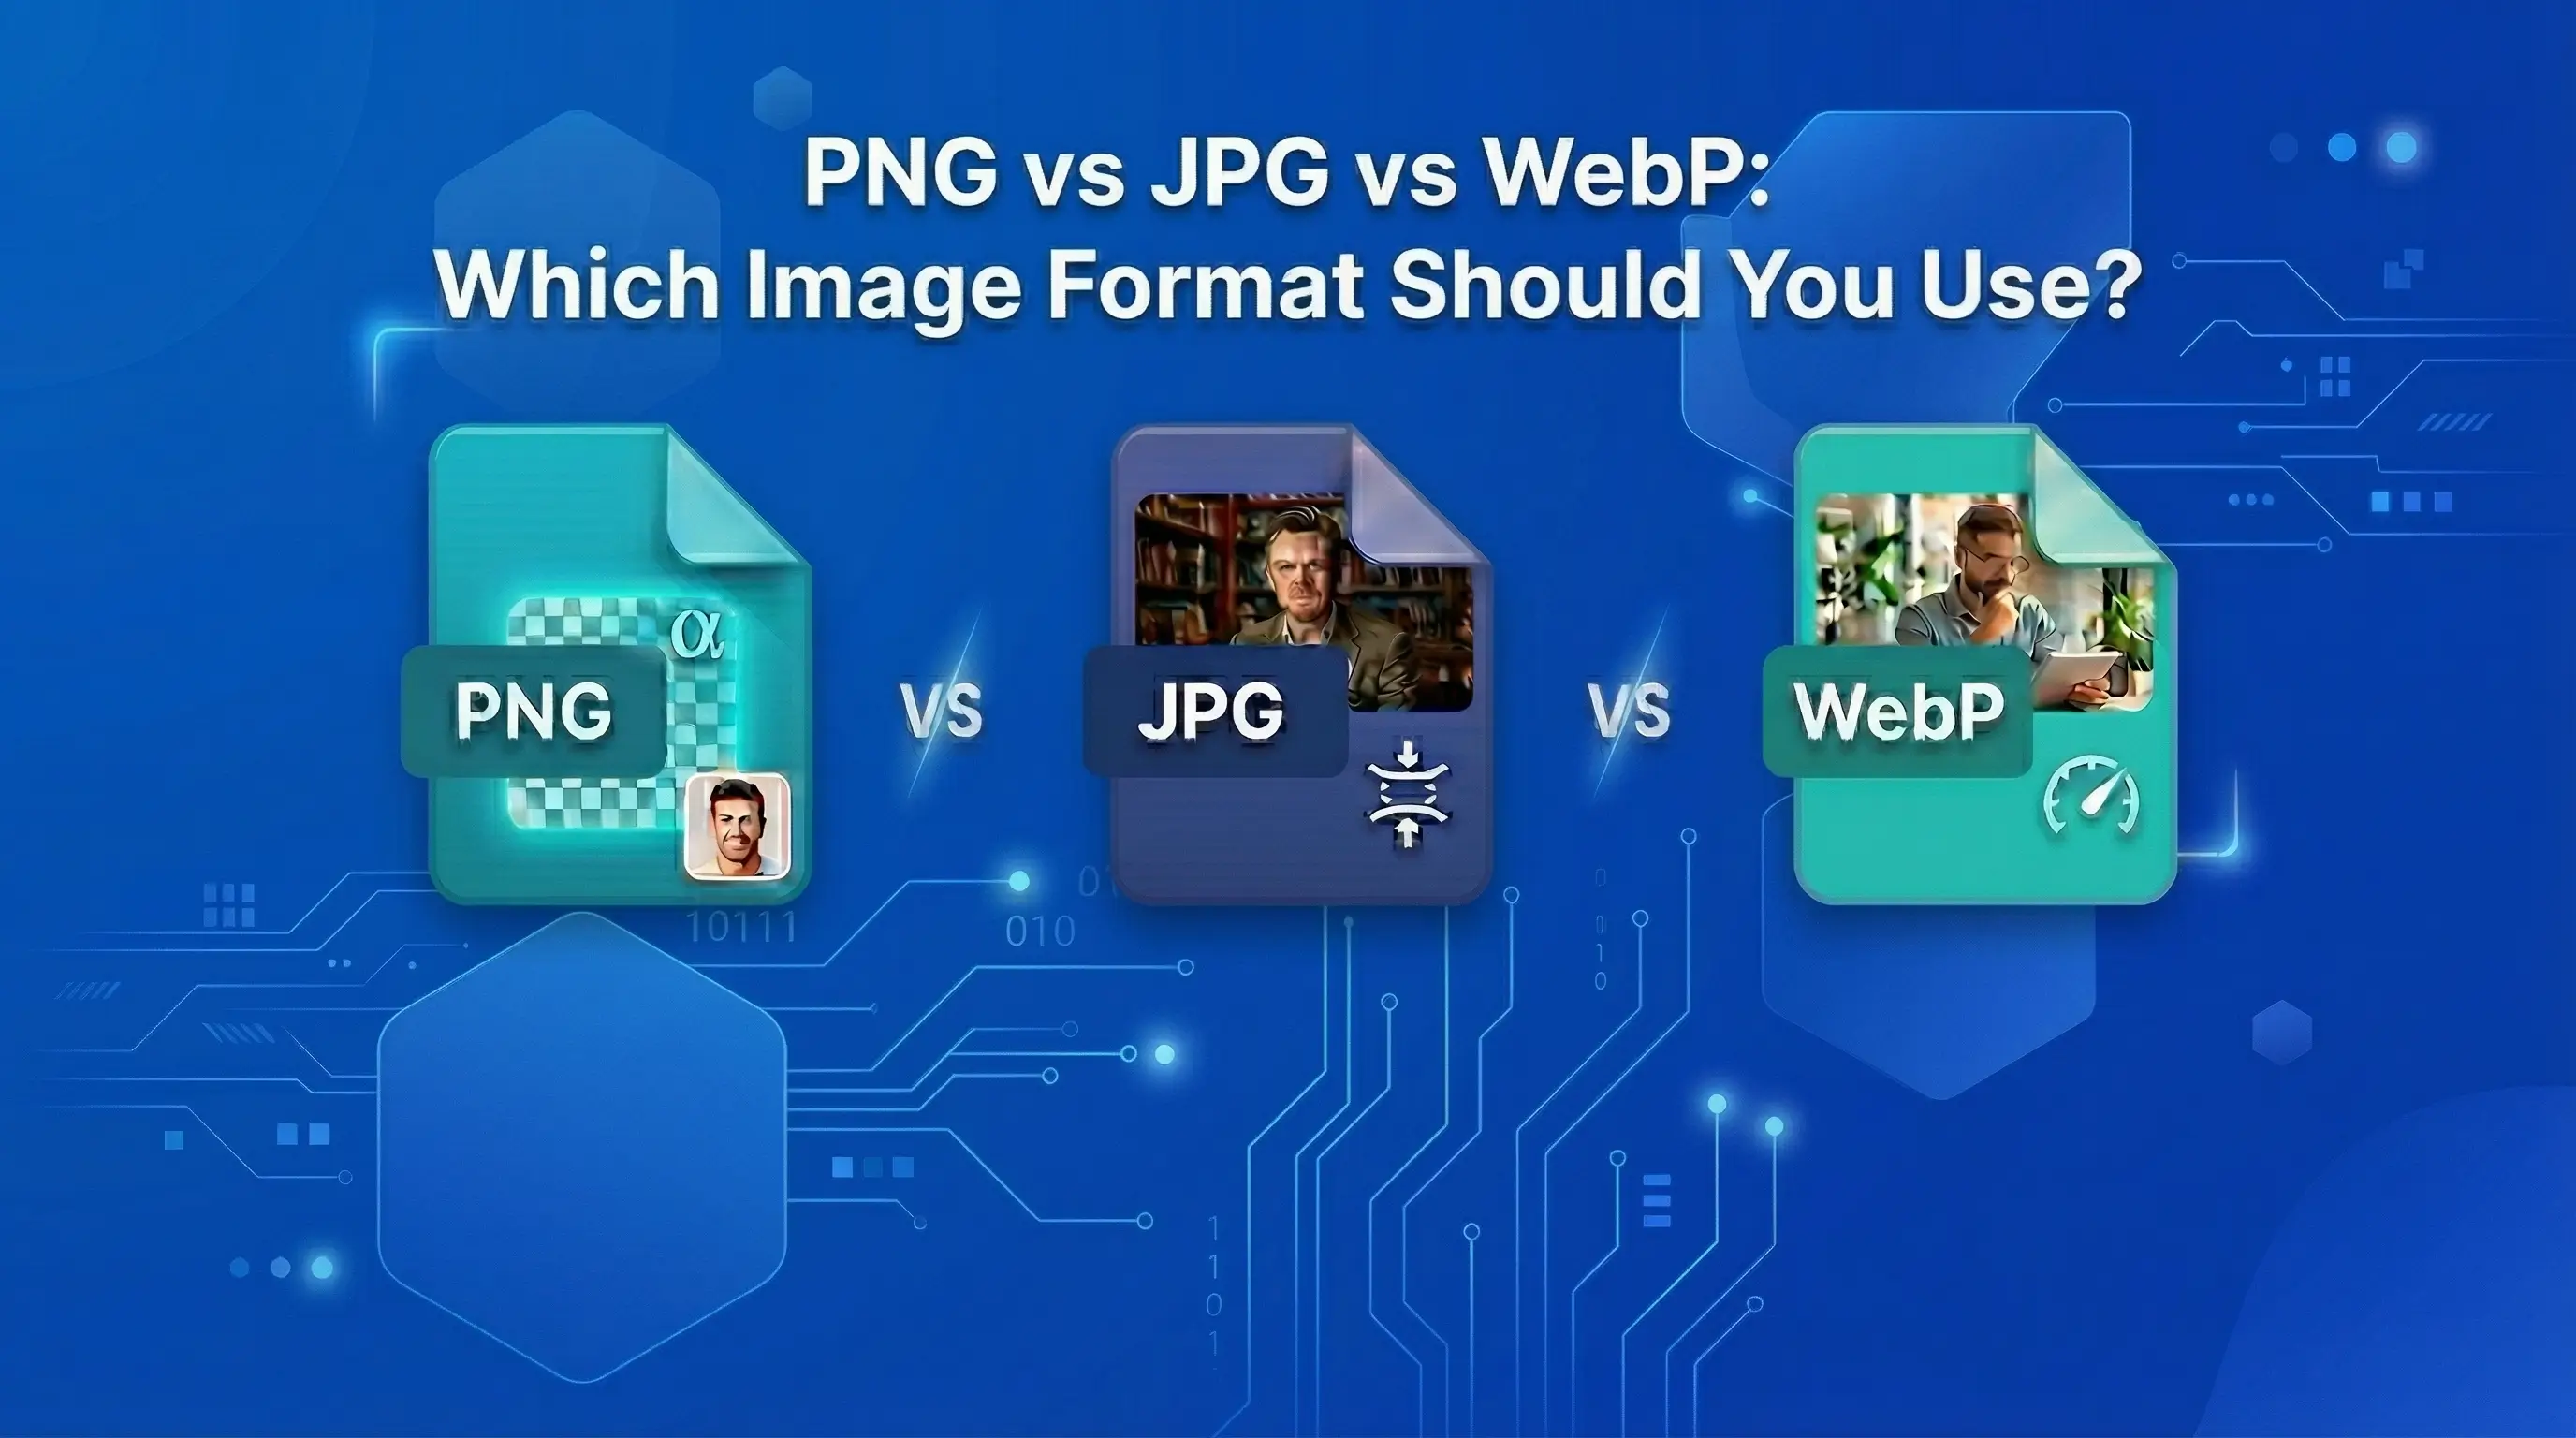
Explore the differences in the PNG vs. JPG vs. WebP guide.
Common Image File-Size Limits
Different websites set different upload requirements. Always check the instructions for the specific form or platform instead of assuming one limit applies everywhere.
How to reduce an image to 100 KB
A 100 KB limit is relatively small for a detailed photograph. Try reducing the dimensions first if the original image is very large, then use moderate JPEG or WebP compression if the destination accepts that format.
Inspect the output carefully, especially if the photo contains small text, hair, fine textures, or other important details.
How to reduce an image to 200 KB
For a 200 KB limit, begin with dimensions suitable for the intended display. If the image is still too large, adjust compression gradually or try a more efficient supported format.
A photo with simple backgrounds may reach the target more easily than one with lots of texture and detail.
How to reduce an image to 500 KB
A 500 KB target may allow more detail than a 100 KB target, but results vary. If your image is already close to the limit, a small adjustment to dimensions or compression may be enough.
Avoid making the image much smaller than necessary. The goal is to satisfy the upload requirement while retaining useful detail.
How to reduce an image to 1 MB
If a photo must be under 1 MB, you may not need aggressive compression. Check the original file size first. If it is only slightly above the limit, a small reduction in dimensions or a modest change to compression settings may be sufficient.
Remember that some services interpret “1 MB” as 1,000,000 bytes, while others may use a binary equivalent. Leave a little room below the stated limit when possible.
How to Reduce Image Size for Online Forms
Online forms may specify a maximum file size, required dimensions, accepted formats, or all three. Meeting just one requirement may not be enough.
Before uploading a photo:
- Read the form's file-size and dimension requirements.
- Check whether it accepts JPG, PNG, WebP, or another format.
- Keep the required subject visible. If the form specifies a square image, crop it using your phone or computer's editor before resizing.
- Reduce the pixel dimensions if the original image is larger than necessary.
- Compress the image if it still exceeds the size limit.
- Open the final file to confirm that it looks correct.
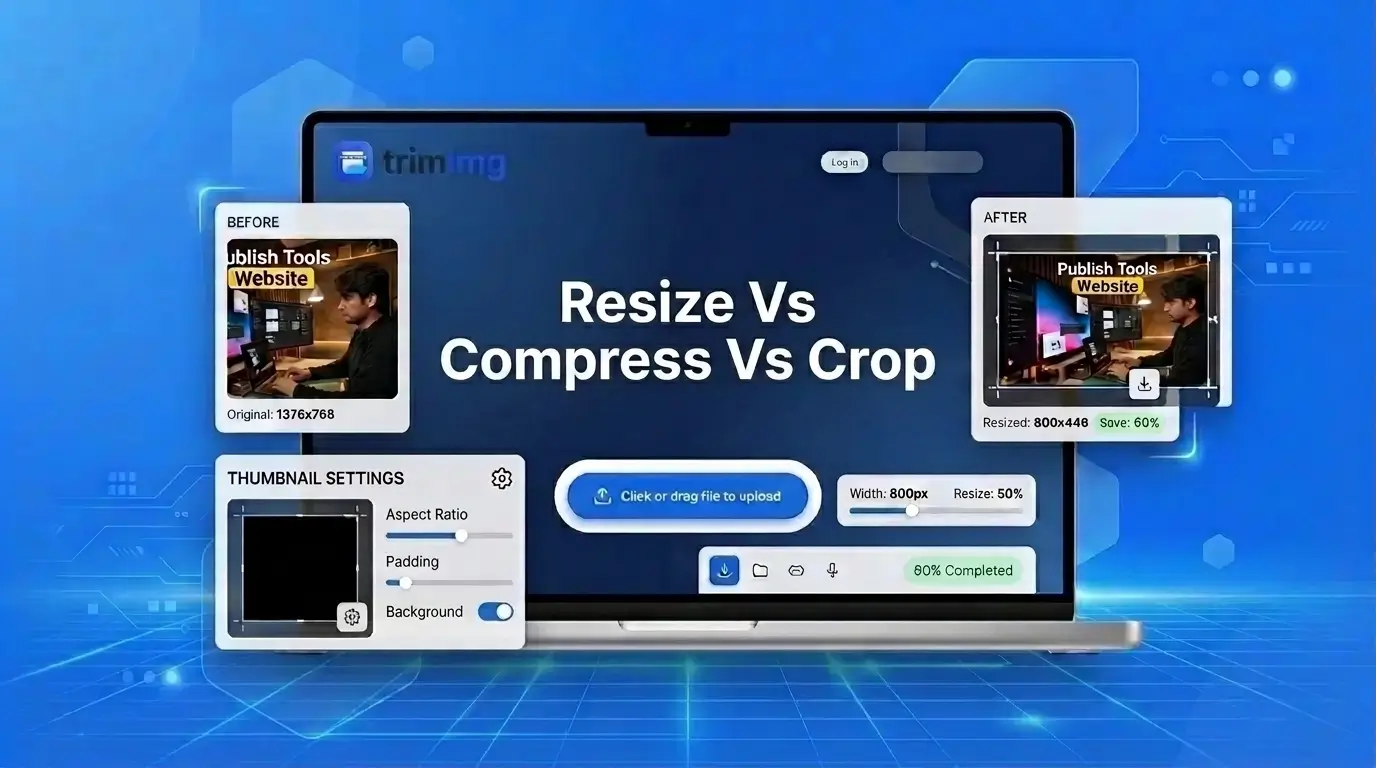
Resizing, compressing, and cropping perform different jobs. Cropping changes the visible area, resizing changes pixel dimensions, and compression changes how image data is stored. Learn when to use each in the guide to resize vs. compress vs. crop.
How to Reduce Image Size Without Losing Quality
When you need to reduce image size without losing quality, aim for the smallest file that still looks good at its intended display size. Some quality loss may be unavoidable when a photograph must fit a very strict file-size limit.
Use these techniques to retain as much detail as possible:
- Start with the original image. Avoid repeatedly compressing a file that has already lost detail.
- Reduce dimensions only as much as necessary. Smaller dimensions can reduce file size, but they also reduce the amount of visible detail.
- Use suitable compression. For photographs, JPEG or WebP may offer a smaller file than PNG.
- Inspect fine details. Look for blurry edges, blocky textures, color banding, and artifacts around text.
- Keep a copy of the original. You can return to it if the compressed result is not good enough.
The best result is not necessarily the smallest possible file. It is a file that meets the upload limit while preserving the quality you need.
Why Is My Image Still Too Large After Resizing?
If your image remains above the required file size, one or more of these factors may be responsible.
The dimensions are still too large. A high-resolution photo can remain large even after a modest reduction in width and height. Try a smaller output dimension if the intended use allows it.
The image contains lots of detail. Textures, foliage, hair, noise, and complex backgrounds can require more data than simple shapes or plain backgrounds.
The format is not suitable. A PNG photograph may be larger than the same image saved as a well-compressed JPEG or WebP. Choose a format supported by the destination.
The compression is too gentle. A small reduction in quality may not be enough to meet a strict KB limit. Adjust the settings gradually and inspect the result.
The upload limit is lower than expected. Check whether the website specifies KB or MB and whether the limit is a strict maximum. If possible, leave a little room below it.
Frequently Asked Questions
How do I reduce image size in KB?
Use an image resizer or compressor to reduce the file size. Depending on the image, you may need to change its pixel dimensions, compression settings, or file format. Check the resulting file size before uploading it.
How do I compress an image to 100 KB?
Start with the original image and reduce its dimensions if they are larger than necessary. Then save it in a suitable format with moderate compression. If the file remains above 100 KB, adjust the dimensions or compression further while checking image quality.
How can I reduce a photo from MB to KB?
Reduce the pixel dimensions if the photo is much larger than required, then compress it using a format such as JPEG or WebP when supported. Large camera photos may need both steps to reach a small KB target.
Does reducing image size reduce quality?
It can, but the effect depends on the method. Resizing removes pixels when an image is made smaller, while lossy compression discards some image information. A careful combination of appropriate dimensions and moderate compression can often reduce file size while keeping the image visually clear.
Is resizing the same as compressing an image?
No. Resizing changes the pixel dimensions, while compression changes how image data is stored. Either method can reduce file size, but they work differently. You may need to use both to meet a strict upload limit.
Why does my image become blurry after compression?
The compression level may be too strong, or the image may have been resized to dimensions that are too small. Start again from the original, use less aggressive compression, and retain enough pixels for the intended display size.
Can I reduce an image to an exact KB size?
That depends on the tool and the image. Some tools allow you to specify a target file size, while others require you to adjust dimensions or compression settings and check the output. Very low targets may not be achievable without noticeable quality loss.
Final Thoughts
To reduce image size in KB or MB, first identify the upload limit and check the image's current dimensions, format, and file size. Then choose the least aggressive combination of resizing and compression that meets the requirement.
For a large photograph, reducing dimensions may be the best starting point. If the dimensions are already suitable, compression or a more efficient format may help. Always check the final file before uploading it.
Use the TrimIMG image resizer to prepare your image for an upload, website, or online form, and keep the original file in case you need to try different settings.
Reduce your image to the exact size you need
No installs, no sign-up. Upload your image, resize or compress it, and download a file that meets your KB or MB limit.
Found this helpful? Share it with your team:
Hello, it's Mujahid Hussain Creative and Professional Senior Software Engineer with 6+ years of experience building rich and interactive websites. I have a comprehensive understanding of WordPress themes, plugins, databases, and its functions.